3 Basic Macramé Knots & How To Use Them
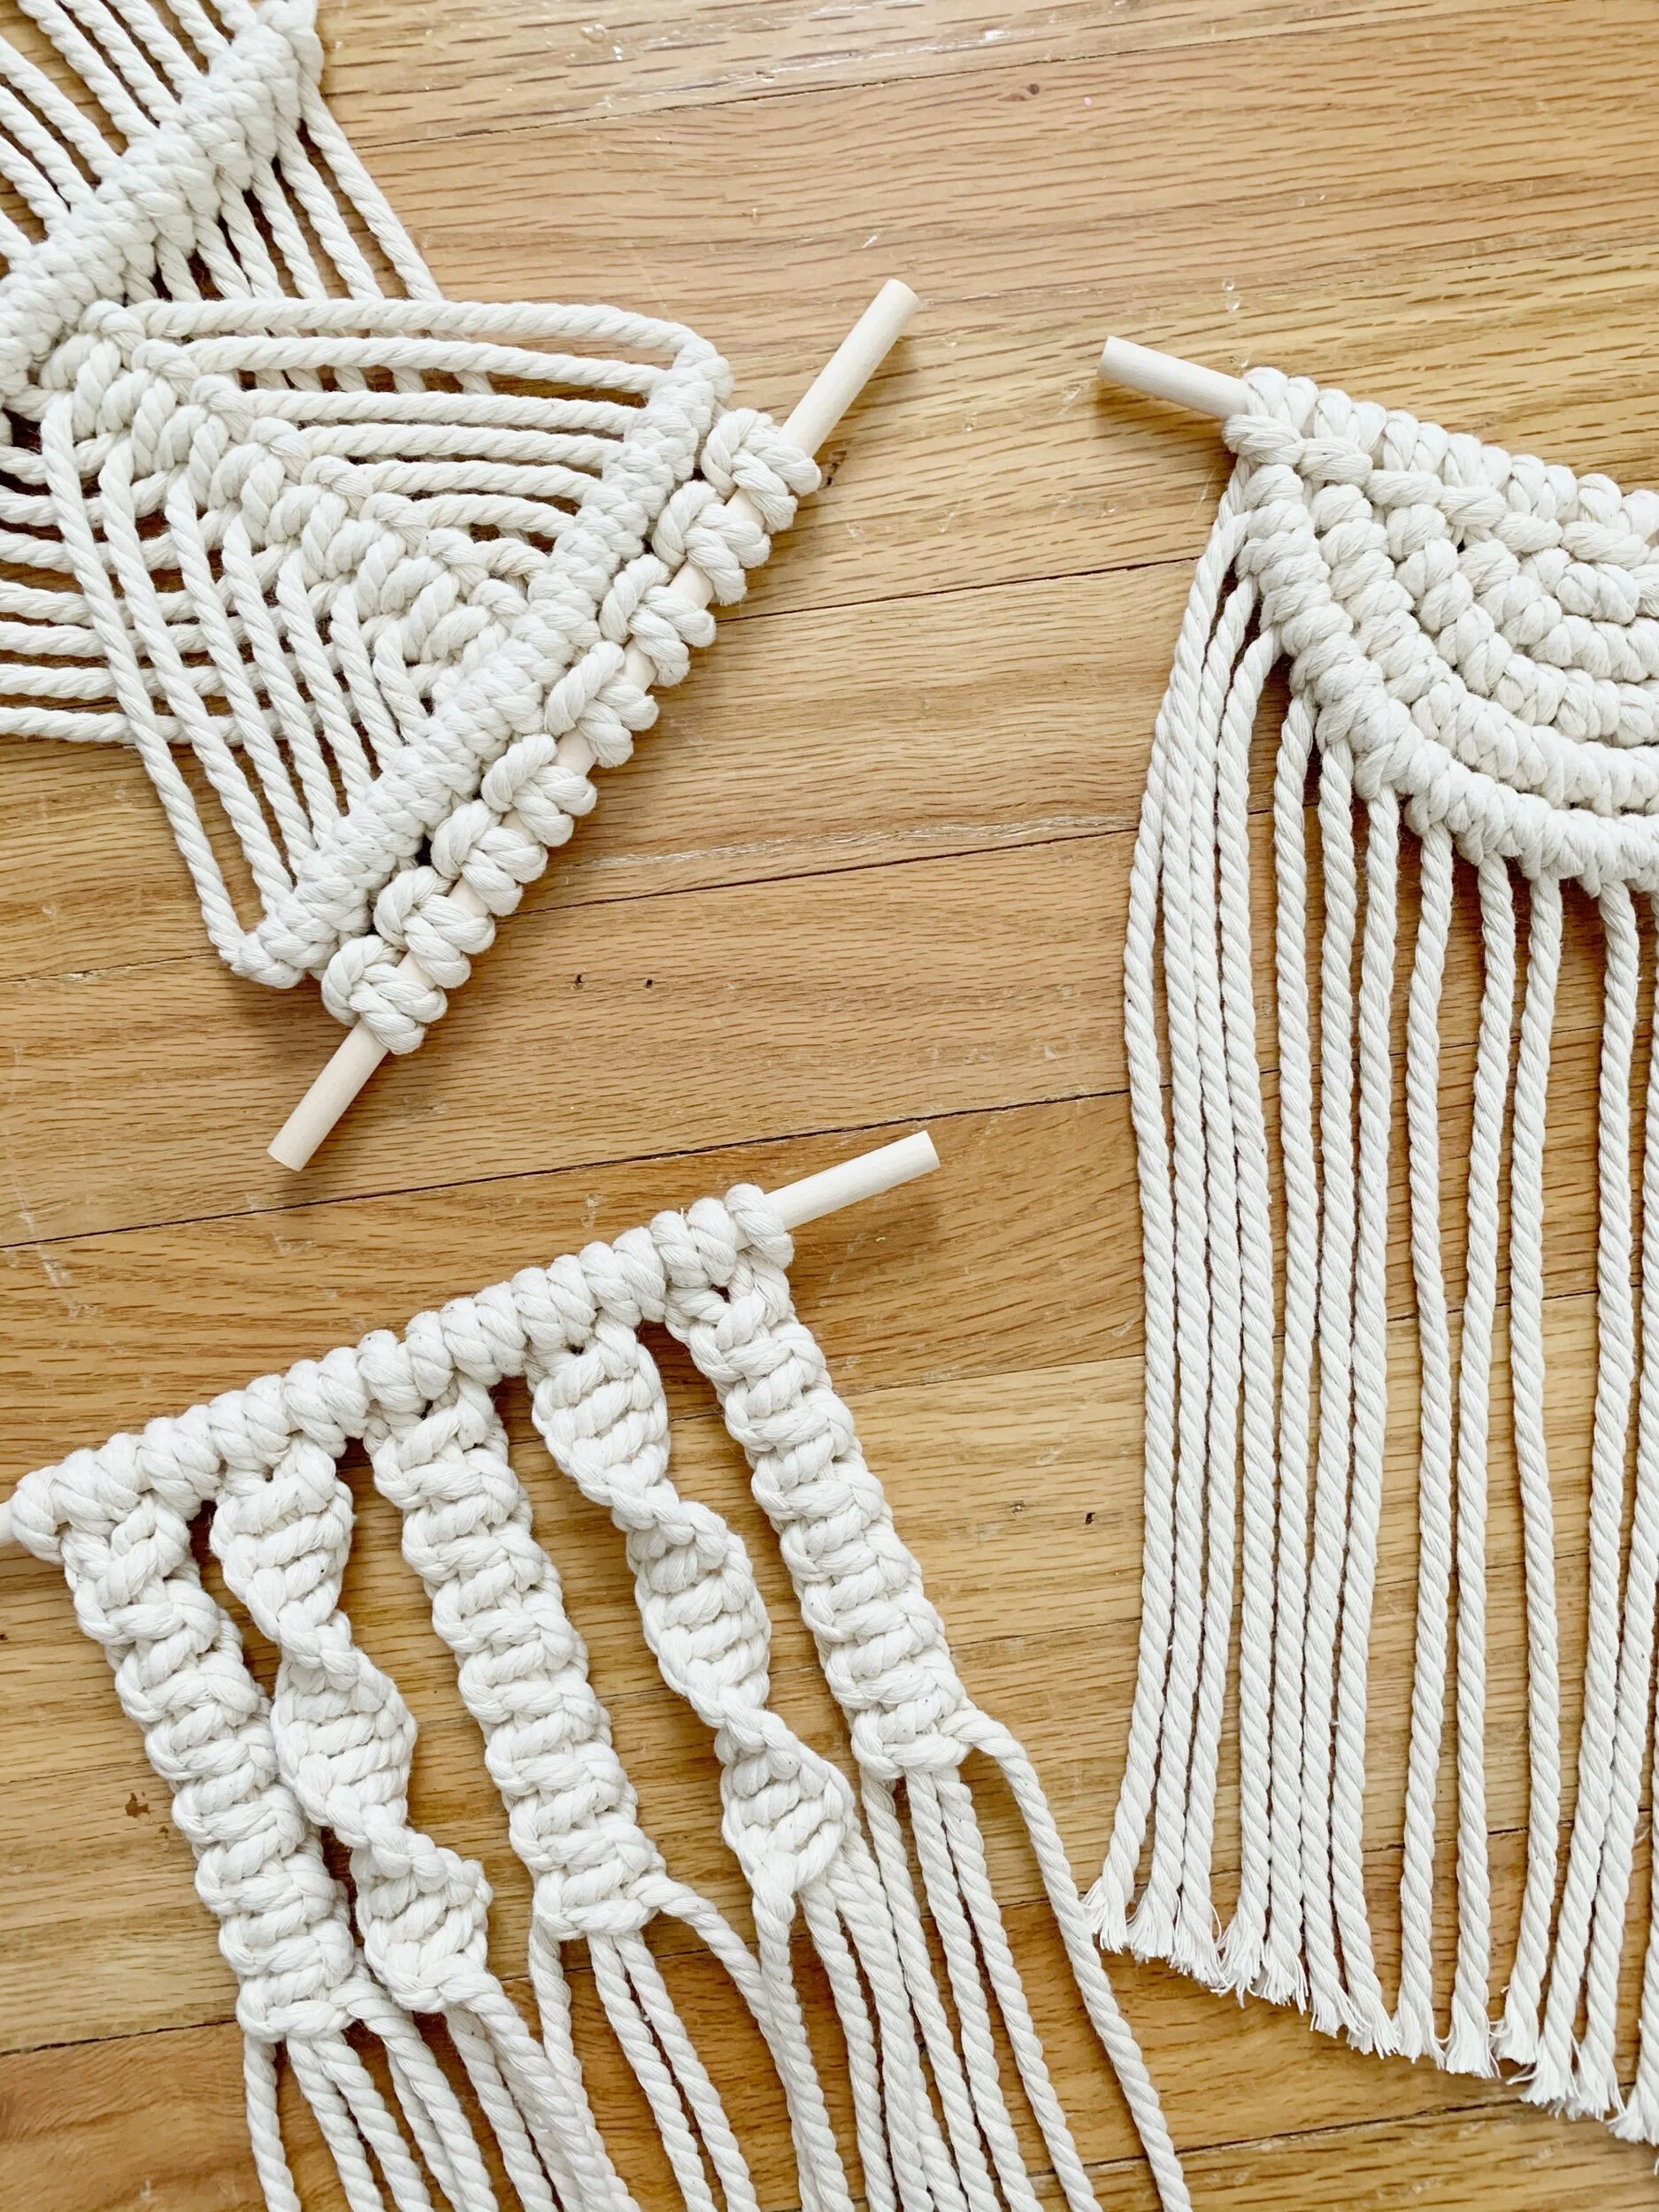
Macramé is the perfect DIY project for anyone looking to add a touch of boho or neutral décor to their home!
After creating several macramé projects of my own I thought I would share in detail the three basic knots used in all of my creations.
If you’re looking to get started in macramé these are the basics you’re going to want to know.
The Larks Head Knot
To create this knot simply put the two ends of one cord together creating a loop on the other end. Then place that loop over a wooden dowel or another piece of cord and pull the two ends through.
This knot is primarily used to attach your cord to your project, whether it be a wall hanging, plant hanger or garland.
You can also use this knot to add extra cord where needed when doing projects like coasters or half circle wall hangings.
For this you’ll want to do a reverse larks hard knot (also known as a cow hitch knot). So, rather than placing the loop over, you’ll place the loop under and pull the two ends through.
The Square Knot
To create this knot you’ll use four strands, placing the far left strand over the two center and the far right strand over the far left, under the two center and through.
Then pull tight and repeat in the opposite direction, this time placing the far right over the two center and the far left over the far right, under the two center and through.
This knot can be used in a variety of different ways and to create several different patterns.
For example: To create this triangle pattern.
To do this you’ll simply use the two far left strands of one square knot and the two far right strands of another to create another square knot.
You can also use this method to create a checkerboard pattern by simply repeating the knots using the same strands in every other row.
Or to create a diamond pattern.
You can also choose to double up your square knots as a way to bolden your pattern.
Then there’s also the method of doing several square knots in a row to create more of a line pattern.
Once you know how to do a square knot you can also do half square knots to create this spiral knot.
Or even create this berry knot.
This uses three square knots. Then you simply put the two center strands up, over and through the top creating the berry and complete with another square knot.
You can also use square knots to create plant hangers.
As well as this triangle pattern I did in my larger wall hanging.
And this brings us to the third knot…
The Double Half Hitch
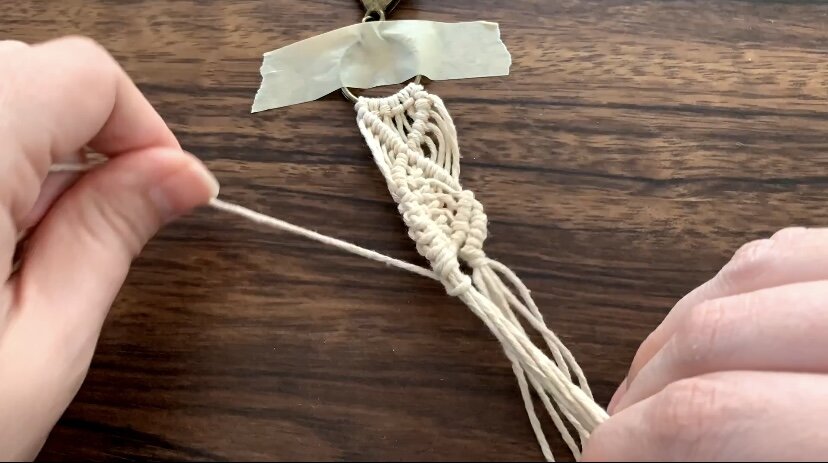
To do this knot you’re going to place the far cord over the other cords and then take the next cord and place it over, under and through the first cord. Then repeat that a second time with the same cord.
You can continue this double half hitch with each cord all the way across to create a straight line.
Or create a diagonal double half hitch by simply pulling your first cord tight at a diagonal angle.
The double half hitch can be used to either section out areas of your design.
Or in ending projects like this keychain…
…making coasters…
…half circle wall hangings…
…or even ornaments.
There is really an endless possibility of things you can do with these three basic knots!
I hope this was helpful. You can check out any of my other tutorials below to see how to apply these knots to your own creations.
Disclaimer: As an Amazon Associate I earn from qualifying purchases.


