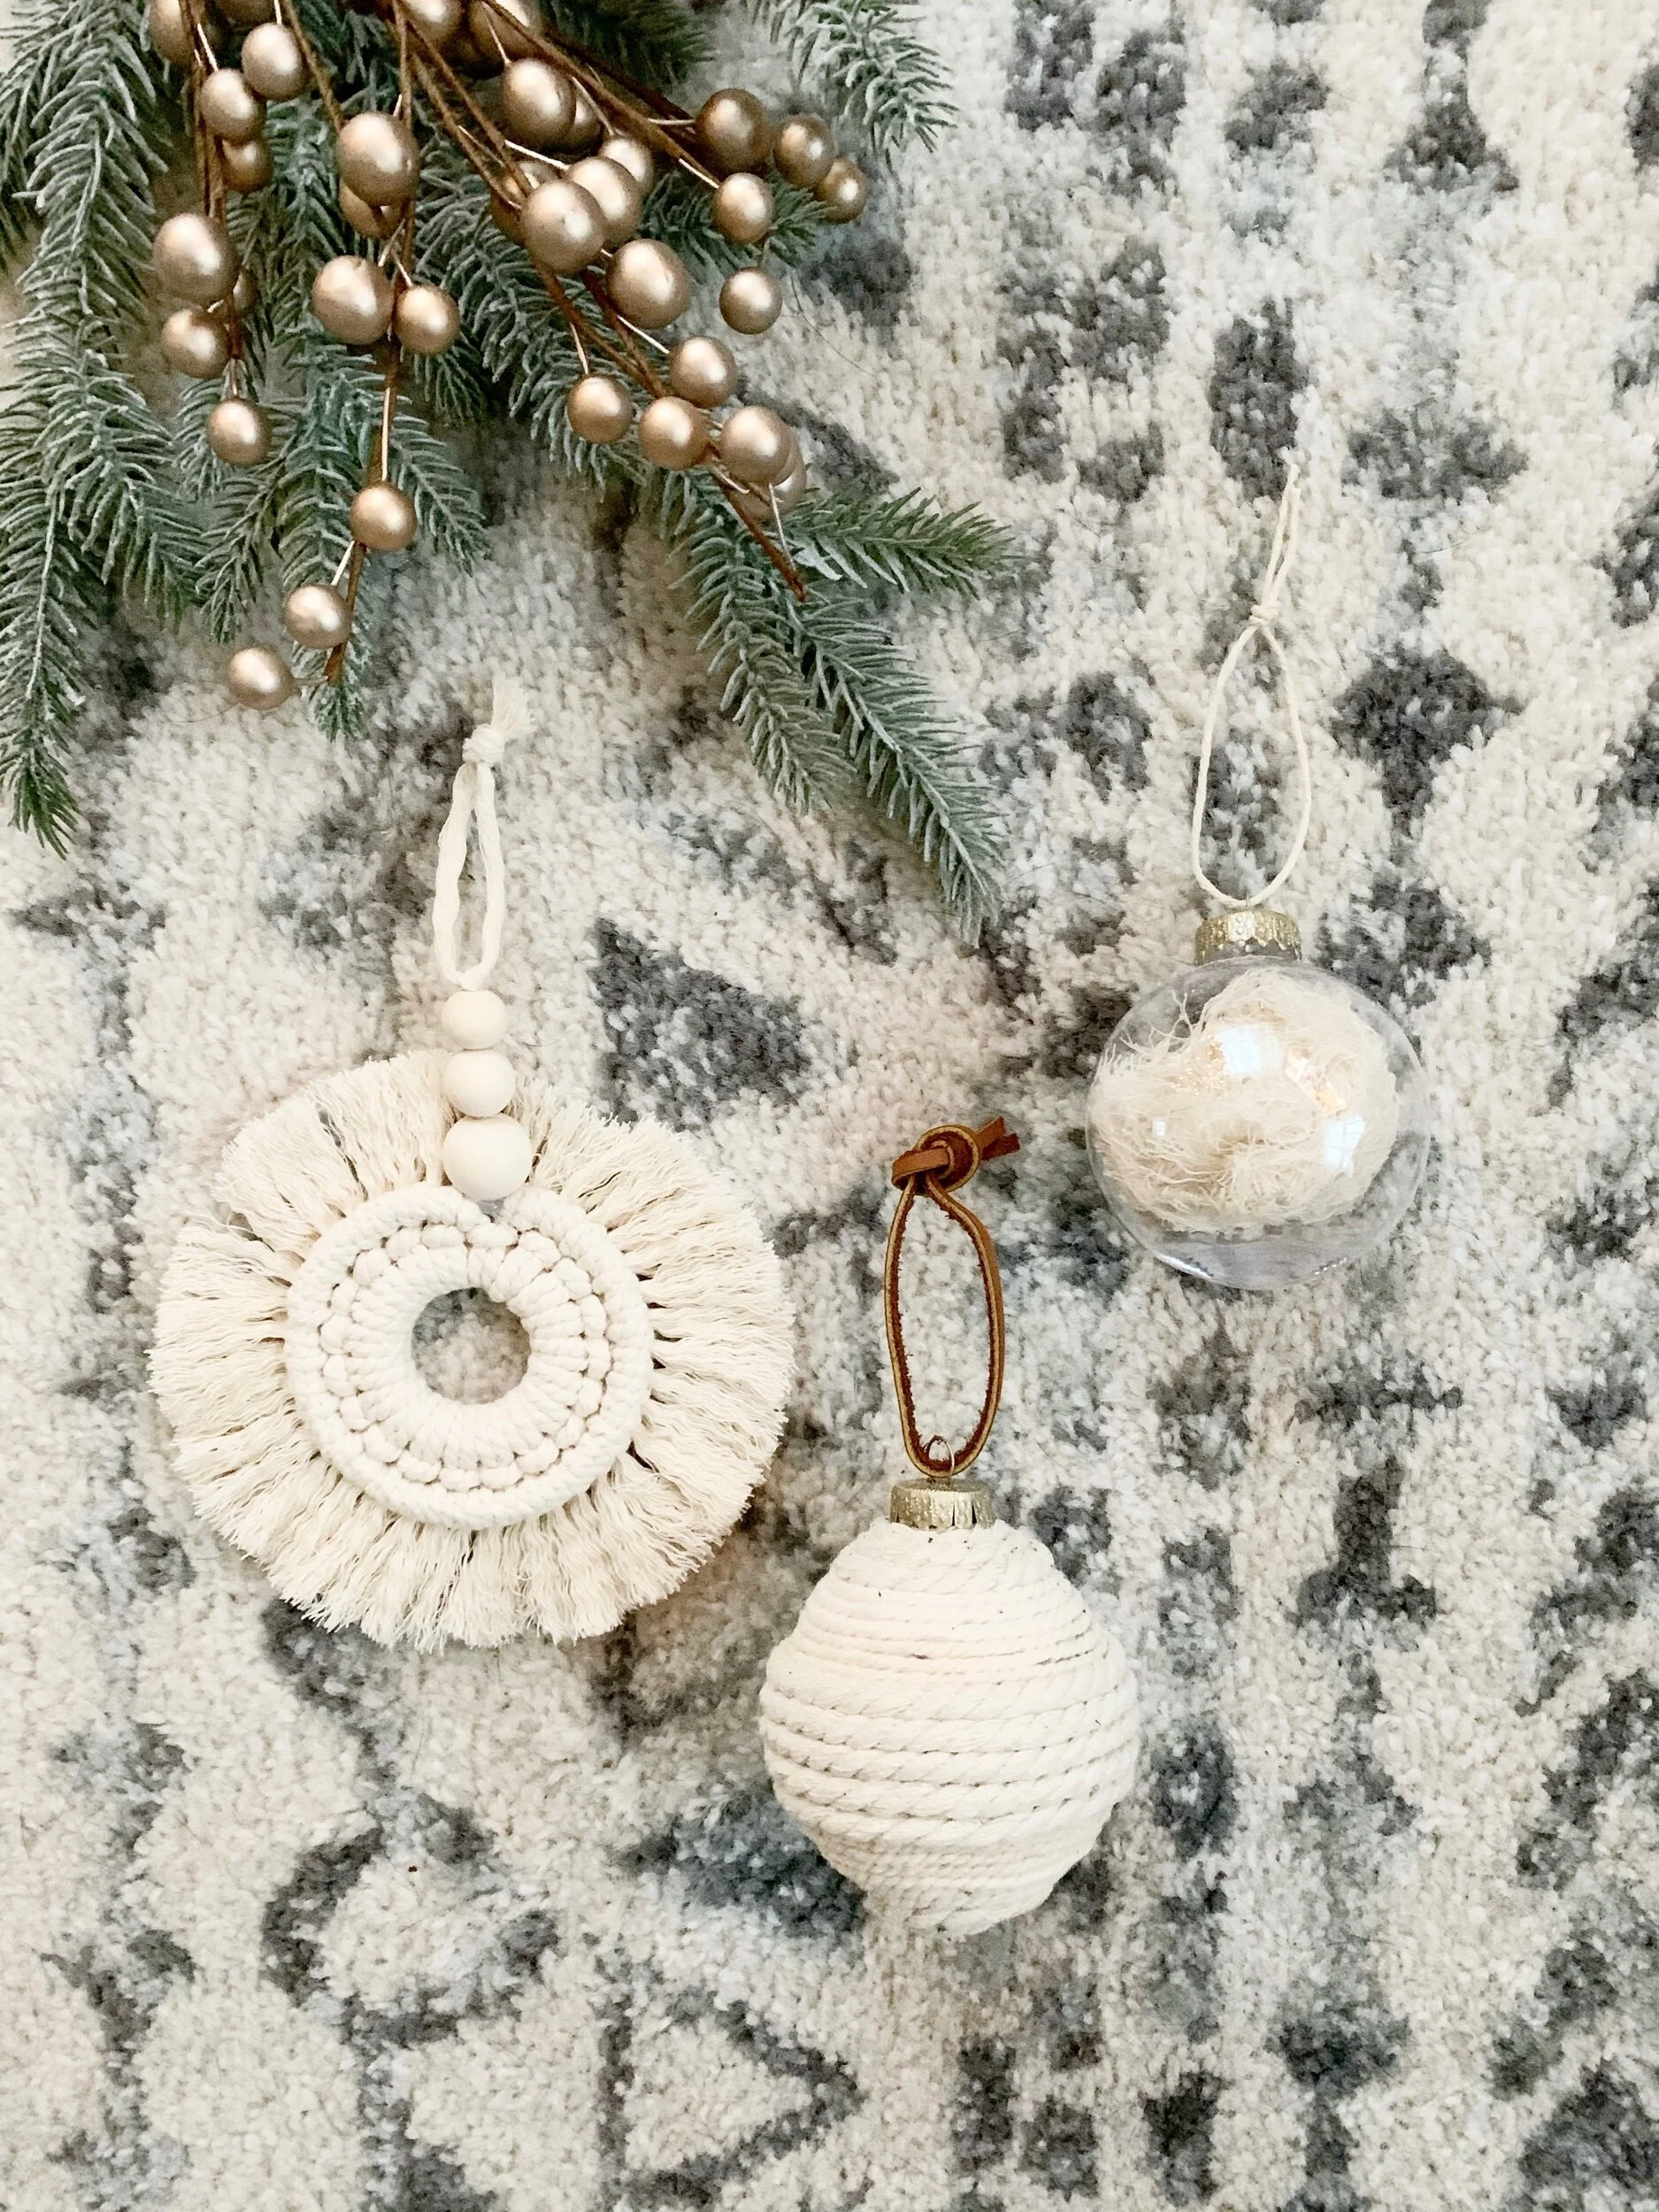
DIY Macrame Garland
I am finally getting around to showing your guys how I made this macrame garland.
This garland is the perfect garland not only for the holidays but for all year round!
Supplies:
3mm macrame cord
Scissors

First, you’ll want to cut your macrame into one 6ft long cord and a hundred 20 inch long cords.
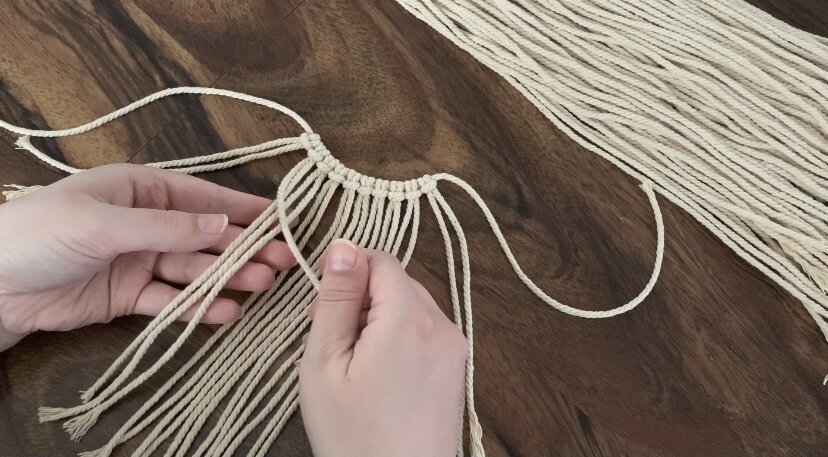
You’ll then attach each of the 20” cords onto the 6ft cord with a larks head knot.
(Meet the two ends of your cord creating a loop and wrap it around the wooden ring. Then pull the two ends through.)

You’ll want to do this in sections of ten.

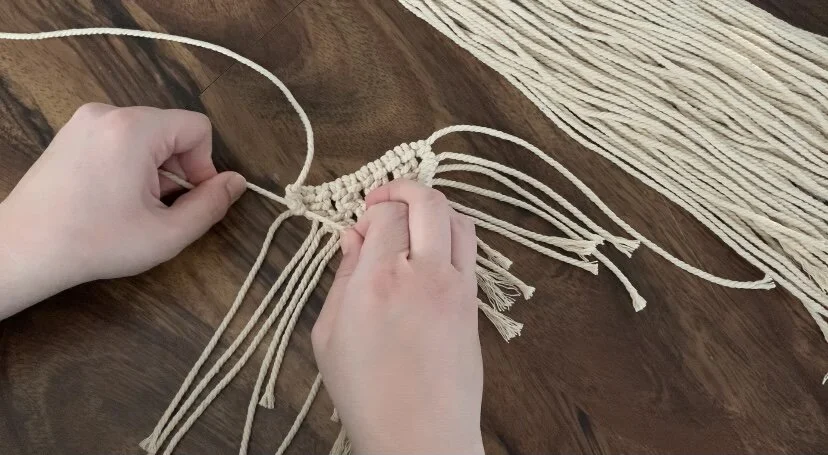
Then once you have all ten cords attached you’ll push aside the first two cords on either side and create a square knot with the next four cords in.
(To create a square knot place the far left strand over the two center. Then take the far right stand and place it over the far left, under the the two center and through…
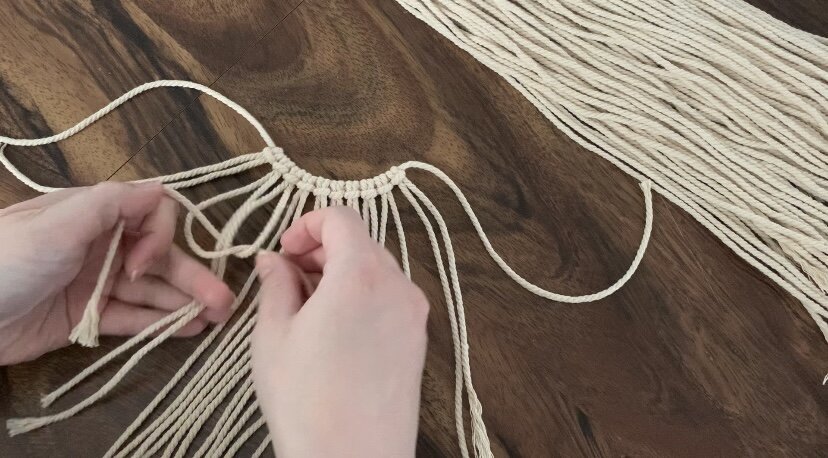

…To finish the square knot repeat these steps on the opposite side placing the far right over and then the far left over, under and through.)


Then continue this three more times all the way across.
Once you reach the end you’ll then create a second row of square knots only this time using the far two right of one square knot and the far two left of another.

Again, continue this two more times across.

As you can see with each row you then leave two more cords out on either end and this will eventually form a triangle.

To finish the triangle you’ll then create a diagonal double half hitch on either side.
(To create a double half hitch simply place the far right strand across and take the next strand in and cross it over, under and through the far strand twice.)
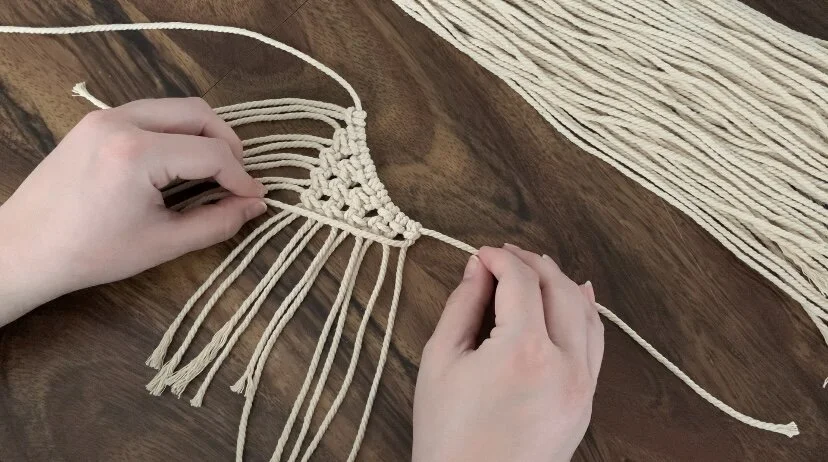


Then continue that all the way down and repeat on the other side.

Then to complete the V simply do one more knot on the left side.

Cut your cord to the desired length.


And repeat these steps 9 more times.
Then finish it off by creating a loop with a gathering knot on either side.


And that completes your garland.

I love how this looks and I think it’s perfect for anytime of year!
SUPPLIES:

Disclaimer: As an Amazon Associate I earn from qualifying purchases.