Sunroom Refresh
I am so excited to show you guys my sunroom refresh!
I swear every room makeover or refresh I do just keeps getting better and better!
There weren't too many DIYs in this one but each small change made a world of difference.
Here’s a look at the room before.


This room had kind of become a catch-all space and was quite a mess. So, of course the first thing I did was clean this space up.
Then, I knew I wanted to take our dog crate out since we no longer use it and replace it with a bench I had gotten from my sister.

This bench had been in our garage for over a year and was definitely in need of a cleaning.
But once I got it all cleaned up I was able to sand it down and give it a fresh coat of my favorite black paint, Madison Avenue by Behr.
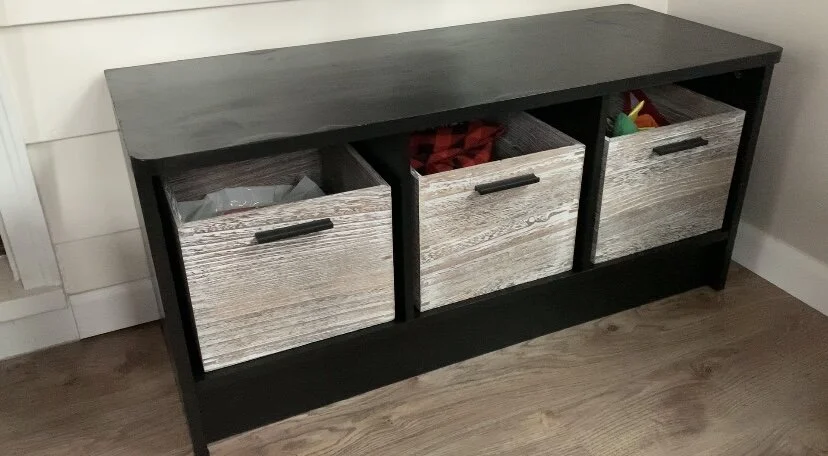
I then added in these white wash wooden bins I got from Target and filled them with items for our dog Korben.
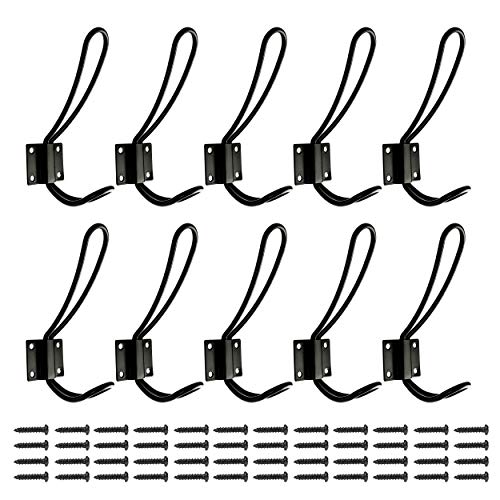
Once that was complete I then moved on to swamping out the bird shape wall hooks we previously had with a more modern set.


On the other side of the room I then hung this cute dog bone hook I got from Target’s dollar spot last year.
But first I painted it black so that it would stand out better on the light colored wall.


In the same corner I also refreshed his food bin and laid a mat from Target down for his food and water.


I then moved on to hanging up the SKOGSKLÖVER roller blinds from IKEA.

These blinds are extremely easy to install.
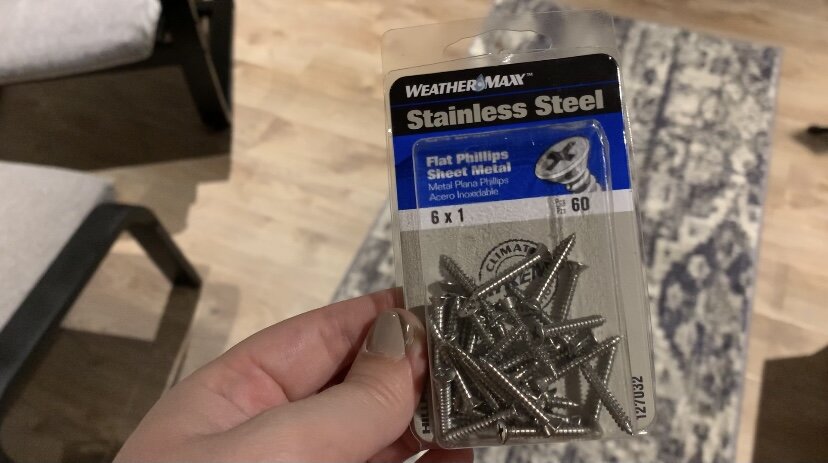
Simply screw the brackets into the wall or window sill and then click them into place.


(Note: If you do decide to purchase these same blinds, know they do not come with screws. I used some 1” screws for these and that seemed to work fine.)
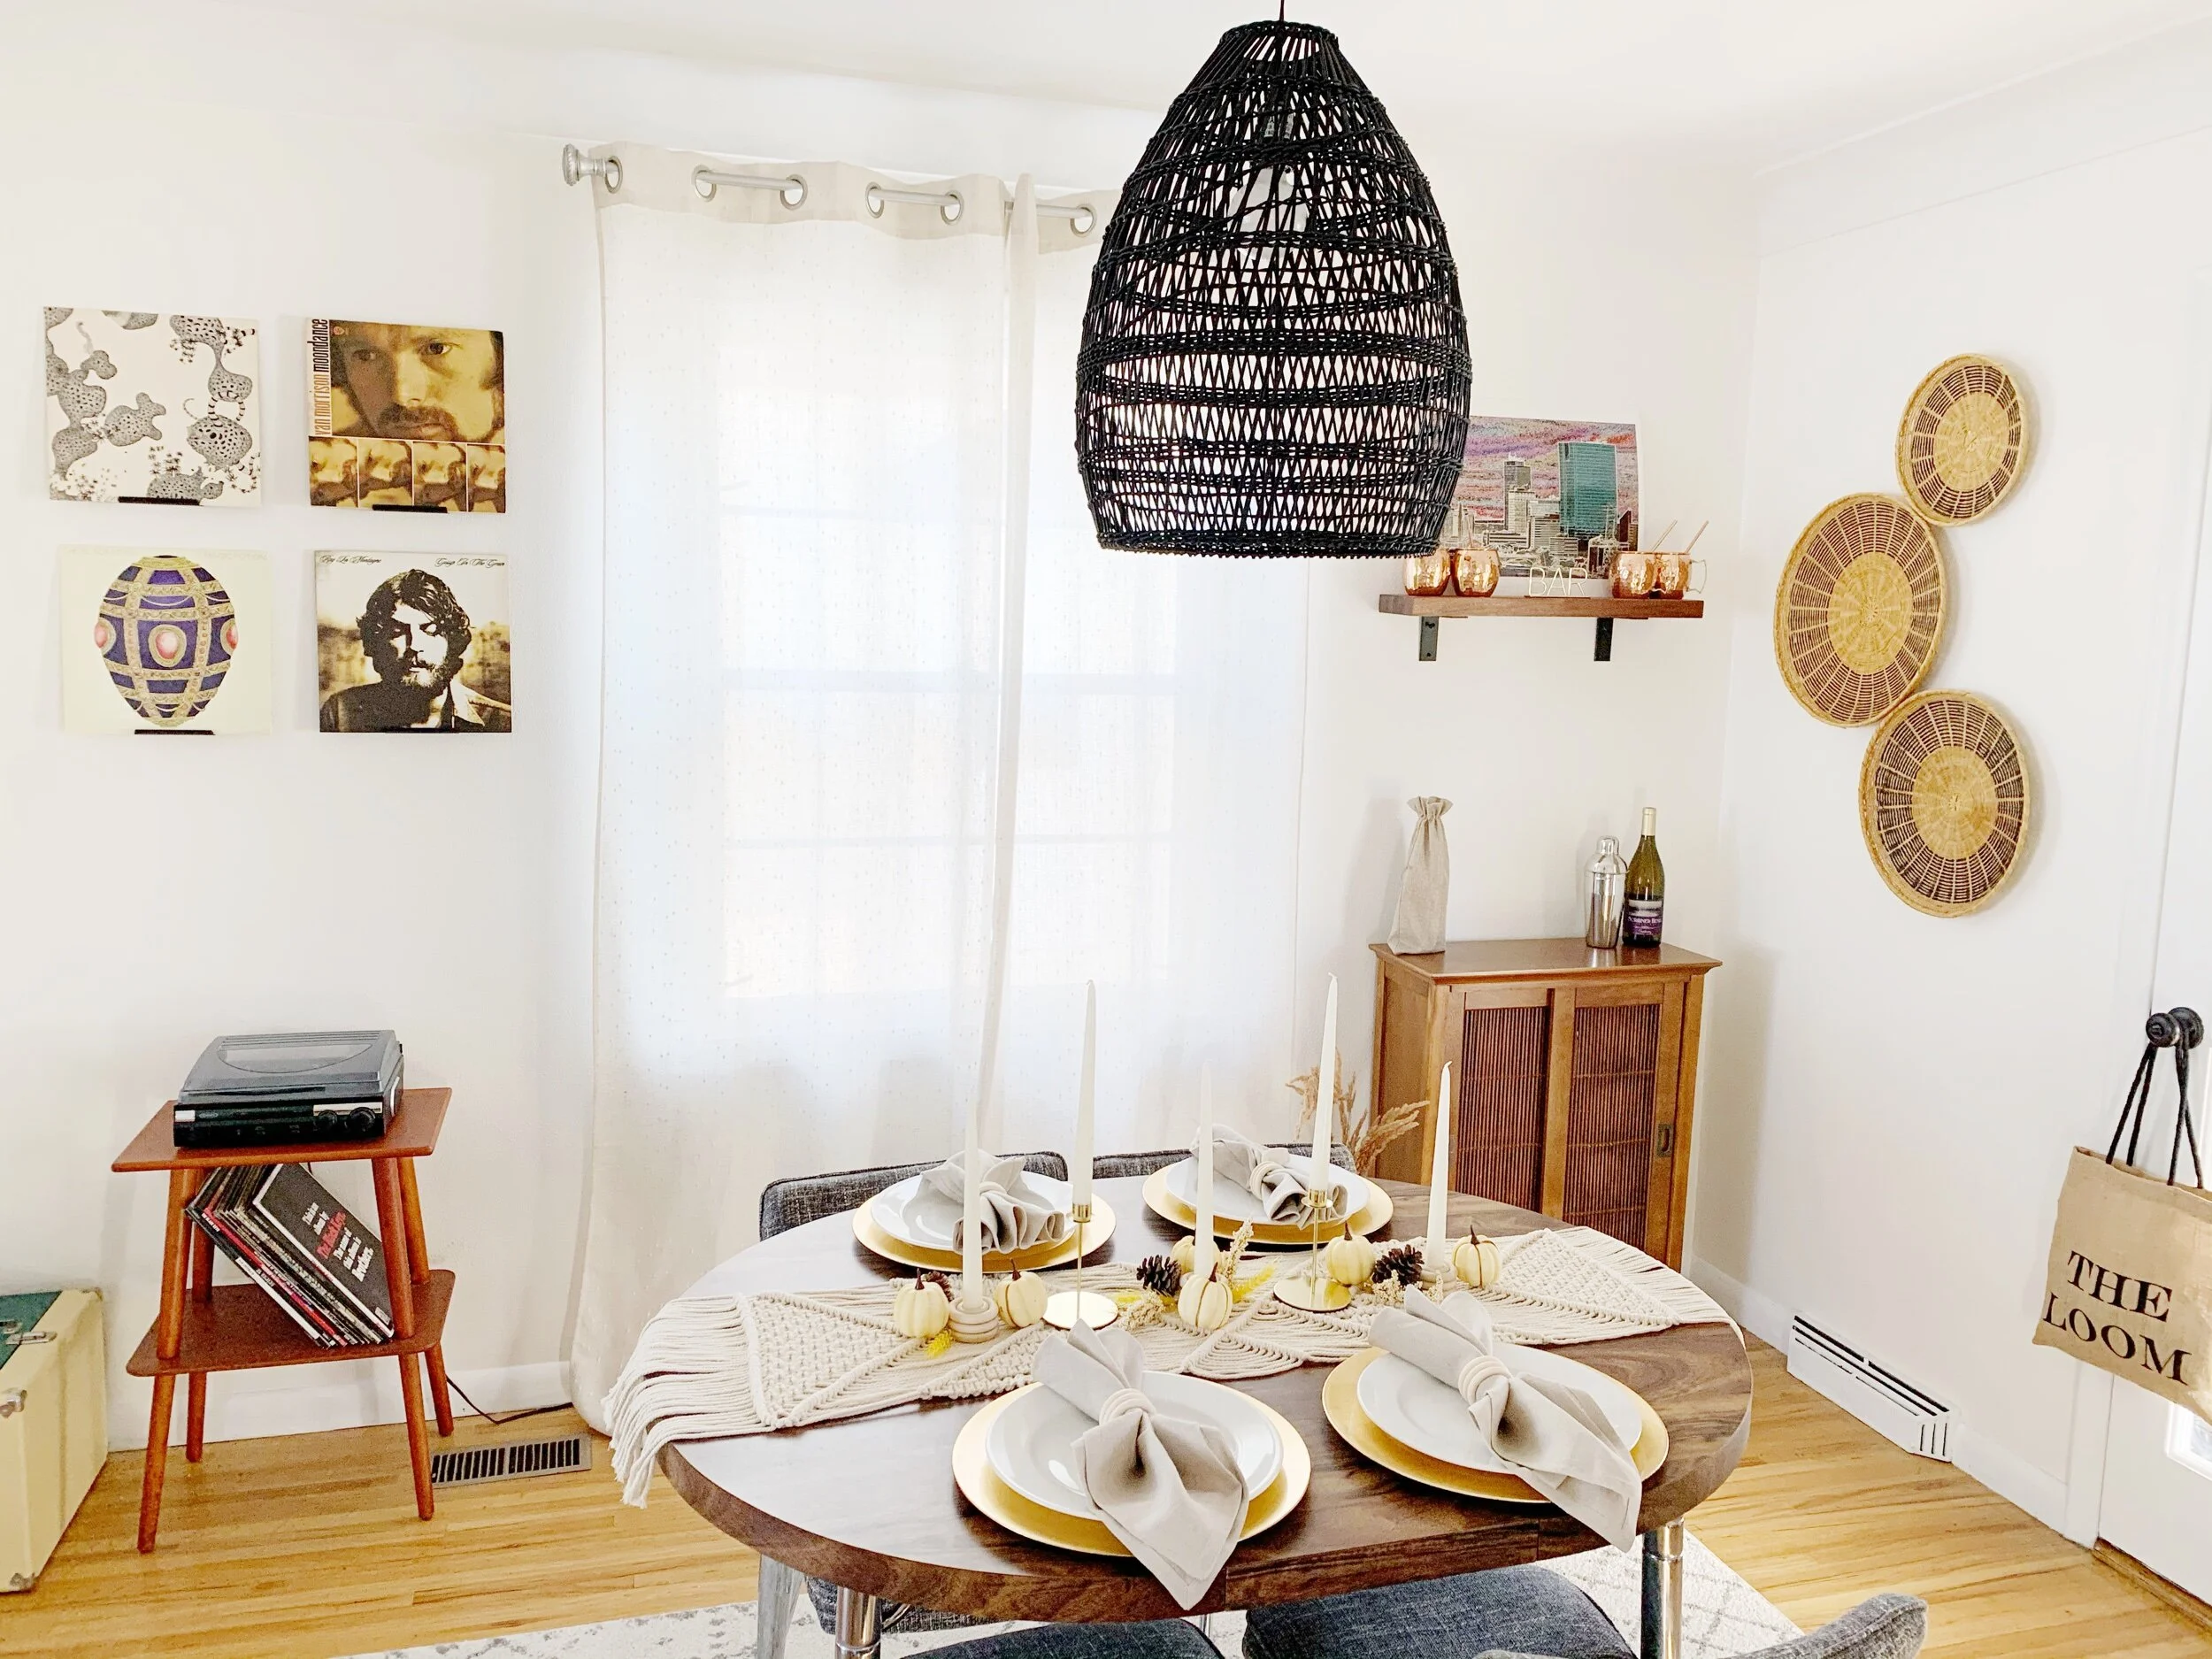
I then rolled out this beautiful runner I bought from rugs.com.

I can’t say enough how much I love this rug and I’m super excited to have a runner that spans almost the full length of the room.


Lastly, to finish both sides of the room I wanted to add a personal touch and decided to add some photos of us with our dog Korben as well as a cute sign for his corner of the room.

To make the sign I simply sketched out my letters onto a framed board I had from Hobby Lobby and painted them black along with the border.


I then hung everything up.
(Tip: To keep everything level I simply used a piece of tape to mark where my nails should go.)


And voila!
The room is complete!


If you liked this transformation, leave a comment below!
Disclaimer: As an Amazon Associate I earn from qualifying purchases.