
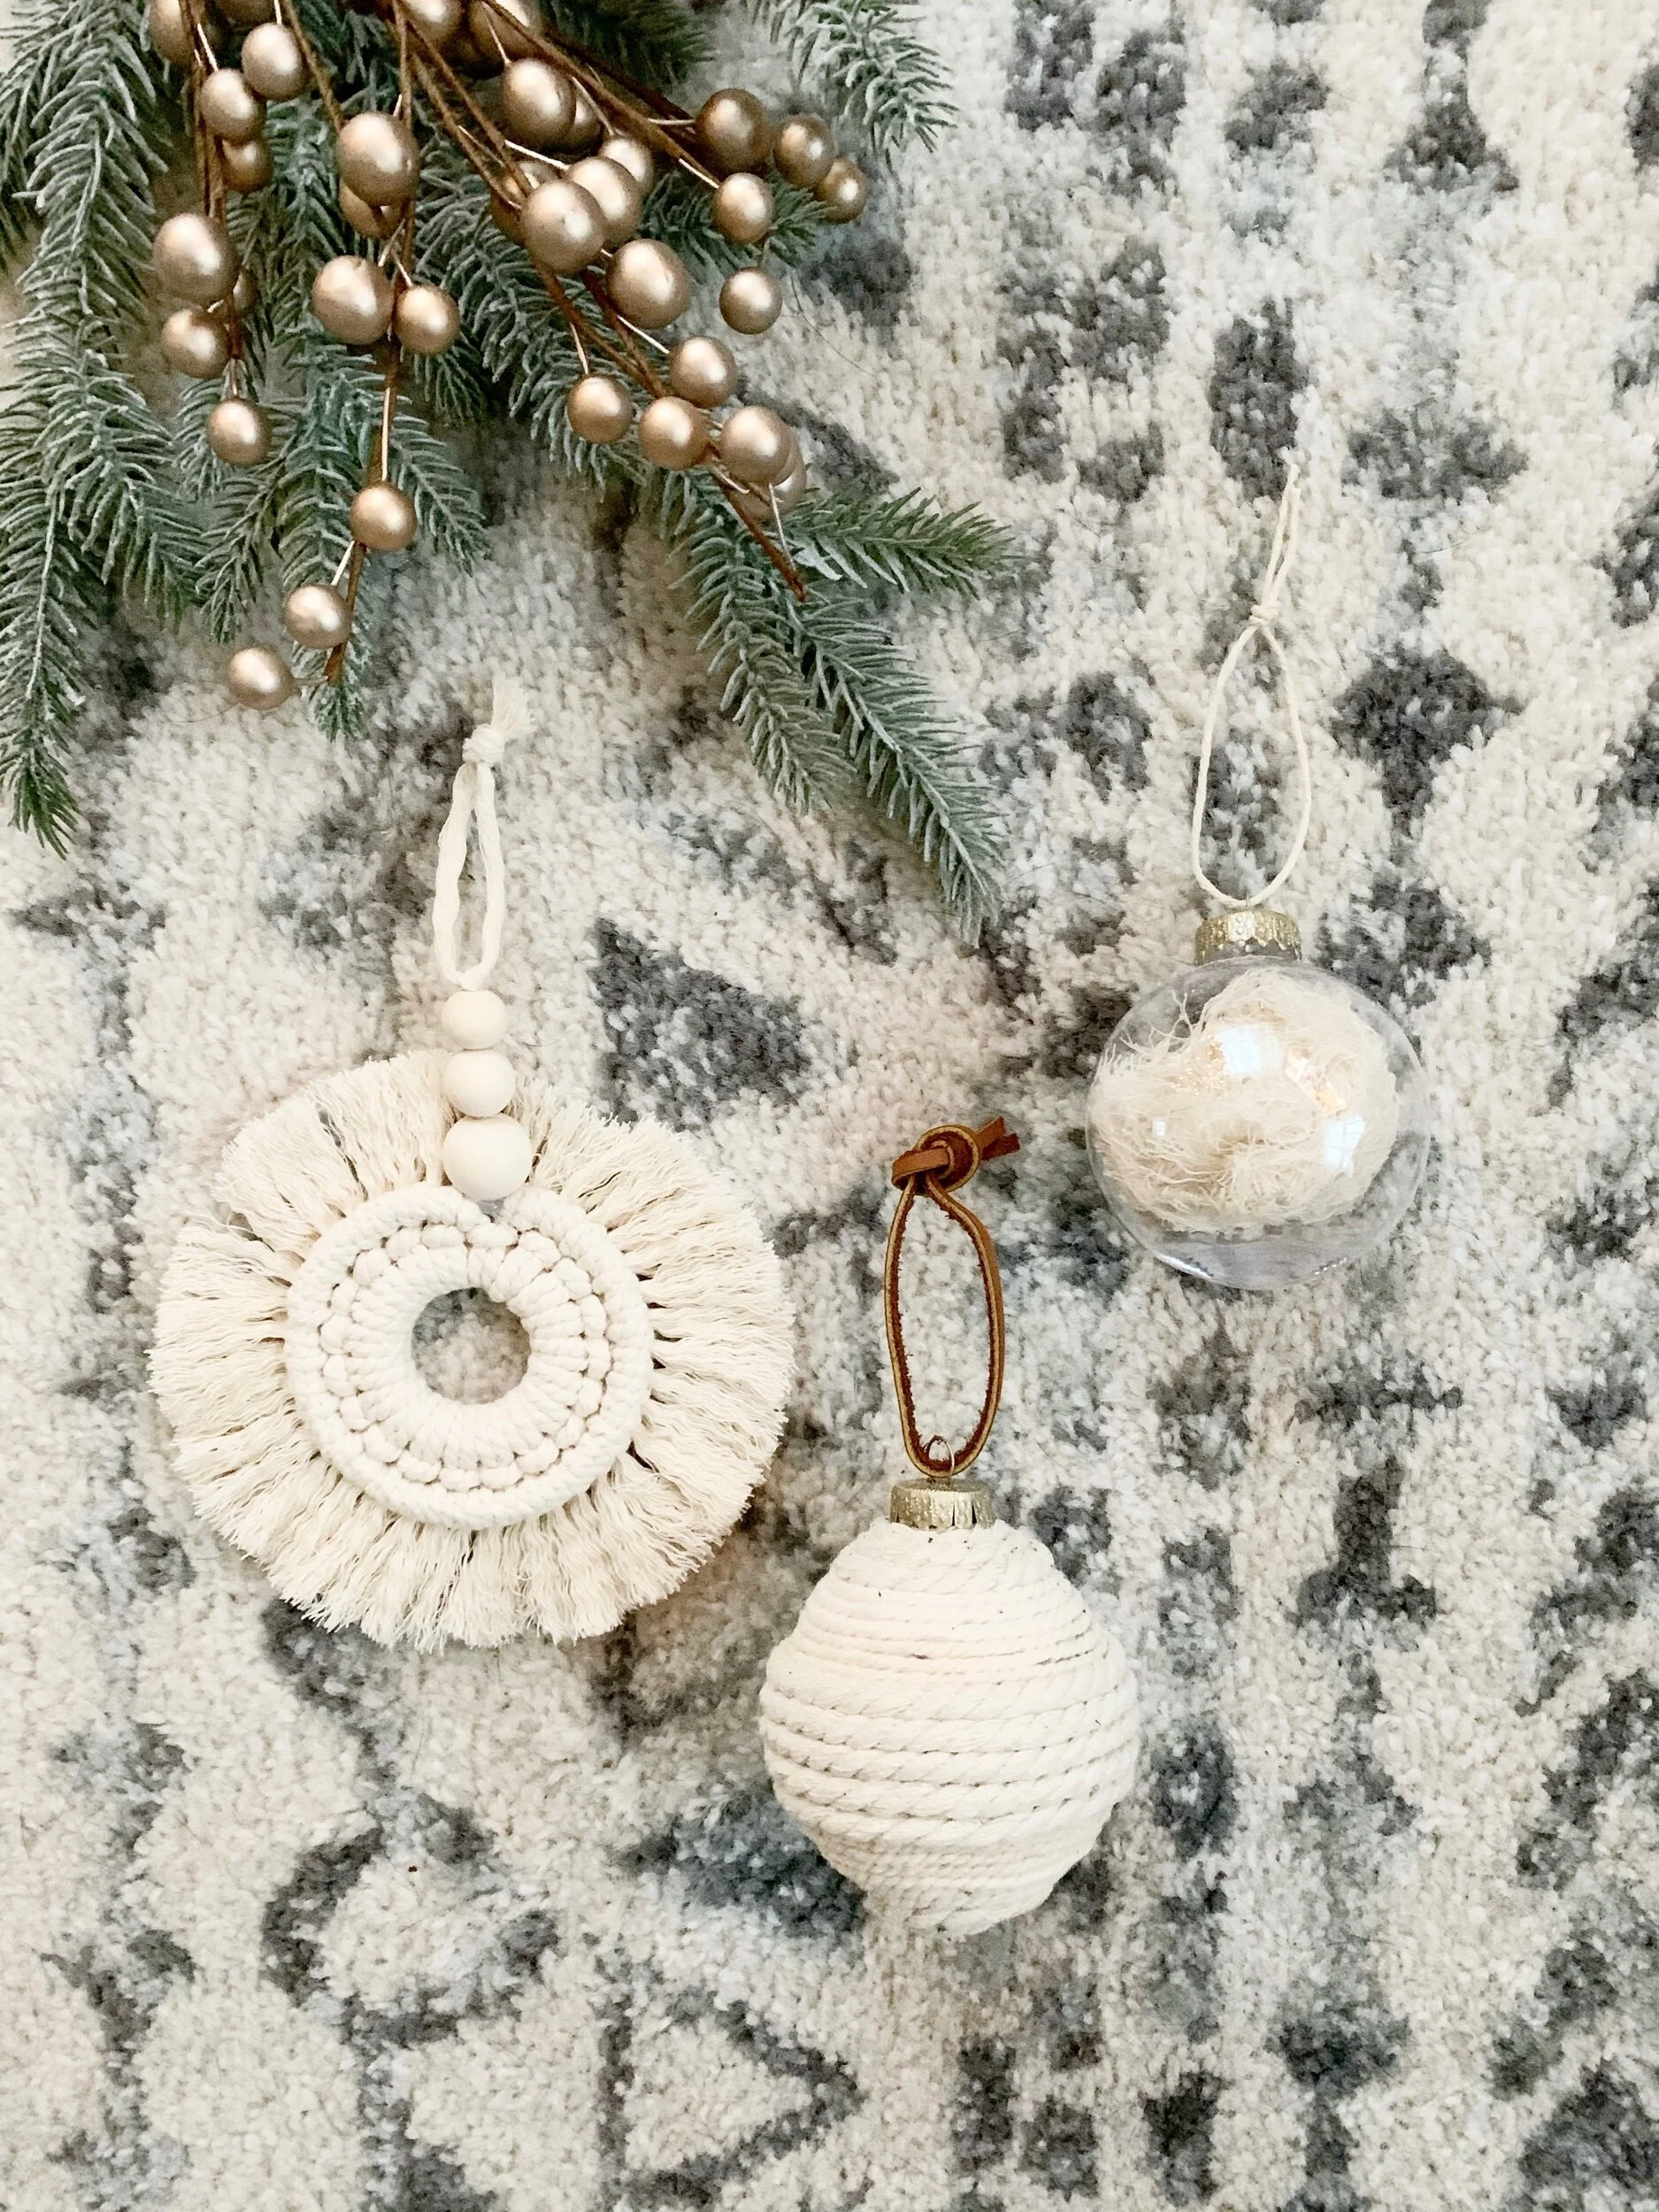
DIY Macrame Ornaments
I am so happy to finally be showing you how I made these macrame ornaments!
They are the perfect neutral Christmas decor and I’m in love with them!
Supplies:
Wooden rings
3mm macrame cord
Wooden beads
Scissors
Brush
Clear plastic ornaments

For the larger macrame ornament you’re going to want to cut your macrame into twenty six 12 inch long cords. For the smaller you’ll only need eighteen.
Then attach each cord to the wooden ring with a larks head knot.
(Simply meet the two ends of your cord creating a loop and wrap it around the wooden ring. Then pull the two ends through.)

Once all your 12” cords are attached you’ll then cut a 24” cord and attached it to the wooden ring leaving one side longer than the other.

With the longer end you’ll then create a double half hitch knot all the way around the ring.
(To create a double half hitch simply place the long strand across the next strand in and cross that strand over, under and through the long strand twice.)


Repeat this with all the strands around the ring.
Then unravel each of your cords to create the fringe.


Once that’s done you’ll then brush it out.

And cut your fringe to the desired length.

To make your fringe even all the way around just continue to trim and brush out your cords.

Then string your wooden beads through the remainder of your long cord.

Knot your cord to keep the beads in place and to create a loop for your ornament to hang.


And that completes your macrame ornament.

Then with some of my remaining cord I decided to create another ornament by simply wrapping my cord around these clear plastic ones I got from Michael’s.


I had three different sizes of macrame cord and used all three too create more texture.


One thing to keep in mind while wrapping around your cord is to keep the ends all on the same side.
This will create a more seamless look.


And once you get to the end you’ll want to continue to wrap your cord around until there is no more plastic seen.

Then cut your remaining cord.

And glue down the end to prevent it from fraying.

Once I had a few of these made I then reattached the tops.
(I painted my tops gold to match better with my home decor.)

I then used this faux leather to hang my ornaments.


And that completes this macrame wrapped ornament.

And lastly, I used the remaining fringe from the first ornament to fill the remaining clear ornaments.

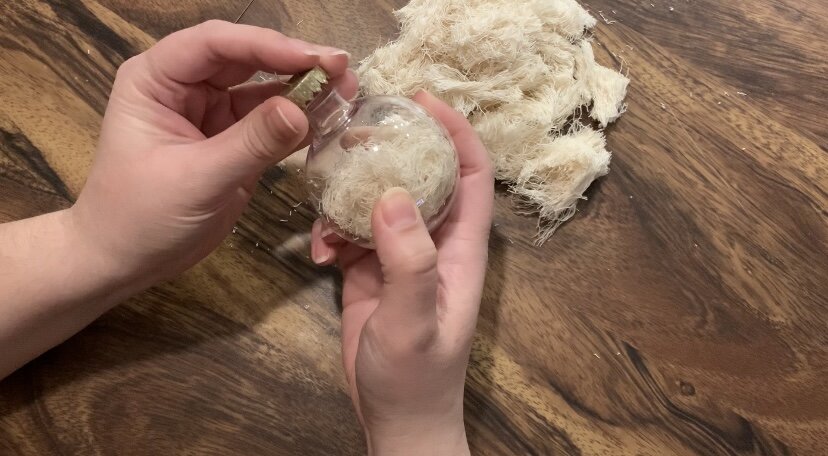

I love how all three of these ornaments turned out and love the neutral element they add to my tree.
SUPPLIES:


Disclaimer: As an Amazon Associate I earn from qualifying purchases.

