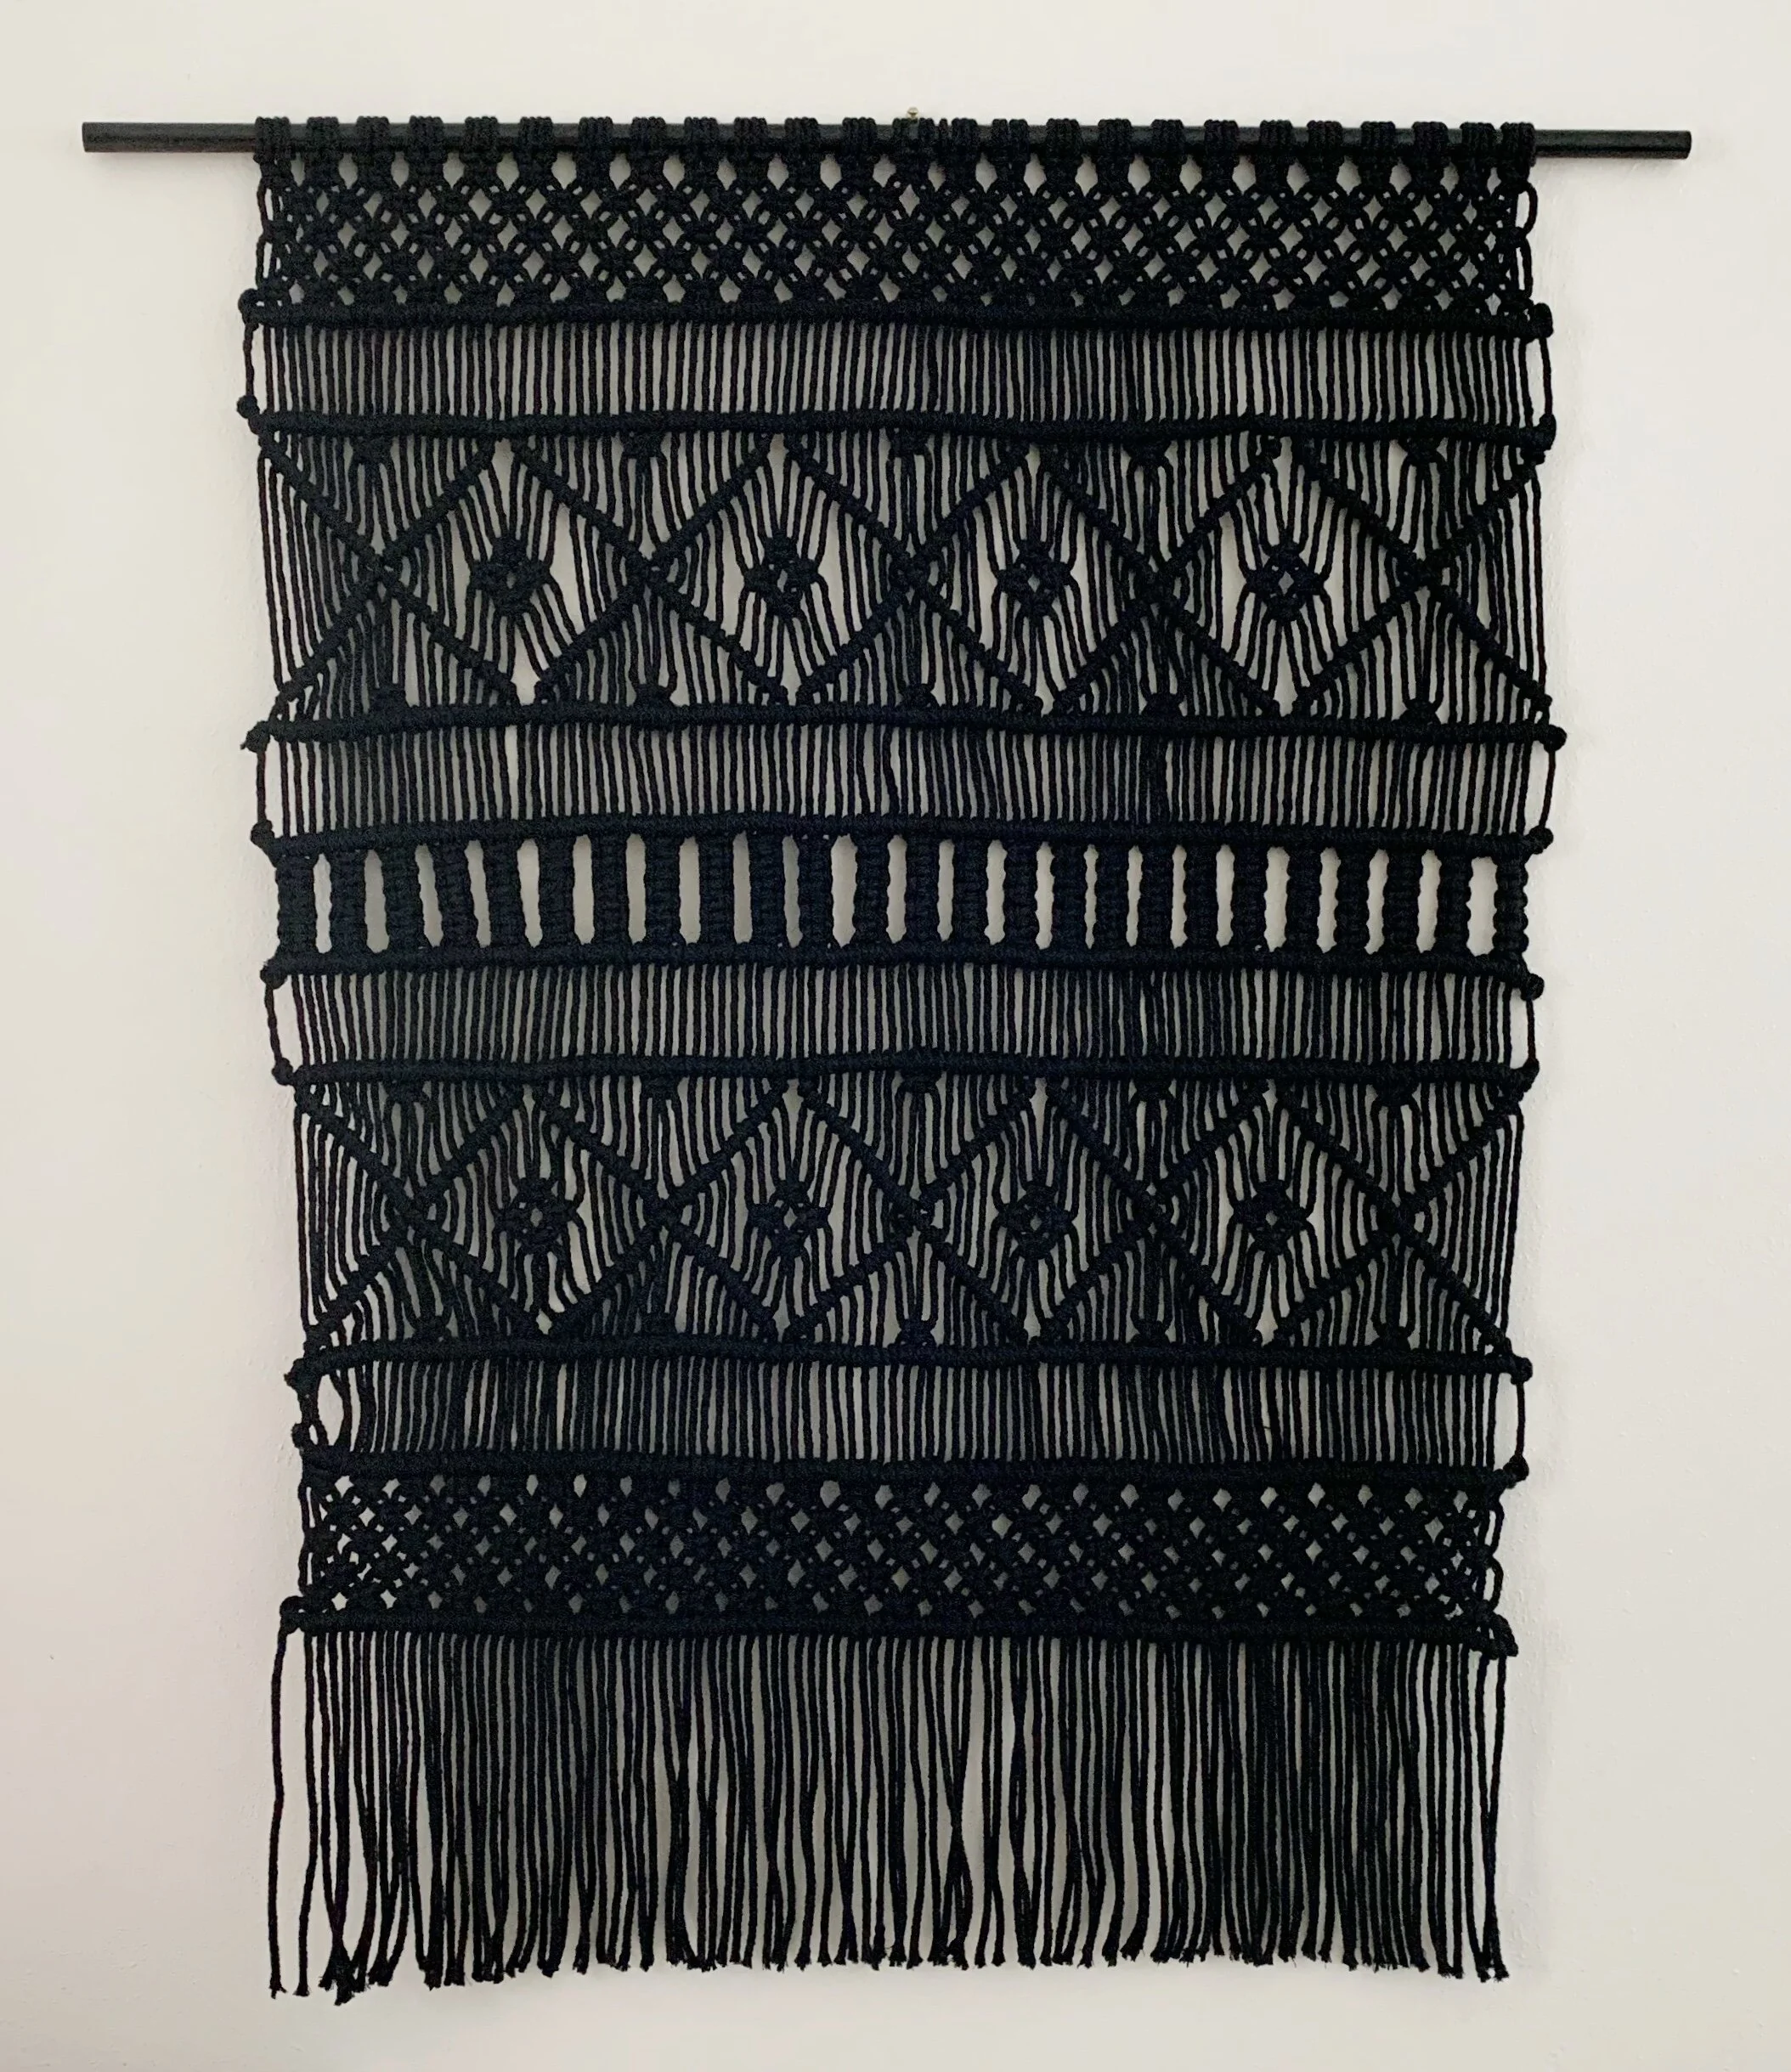
DIY (X-LARGE) Macrame Wall Hanging
I am so excited to show you my first x-large macrame wall hanging!
There is so much inspiration for large scale macrame projects on Pinterest that I just had to try one out for myself.
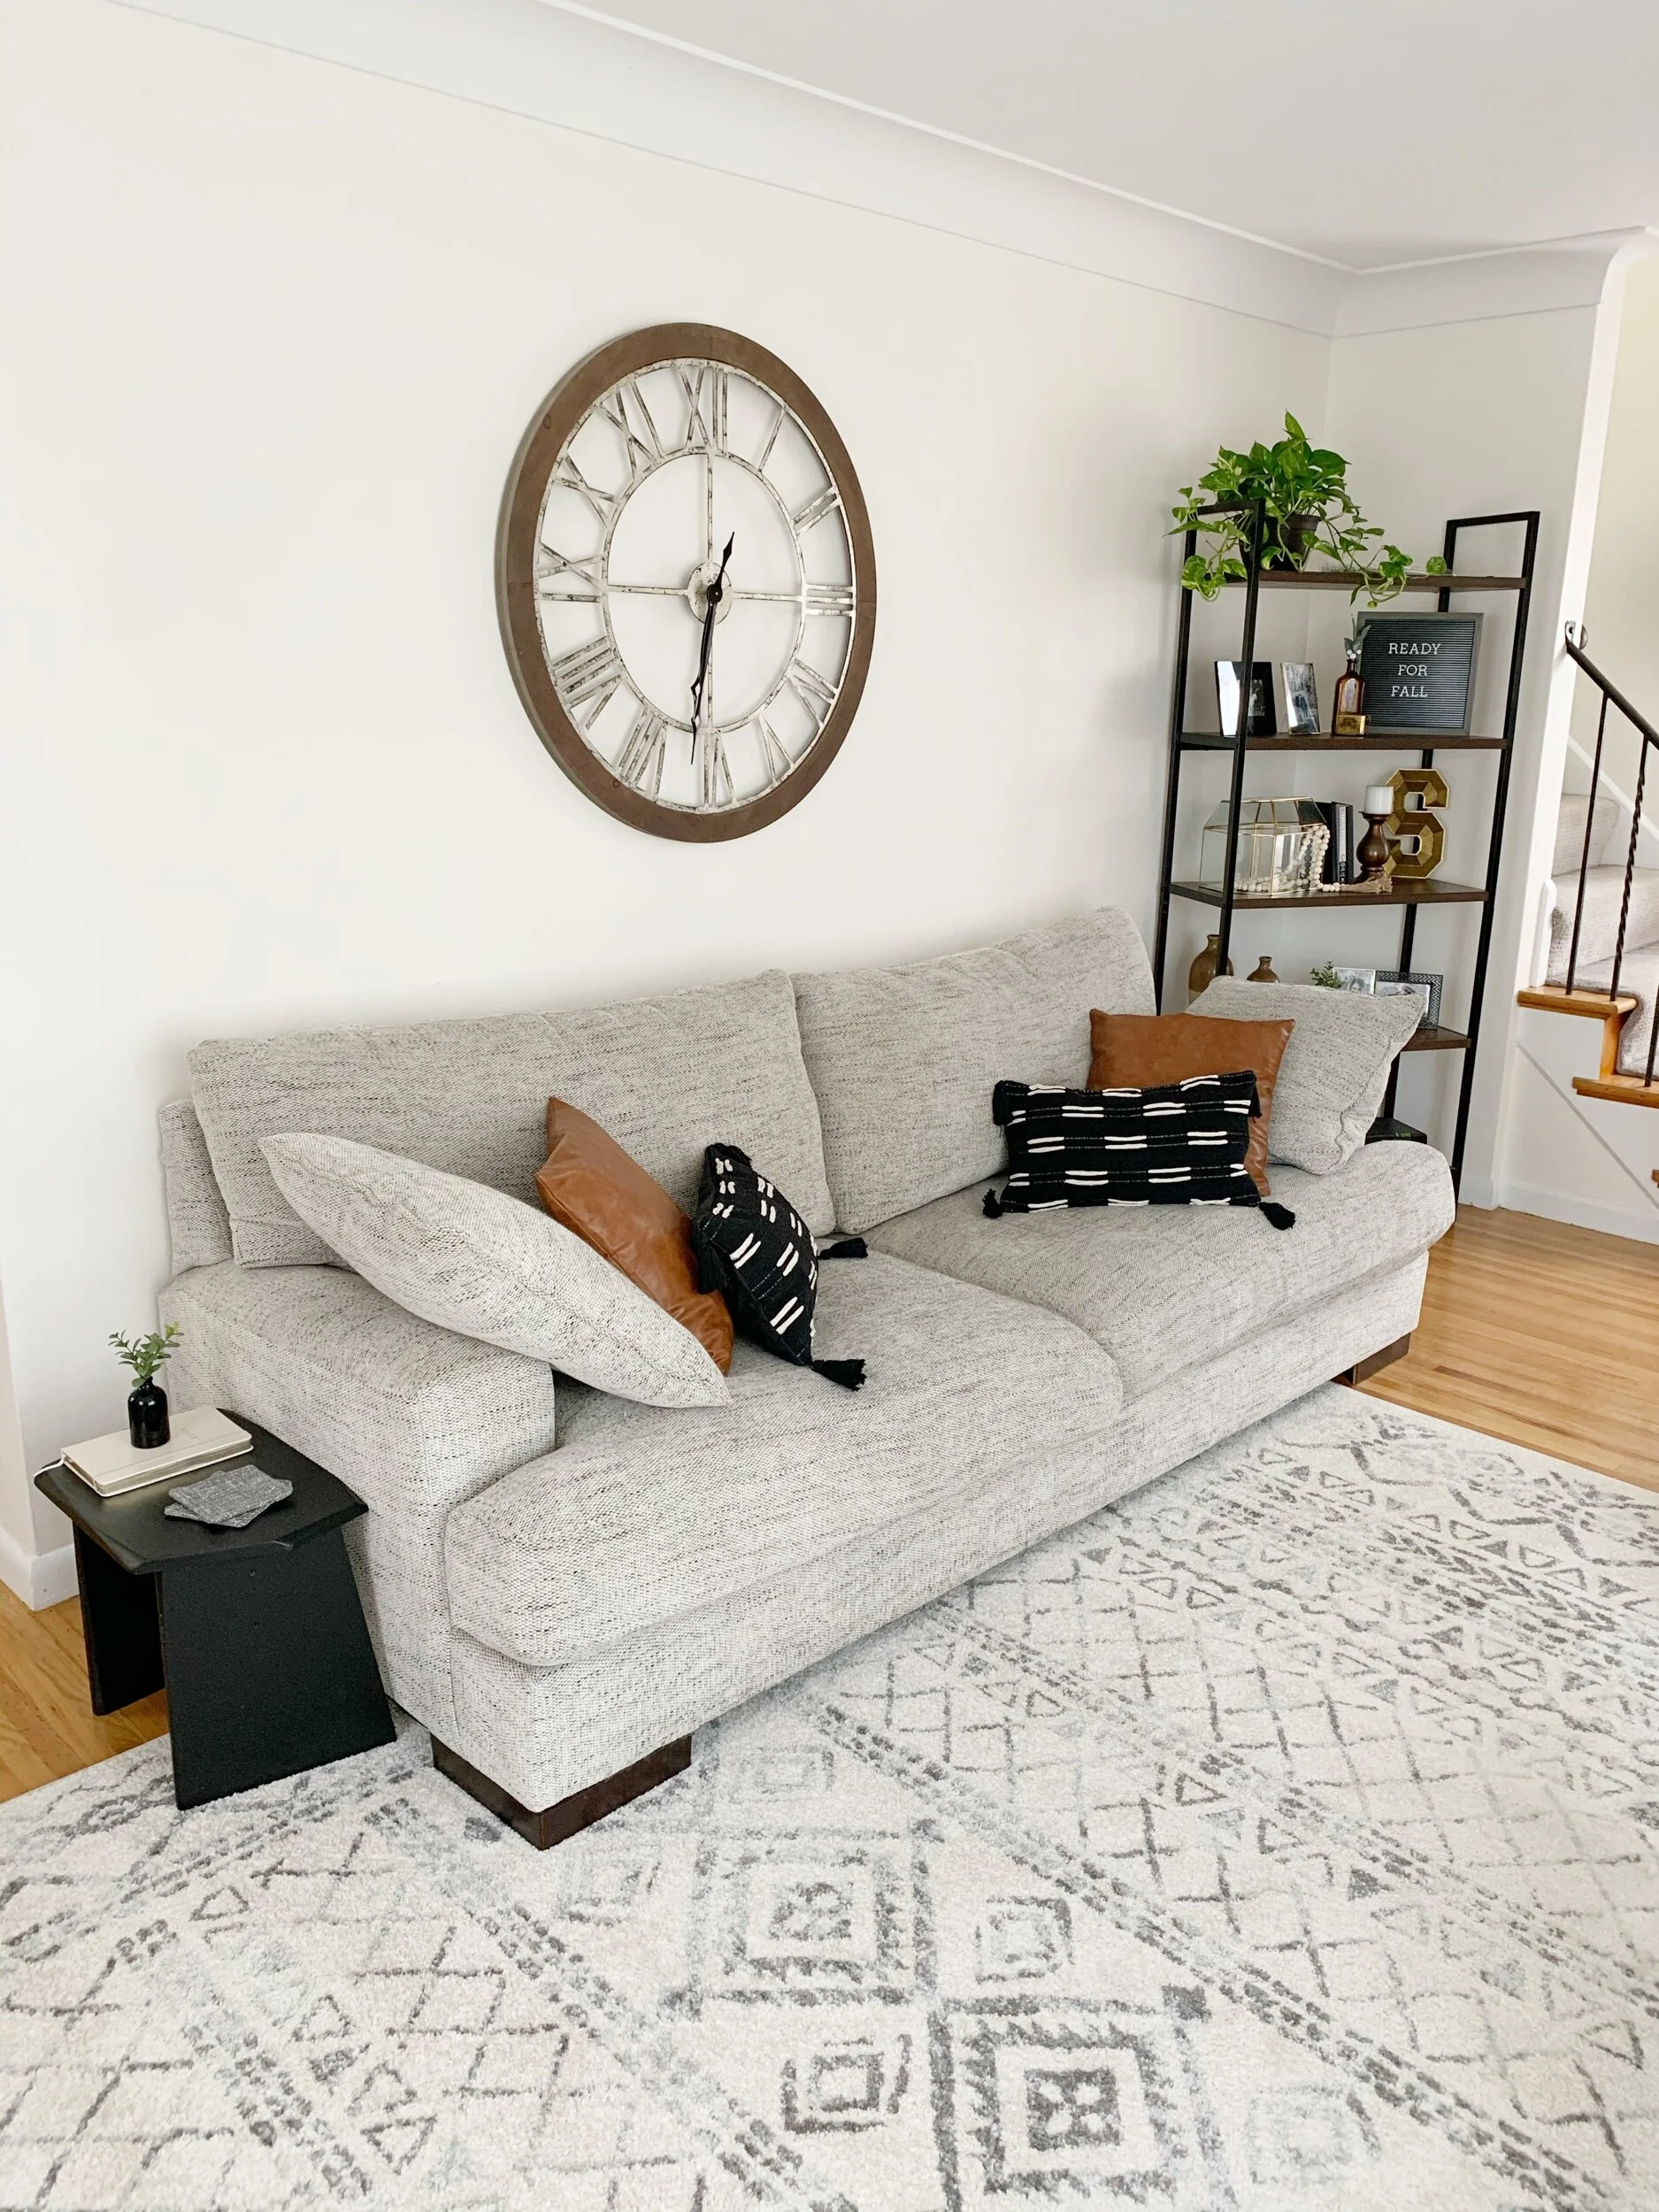
I’ve been in love with black and white home decor and decided black macrame cord would be the best for my space. Plus, I think a black macrame hanging is perfect for this time of year as we transition into the Halloween season.
Here are the supplies you will need:
4mm macrame cord (black) - https://amzn.to/2FhBEkc
3ft wooden dowel - https://amzn.to/30oGGTI
Black spray paint (optional) - https://amzn.to/35wDCYp
Scissors - https://amzn.to/30khwFG
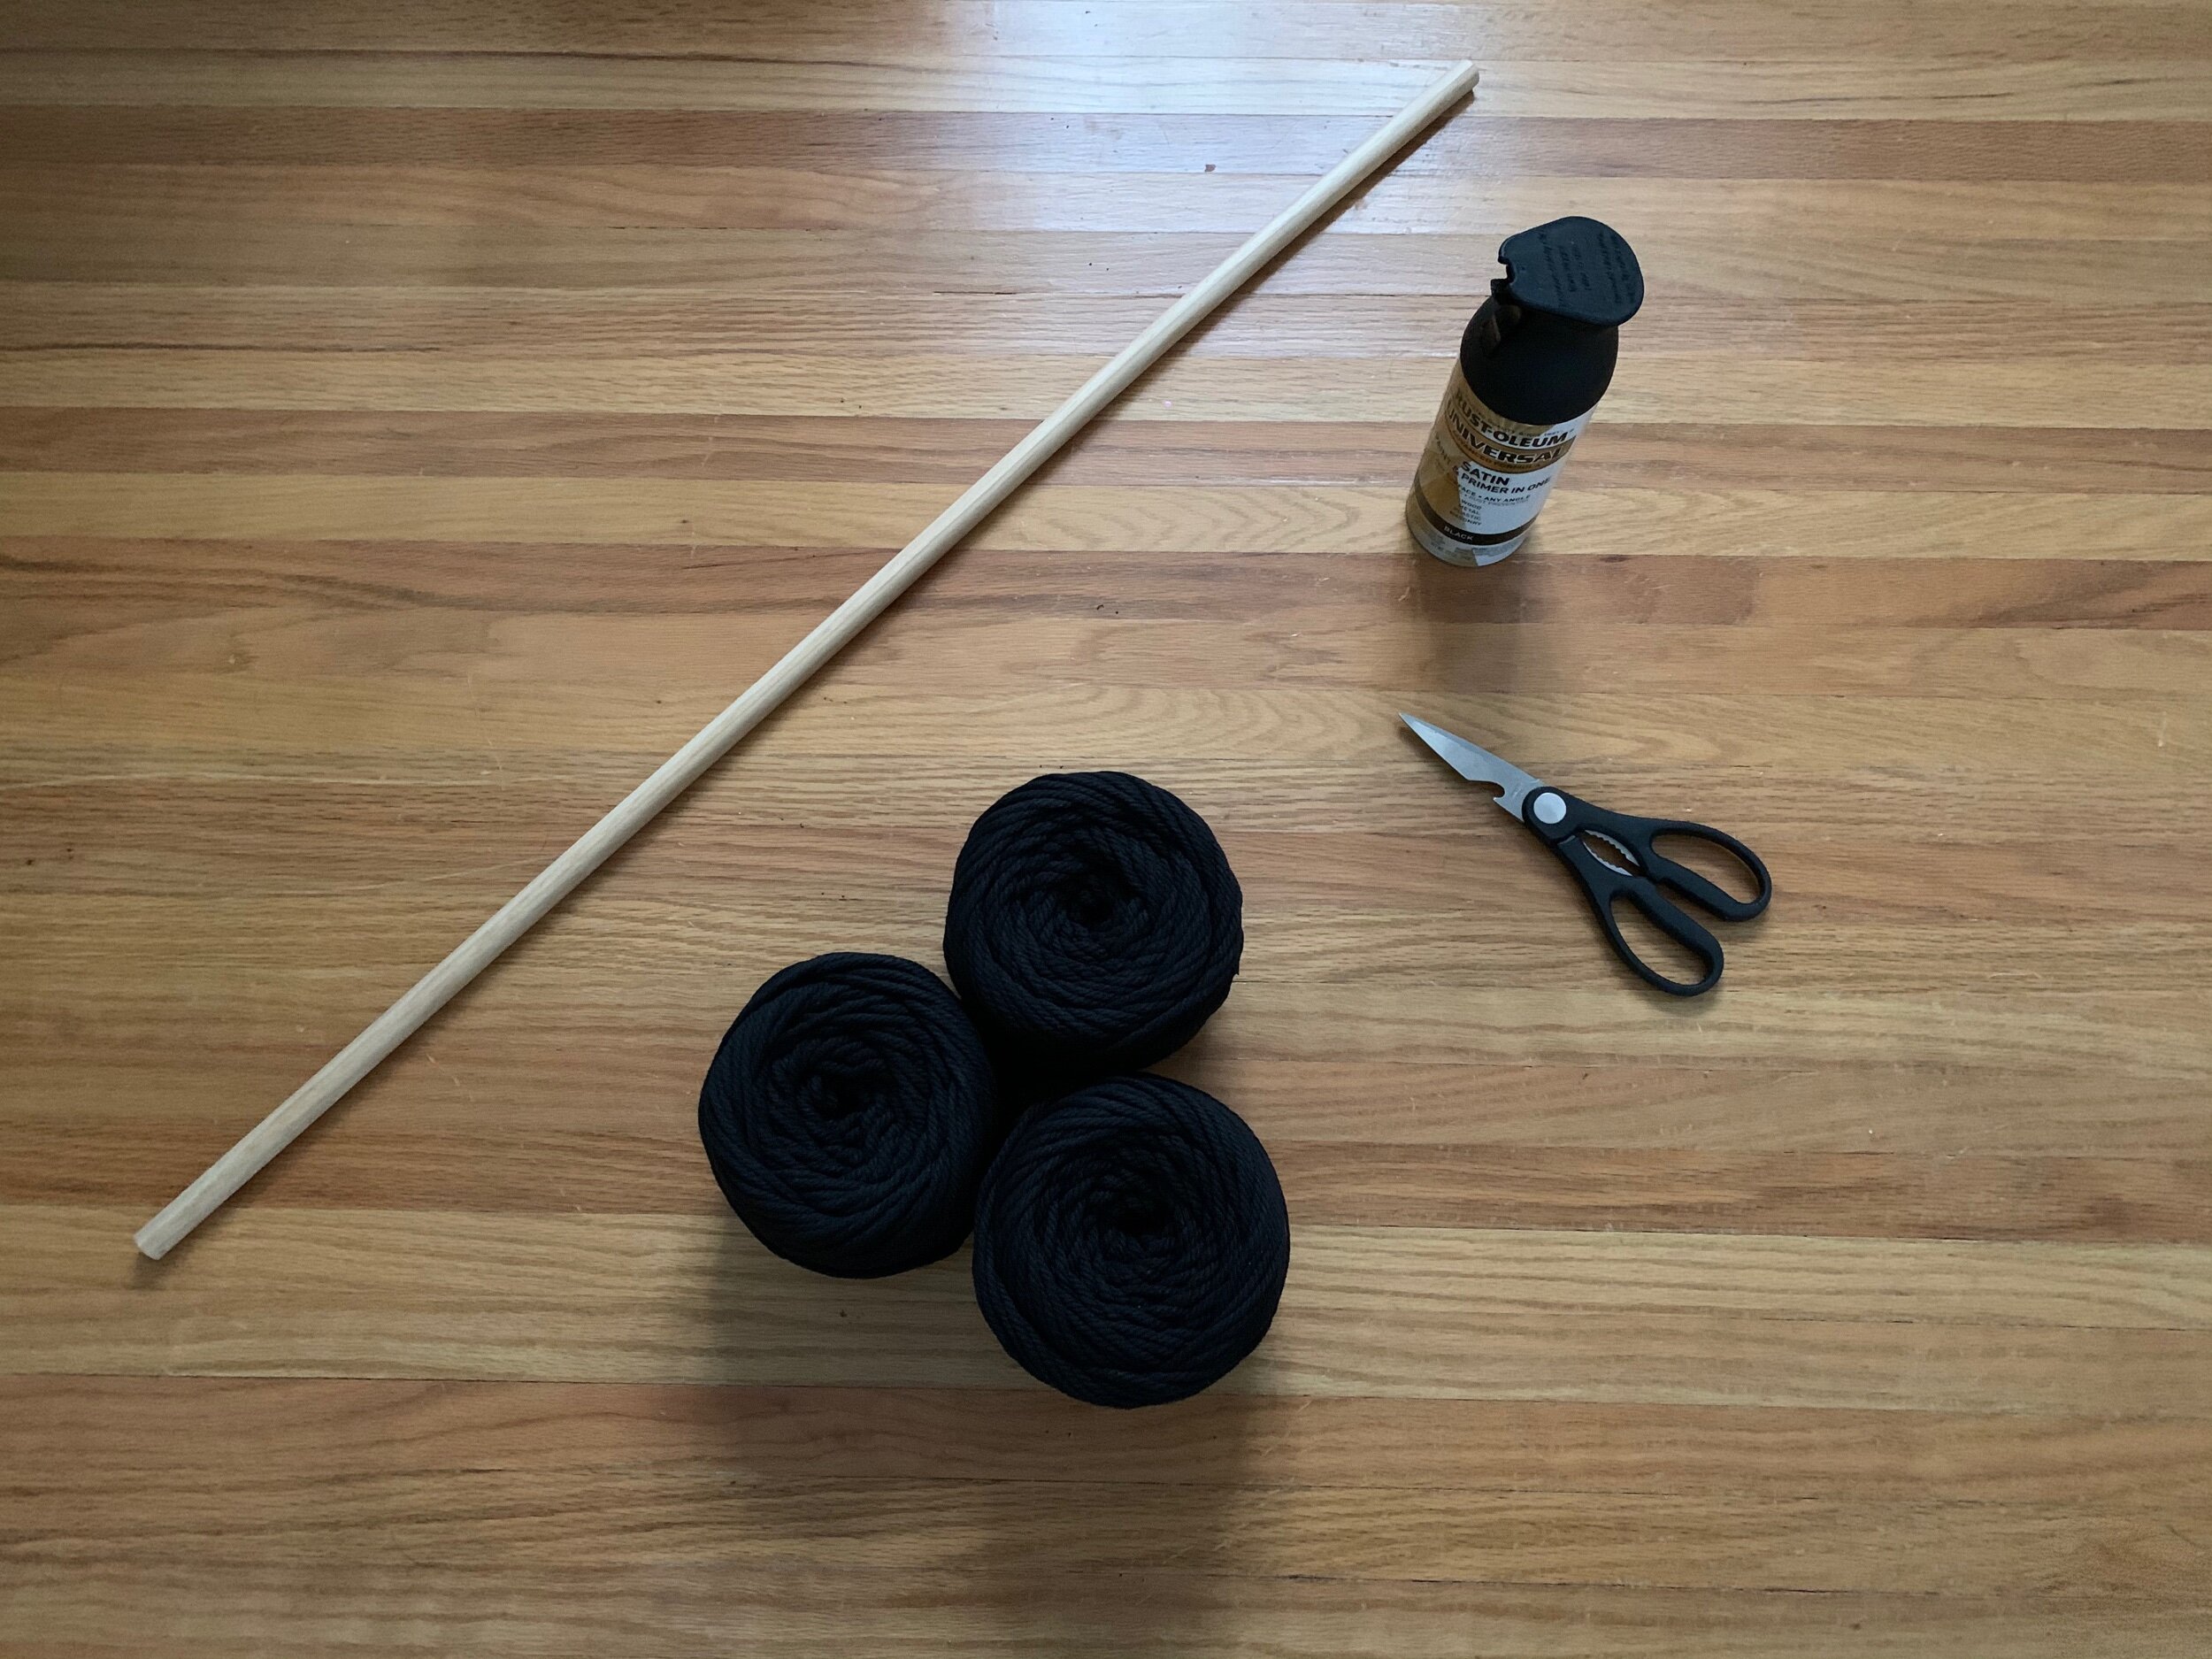
I opted to spray paint my wooden dowel black to match with the black macrame cord, but that is completely optional.

To start this project you’ll want to cut your cord into fifty 20ft long strands.

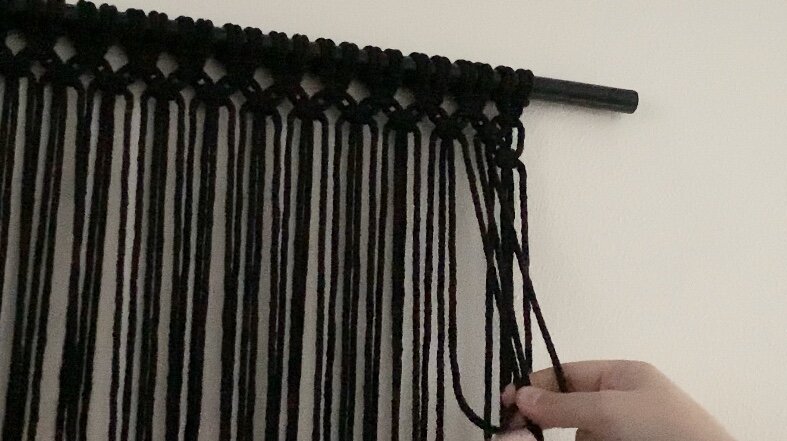
Then, attach all fifty strands to the wooden dowel using what’s called a larks head knot.
(Meet the ends of each strand creating a loop and then place the loop over the dowel and pull the two ends through.)

Once all fifty strands are attached you’ll want to make sure they are all evenly spaced.

The first part of this design starts with five rows of square knots.
Take the first four strands and create your first square knot.
(To create a square knot cross the far left strand over the two center and the far right strand over the far left, under the two center and through. Repeat these steps in the opposite direction to complete your square knot. Cross the far right strand over the two center and the far left strand over the far right, under the two center and through.)


Then continue with one square knot all the way across to create your first row.

To create your next row take the far two right strands of one square knot and the far two left strands of another to make another square knot.


Then complete your second row of square knots all the way across.

For your third row you’ll then create another square using those first four original strands.
You’ll basically alternate your placement of the square knots with each row to create a crisscross pattern of square knots all the way across.

To complete this section you’ll then cut another 5ft long strand and create a straight line all the way across with what’s called a double half hitch.
(Tip: Tie the 5ft long cord to the end of the wooden dowel to keep it in place.)

(To create the double half hitch take the first far left strand and put it over and through the 5ft long strand you tied to the end of the dowel. Then tie it around once more to create the double half hitch.)

You’ll then create another straight line of the double half hitch using another 5ft long strand to start the next section.


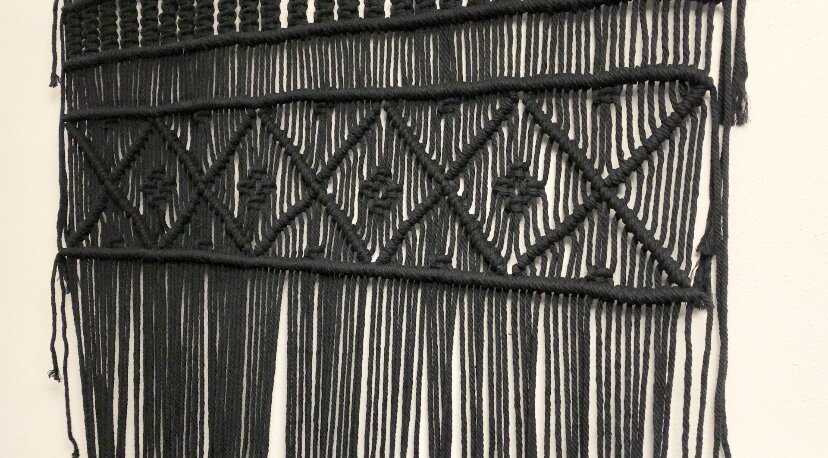
Then create several diagonal lines again using the double half hitch.
(Note: To create a diagonal double half hitch use the far left strand or far right strand depending on the direction of the line rather than adding an additional cord.)

The diagonal lines will eventually form five Vs, but before you connect the Vs take the four center strands and create square knots in between each one.

Then create a diamond of square knots in between each V making sure that the center of the diamond is lined up with the point of the Vs.


Once the diamonds are complete you’ll then continued the diagonal double half hitch all the way down to form five Xs.


Then, to finish the section, create another straight line of the double half hitch. This time creating square knots in the center of each X all the way across.

Creating the square knots as you do the double half hitch will ensure the knots are lined up with your straight line.

Then create another row of the double half hitch to make the next section of this design.

For this section you will create lines of five square knots all the way across.

Then once again finish off the section with another line of the double half hitch.
You’ll then do another section of Xs.

And another section of five rows of square knots.

Once the hanging is complete simply tie the ends of each double half hitch and cut your cords to your desired length.

And there you have it! An x-large macrame wall hanging.

If you like this project be sure to leave a comment below.


Disclaimer: As an Amazon Associate I earn from qualifying purchases.