Living Room Refresh
New season, new look!
Before dragging out all of my decor for the fall season ahead I really wanted to update our living room. The space was not in that bad of space but needed a few changes.
Here’s what the room looked like before.

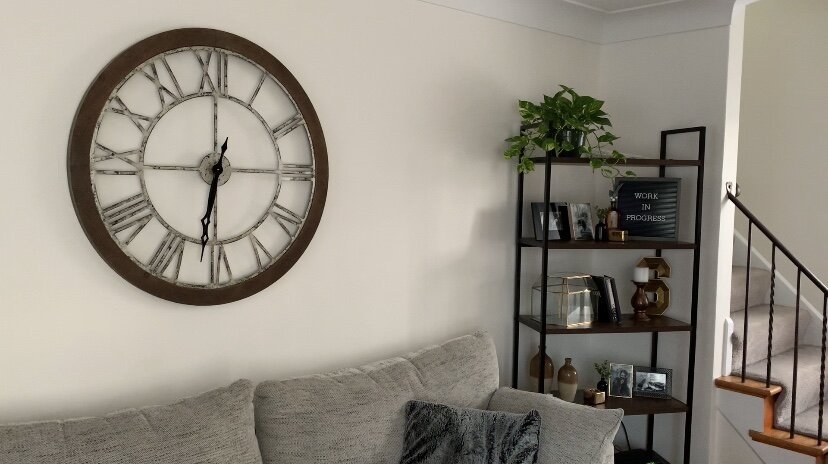
The first thing I wanted to do was repot the plant on our book shelf into a brown pot so that it would go better with the decor we already had.

Another thing I wanted to do for the shelf was create a beaded garland.
I have been wanting to make one for awhile now and had all the materials to do so.
Supplies:
Twine
Wooden Beads
I first strung the wooden beads onto my twine using a needle.
I decided to do a pattern with the different size beads but you could also use the same size bead throughout.
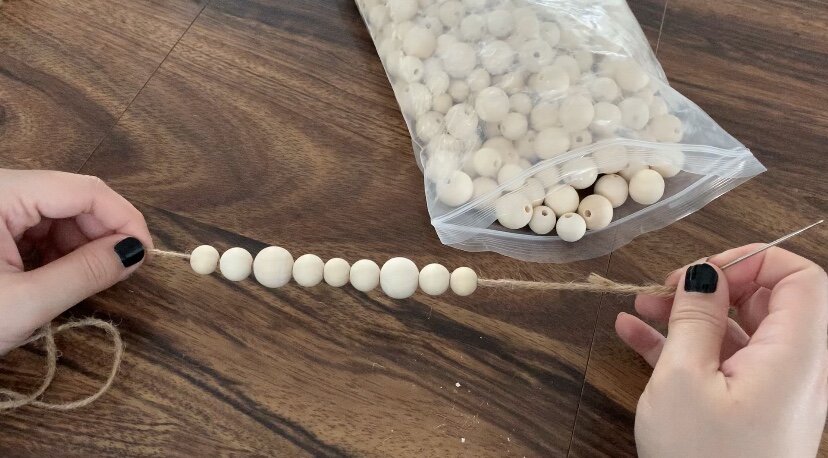
Once I had my pattern figured out I then sorted my beads by size to make stringing them on faster.

I then created tassels for either end of my garland.
To create my tassels I wrapped my twine around my phone case about twenty times.

I then tied the end of my garland around the twine.

And cut the ends.

Lastly, I cut another piece of twine and created a gathering knot to create the tassel.
(To create the gathering knot I simply looped the end of my piece of twine and wrapped it around several times. I then put the end through the loop and pulled the end at the top tight.)

I then cut the extra piece of twine off…

… as well as the ends.

When making the second tassel I matched up the ends to make sure they were the same length.

This beaded garland can be decorated in so many ways and will work with my decor all year round.

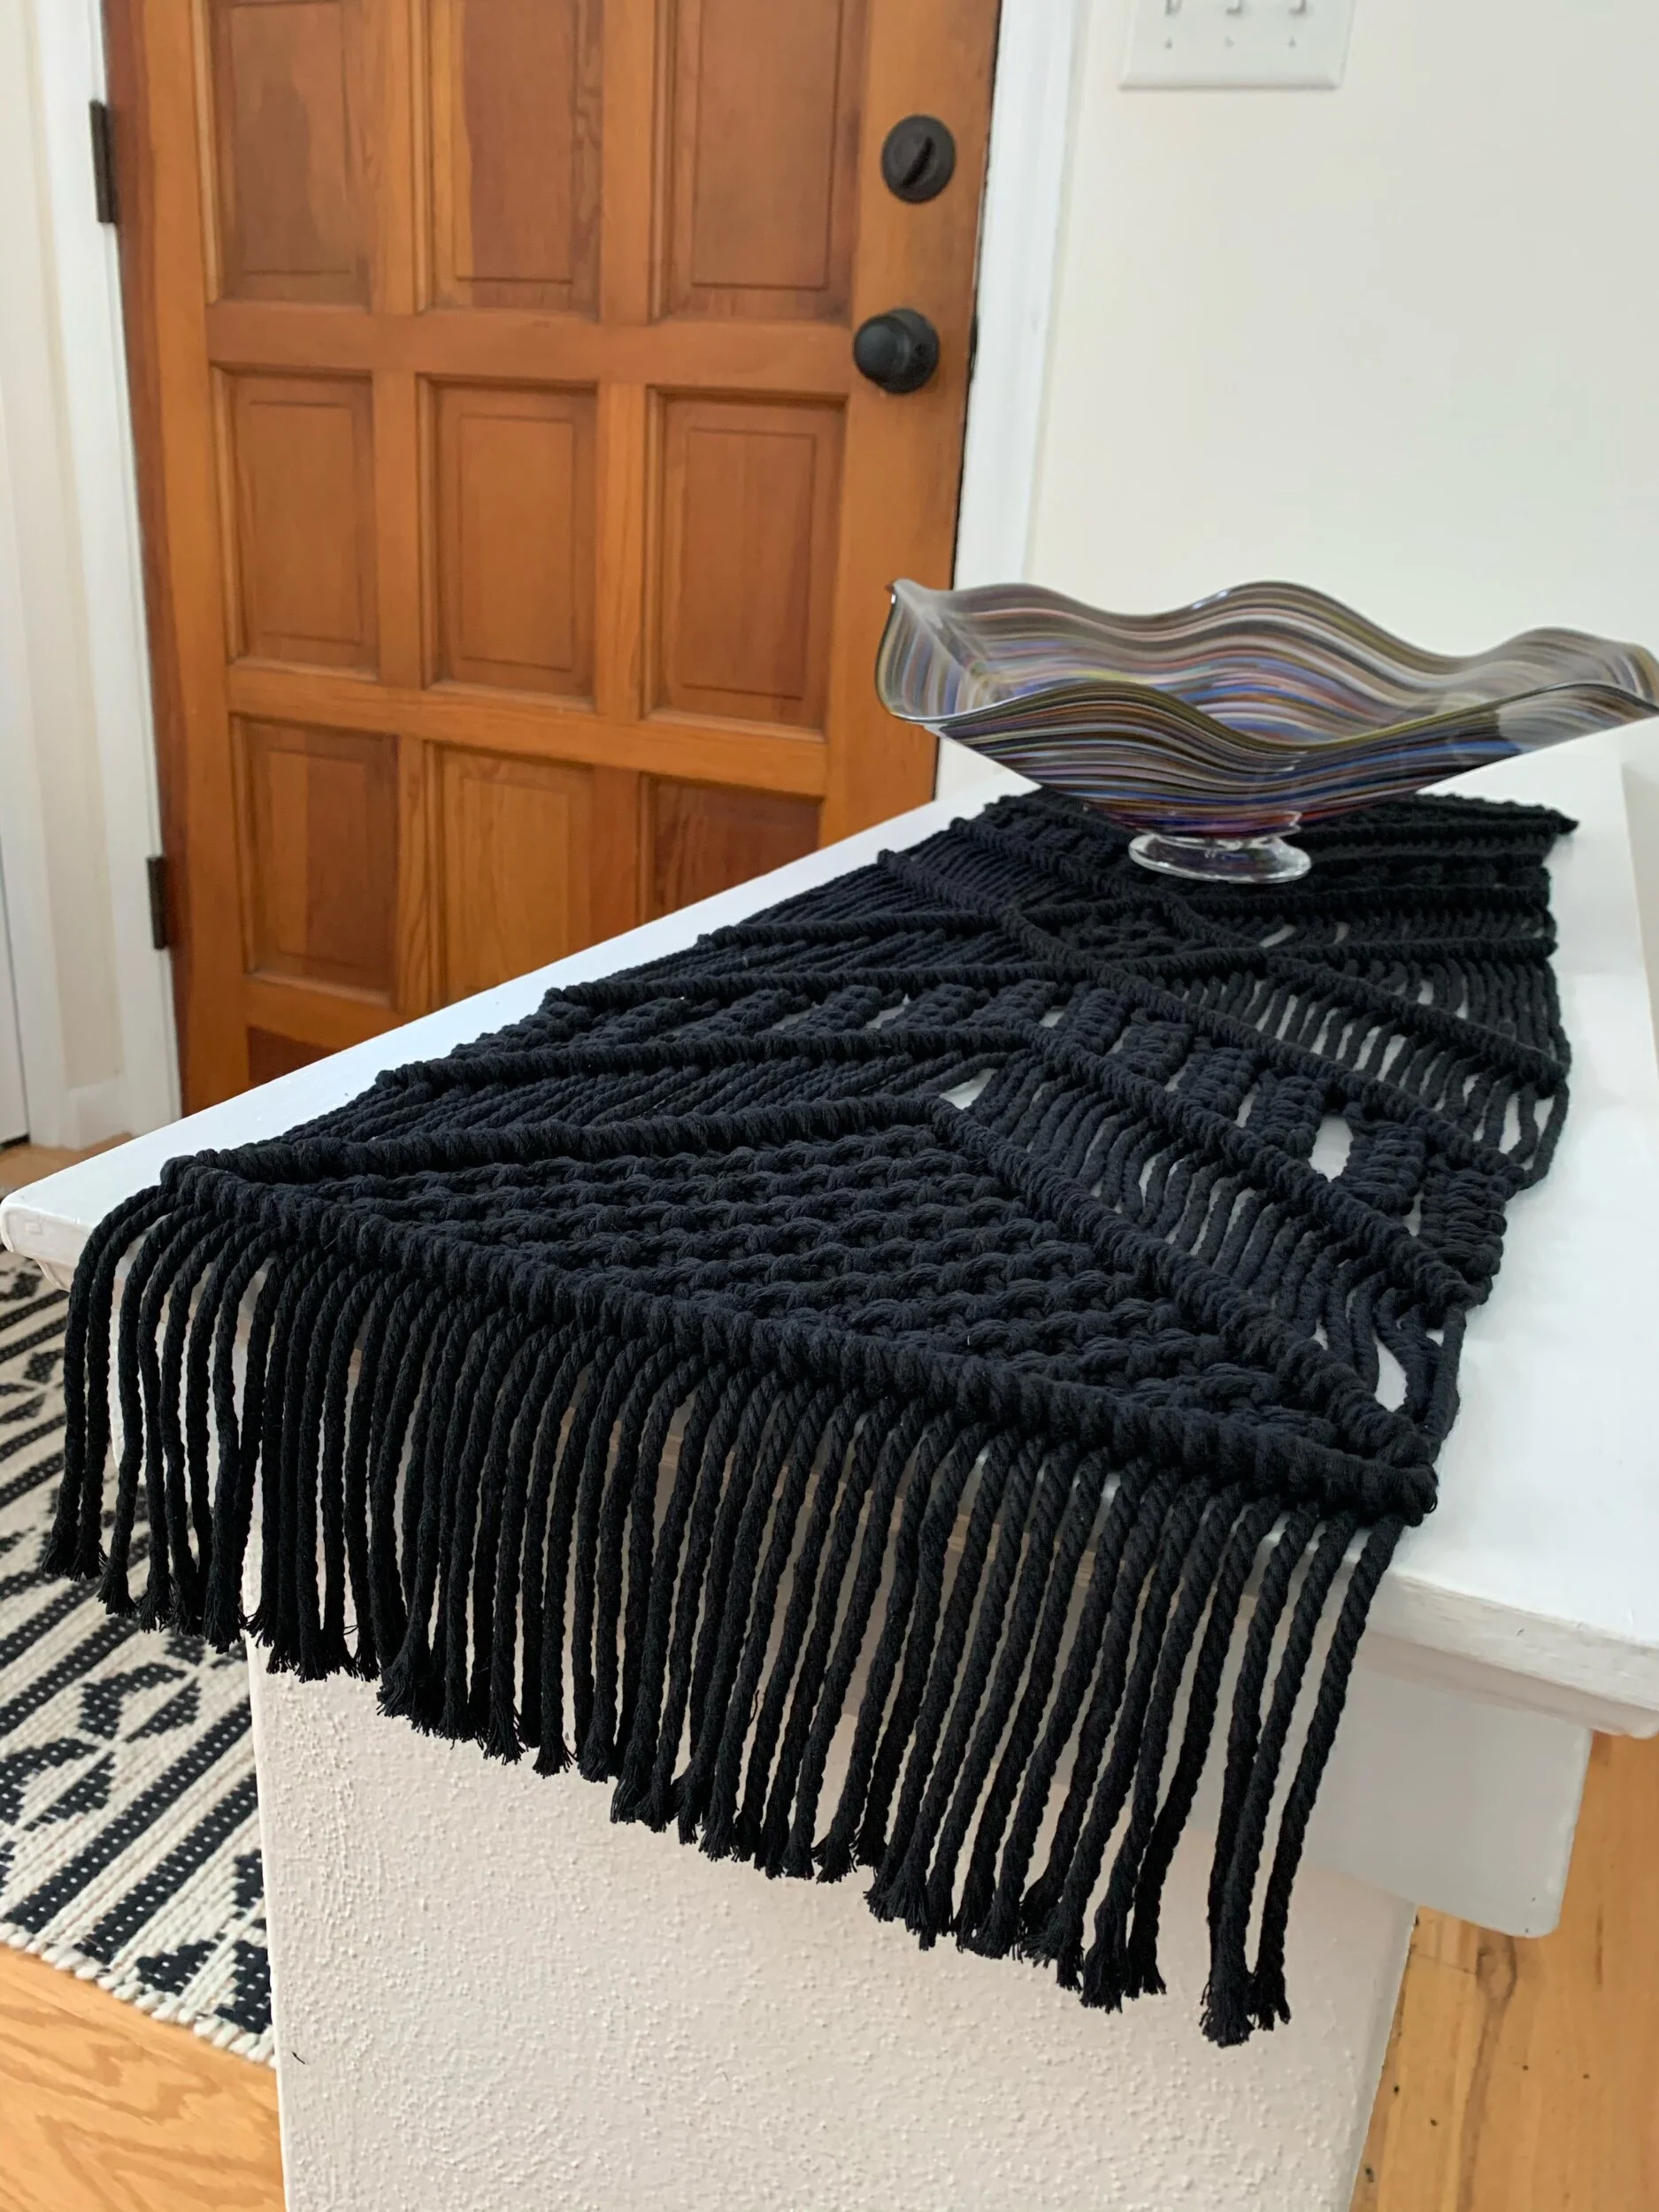
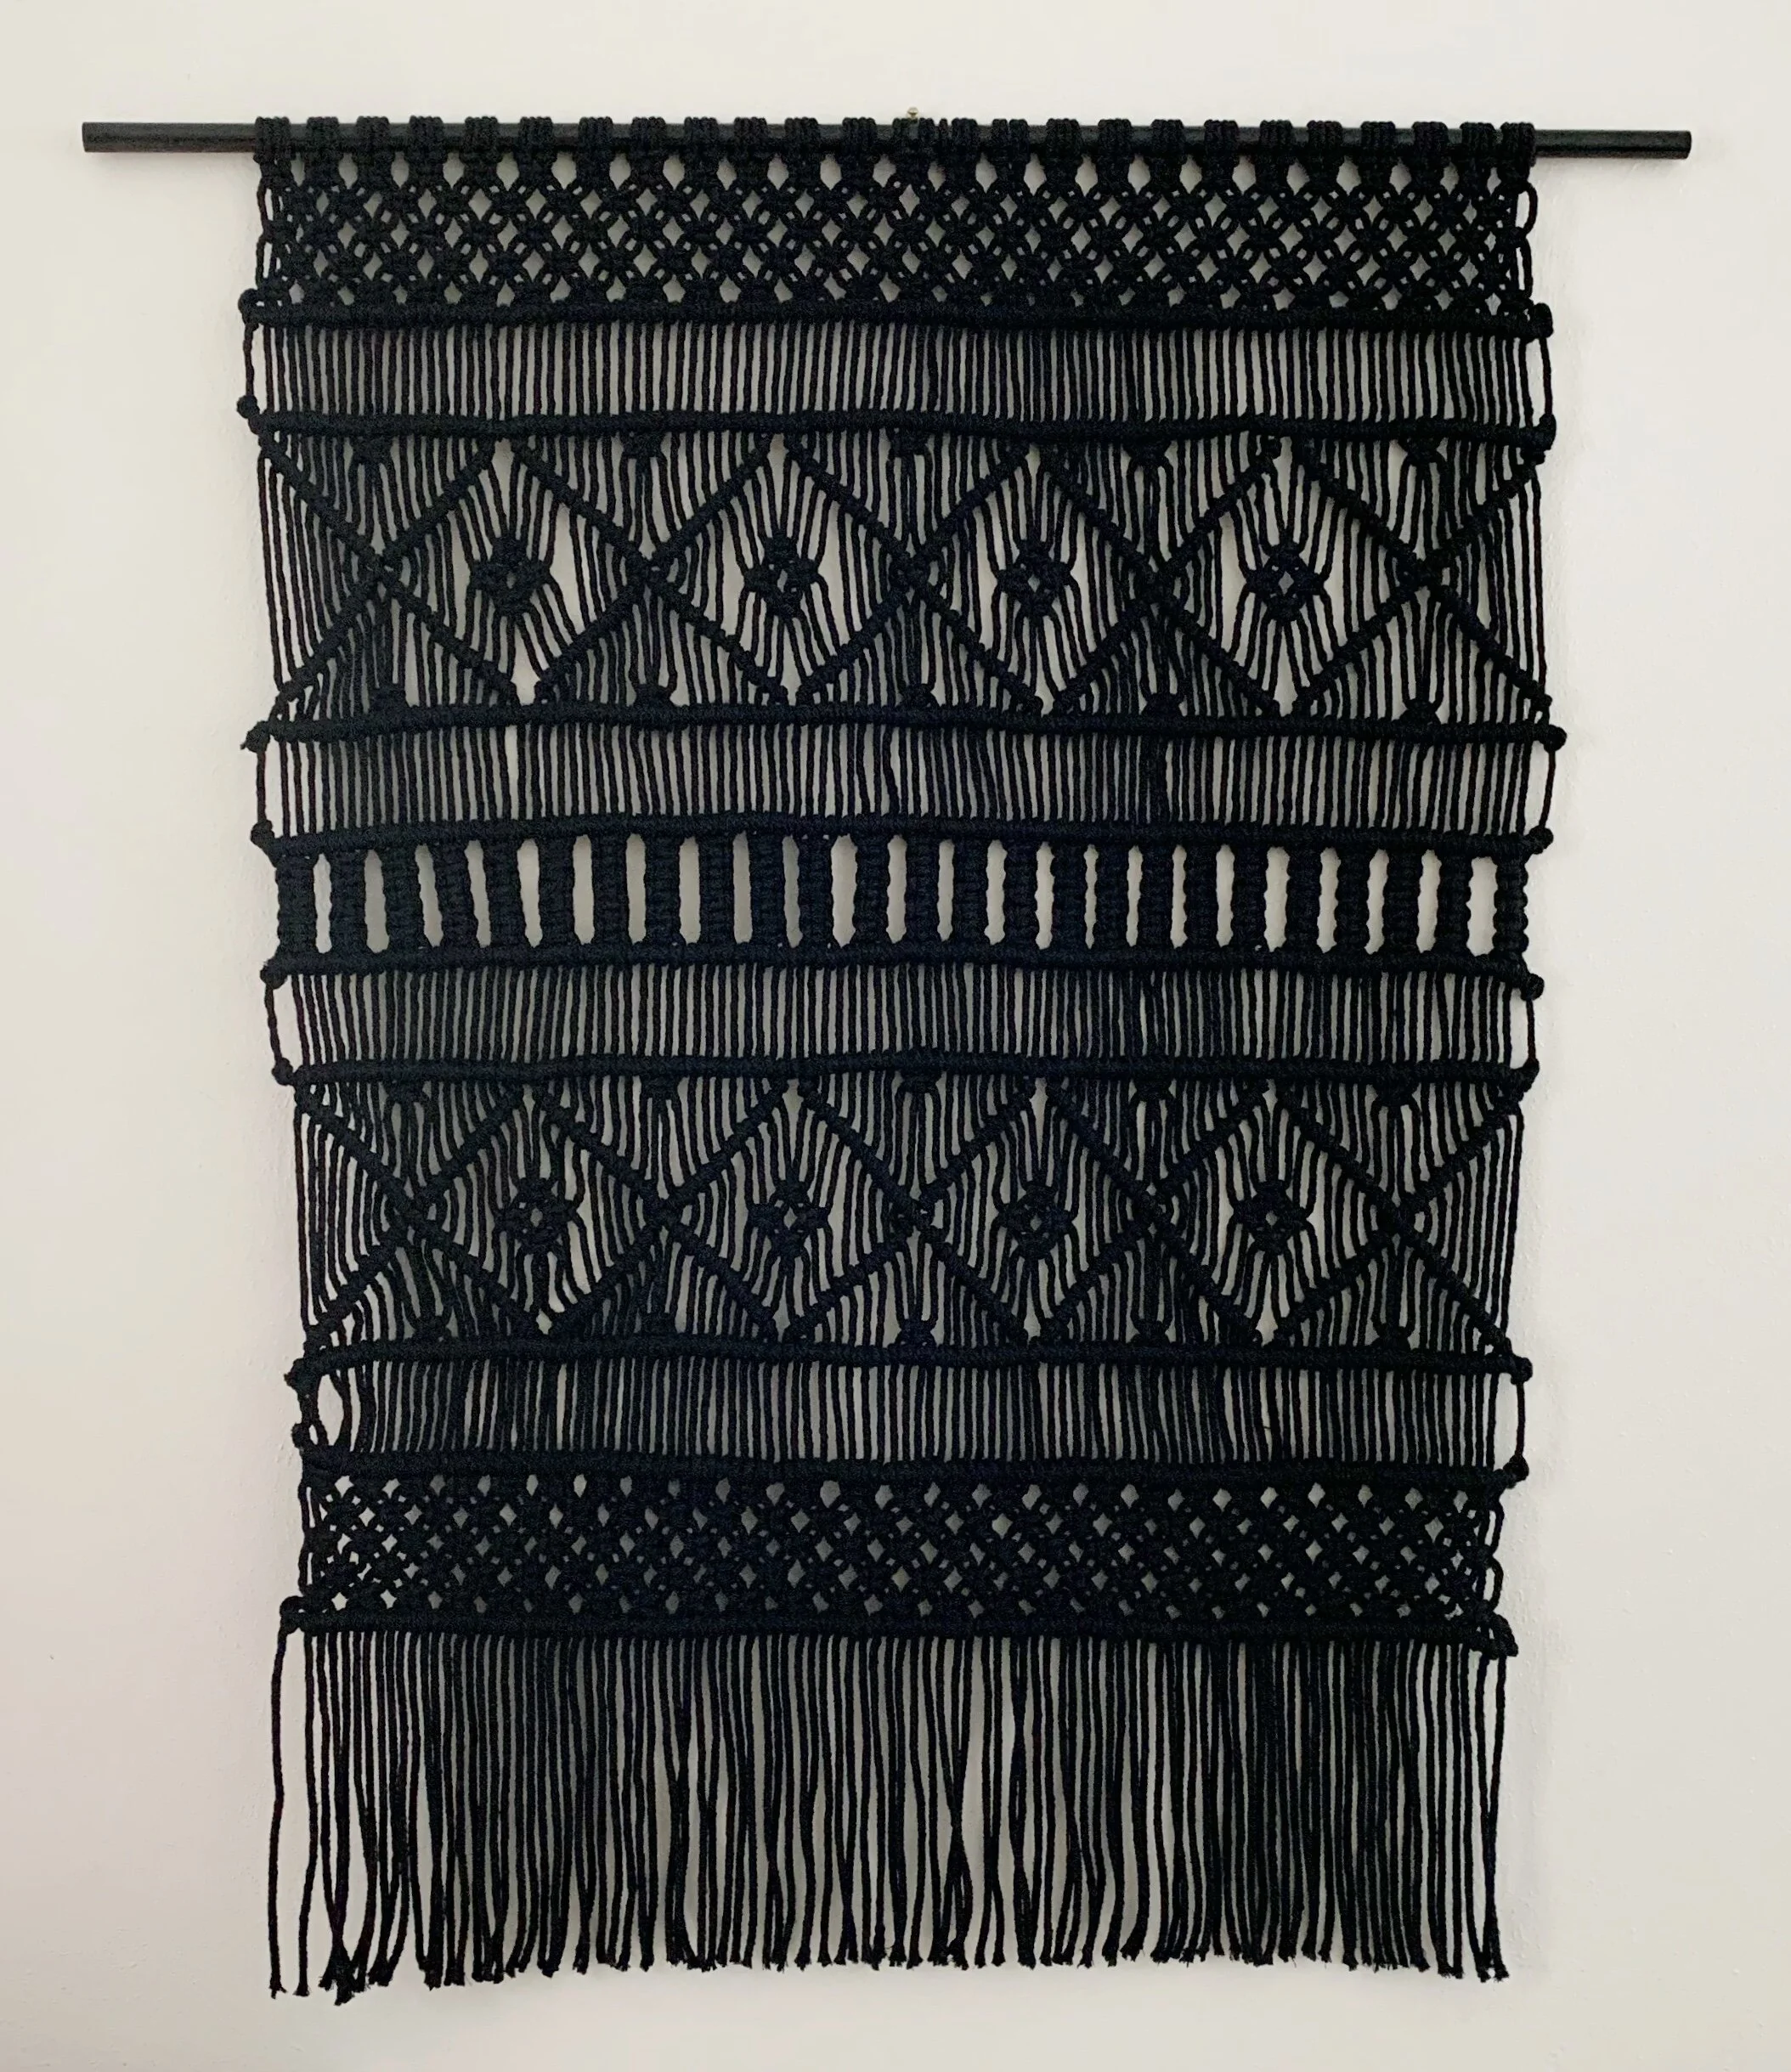
The next thing I wanted to do was create a black macrame table runner for this little half wall next to our front door.

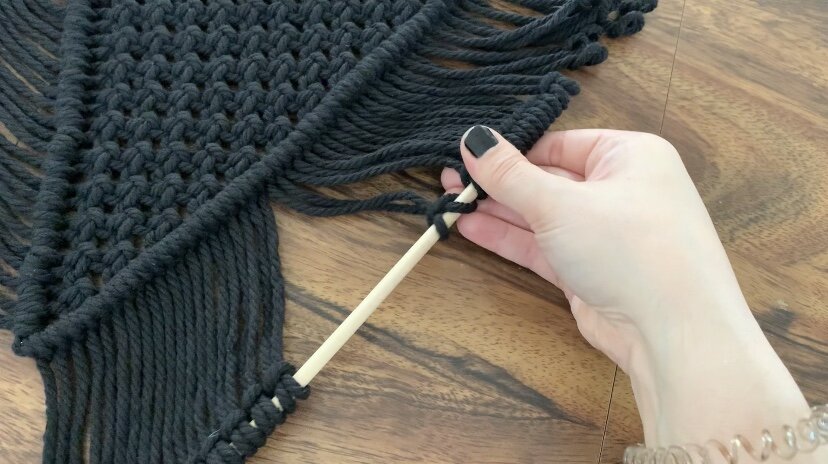
To create my table runner I attached all my cords onto a wooden dowel in order to hang it and make it easier to knot.
I then left some space at the top before creating a row of the double half hitch. This will become the fringe at one end of the table runner.

I then continued on with my design.


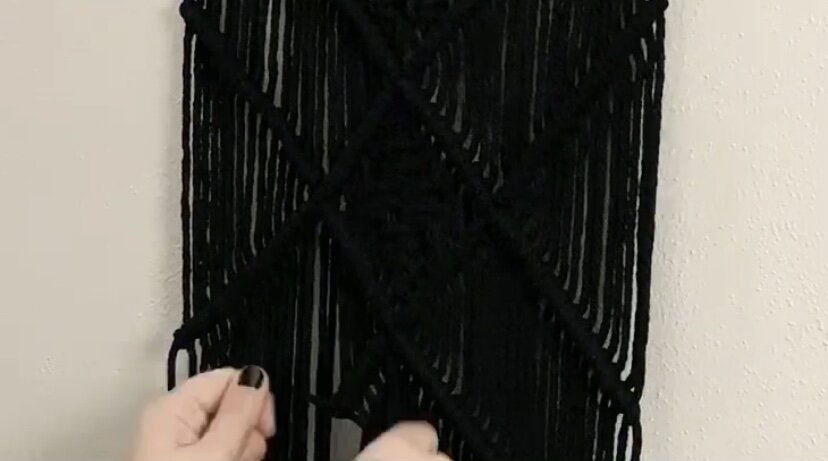
Once my design was complete I then removed the wooden dowel and cut each loop.


For a more in depth tutorial on how this table runner was made check out my latest blog post.

Once my table runner was complete I then moved on to painting the wooden stool next to our couch.
I have seen a lot of people use small stools in place of a side table, so when I found this unique one for $15 on Facebook Marketplace, I knew I had to have it.

I first sanded the whole stool down.

And then painted it black using the leftover paint from our bedroom makeover.

This is such a small change but I think it makes a world of difference.

The last project I wanted to do for our living room was to create a sign for the corner next to one of our recliners.

Using a board I had from Hobby Lobby I simply just painted the background with some white acrylic paint.


And then measured the center points of my board to create a grid for my letters.
I made each letter 4”x5”.


Once all my letters were drawn out I then carefully filled in each letter with black acrylic paint.


And lastly I simply touched up any imperfections.

Aside from my DIYs I also replaced our old shag rug with a larger lower pile one.
My husband Cody really hated the shag because our dog Korben would eat his treats and chew his toys on it and often leave little pieces stuck behind.

I also added these jute baskets to our TV console.
Our dog Korben would never get his toys out of the metal basket because he was afraid it so I wanted something a bit softer that he would use.
I also think the baskets give the console a more uniformed look.


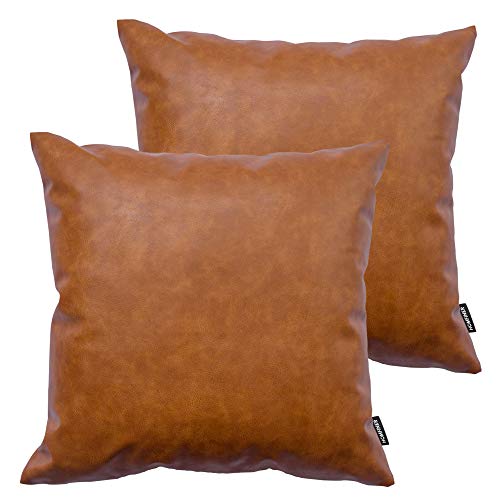
And I couldn’t resist swapping out our throw pillows.
I have been wanting some faux leather pillows for awhile now and just love the way they look against the black and white lumber covers I found off of Amazon.


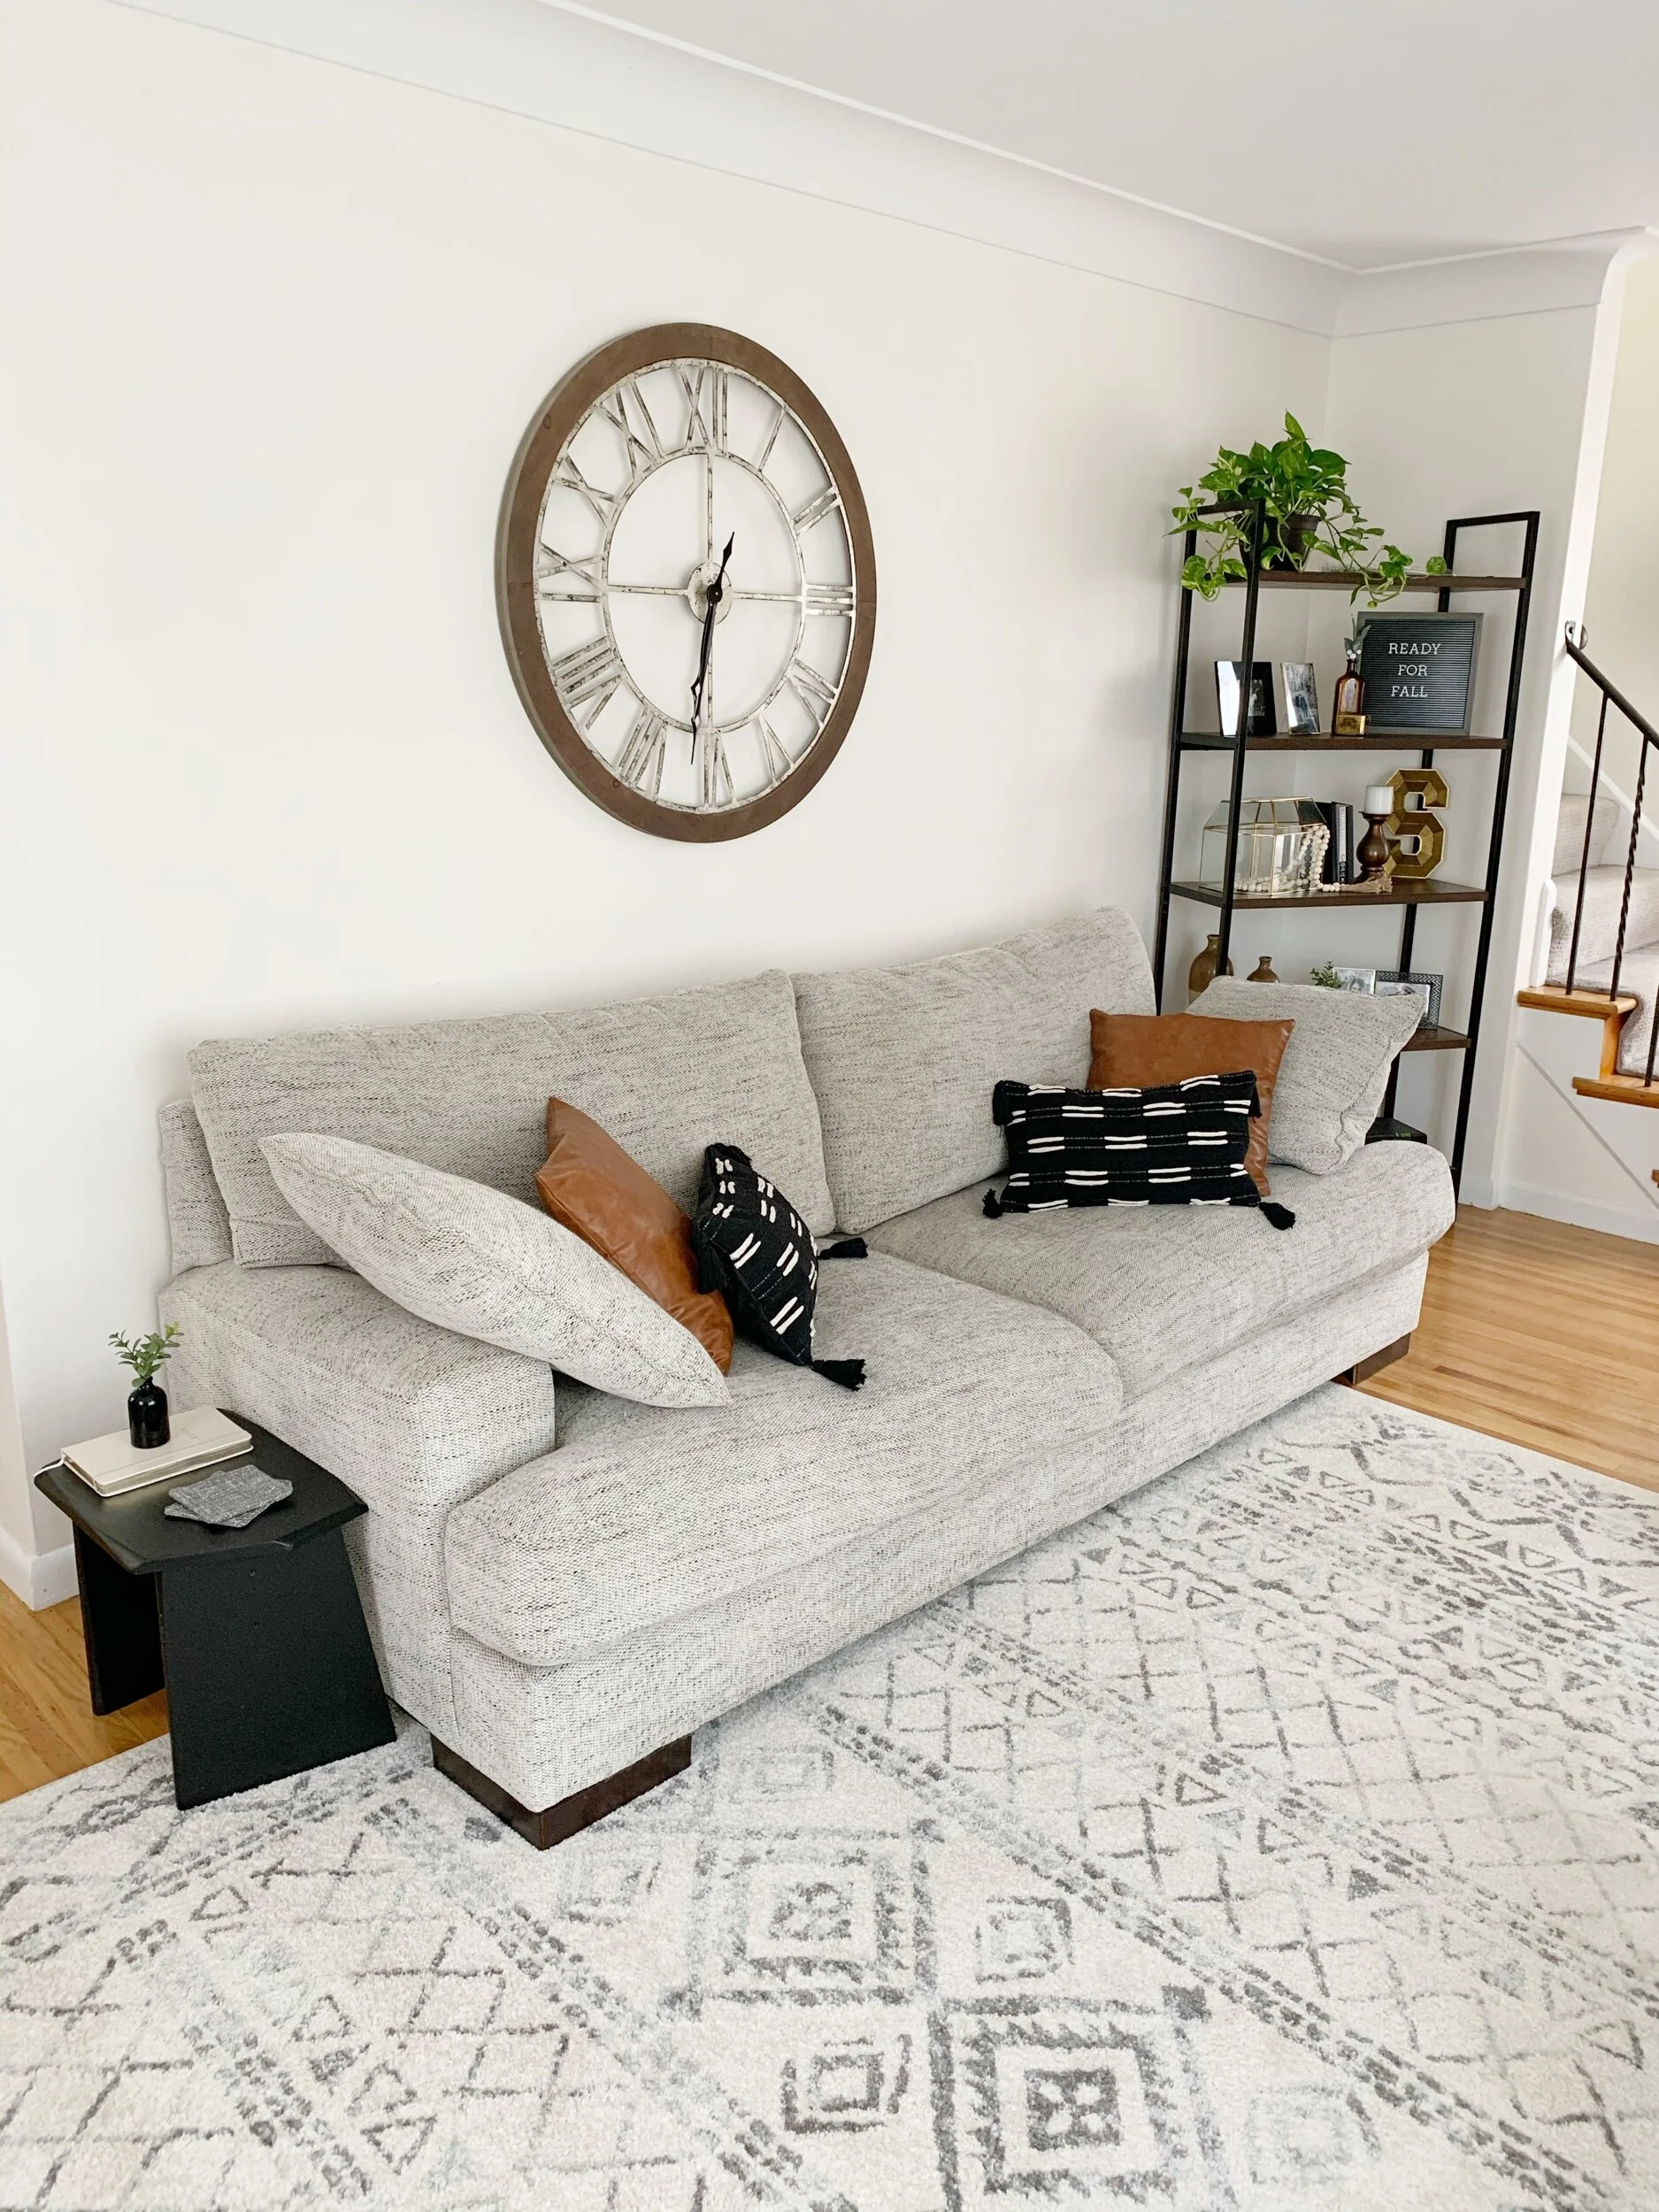
And here’s how the room looks now…


All the changes to this room are very small but I think they make a huge difference.
Now this room is fresh and ready for some fall decor!
SHOP THE ROOM:


Disclaimer: As an Amazon Associate I earn from qualifying purchases.