DIY Macrame Table Runner
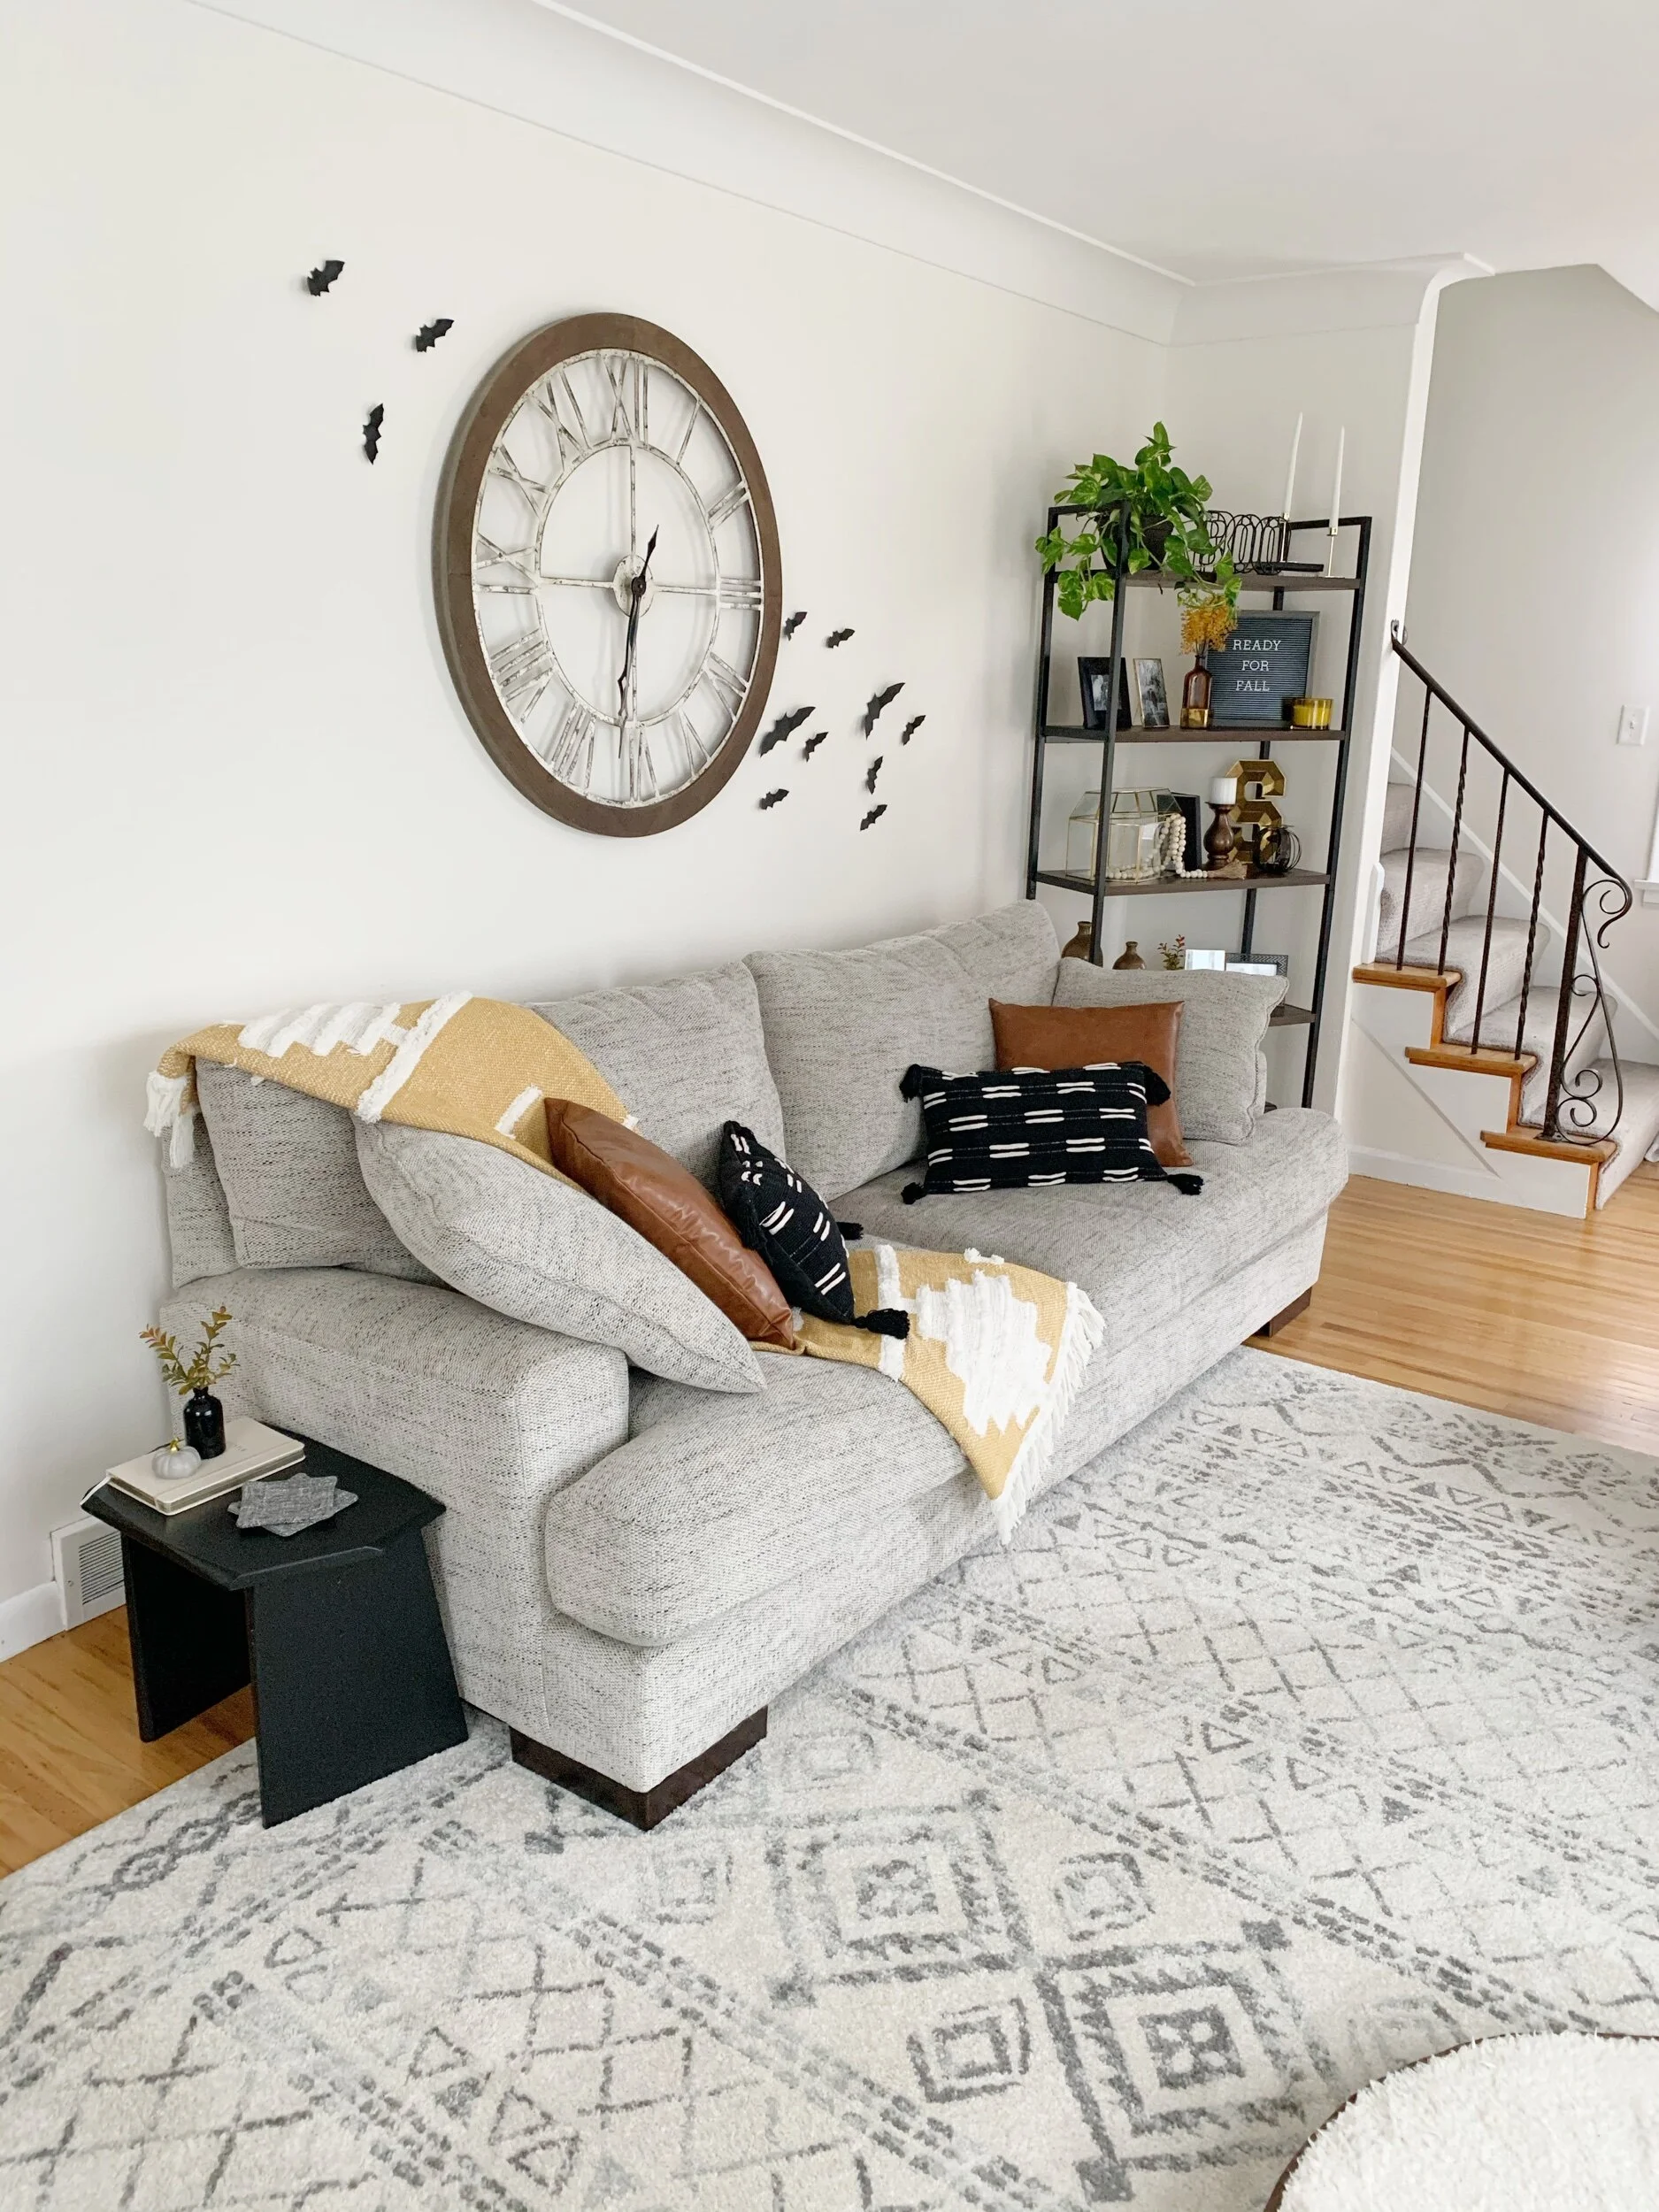
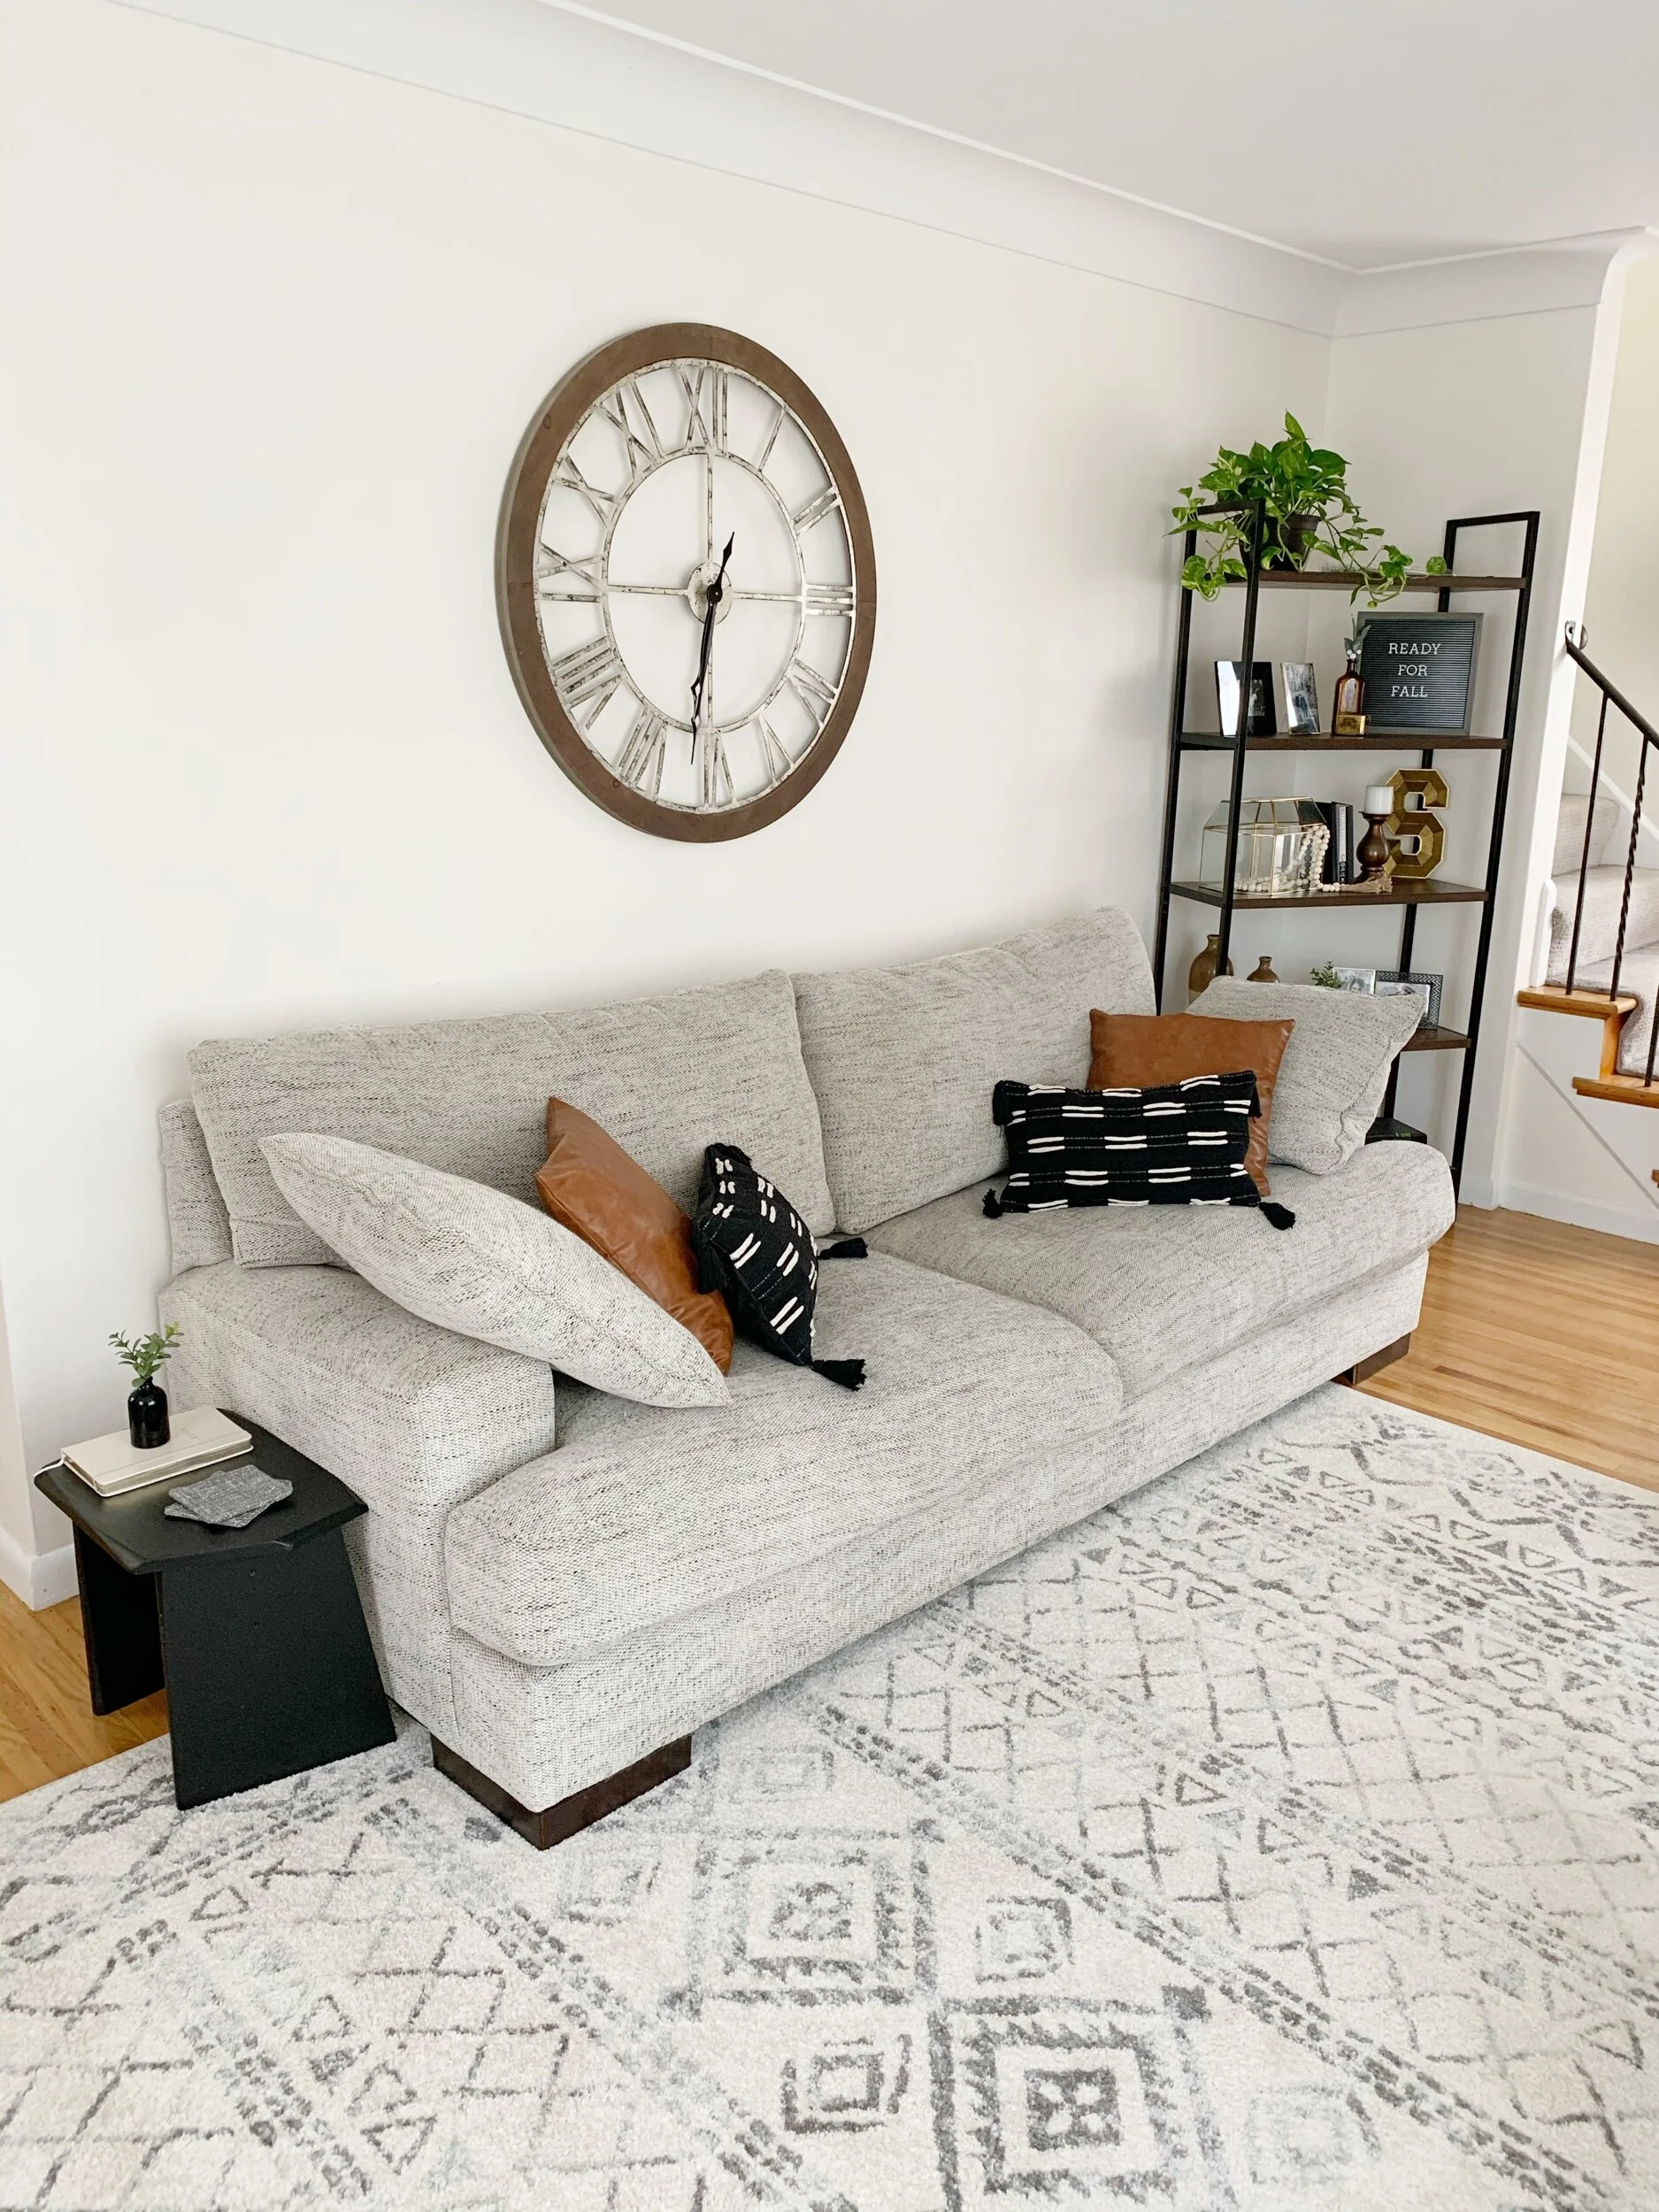
The inspiration for this macrame table runner came from the little half wall next to our front door.
The former owners of our home had left a thin black table runner there but it was definitely worn out.
So with my new found love of all things macrame I decided to make my own table runner for this space.
Supplies:
Macrame cord (black)
1 ft wooden dowel
Scissors

To create this table runner I cut my cord into twenty four 18 ft long strands.

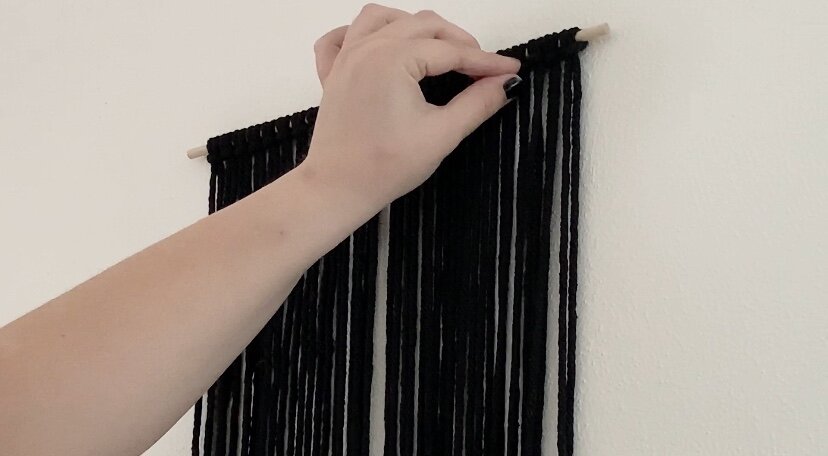
I then attached each strand onto a foot long wooden dowel using a larks head knot.

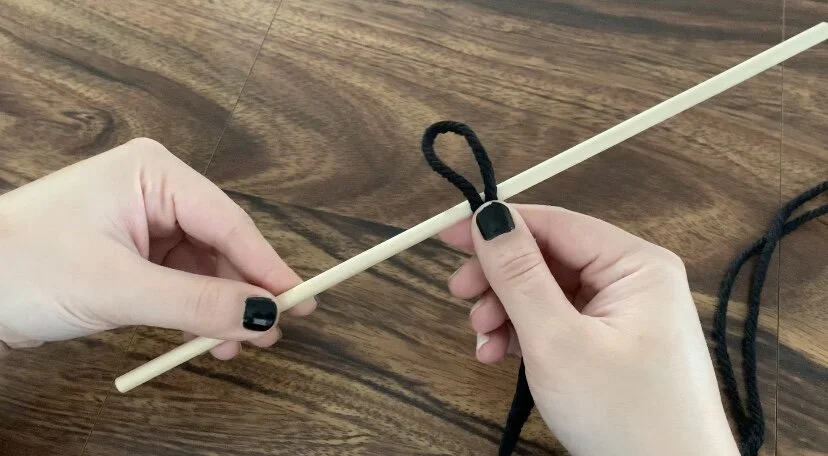


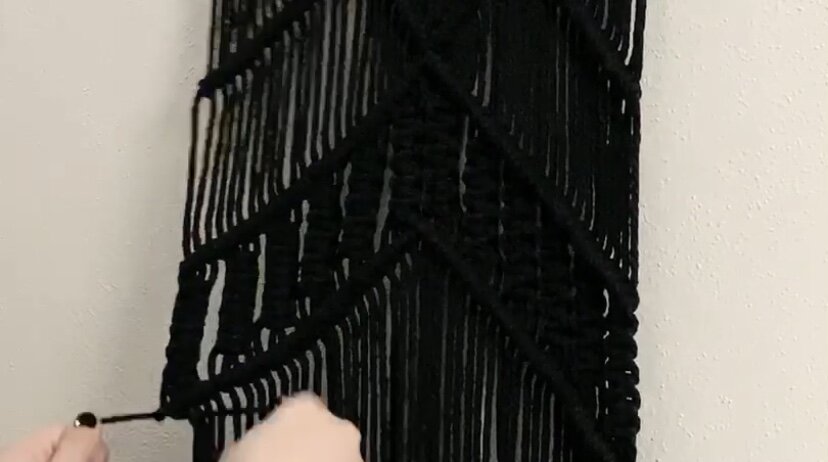
Once all of the strands were on my dowel I then hung it up onto a wall hook to make it easier to knot.
Then leaving a good amount of space I create a straight line of the double half hitch with another 5 ft long strand.


For the first part of my design I left the two strands at either end hang and took the next four strands in to create a square knot.


I then continued making square knots all the way across.

Once I had that first row of square knots I then created a second row only this time using the far left two strands and far right two strands of the knots above it to create square knots in the center.


I again continued with square knots all the way across.

With each row I made I left two more strands hanging on either side to eventually create a triangle.


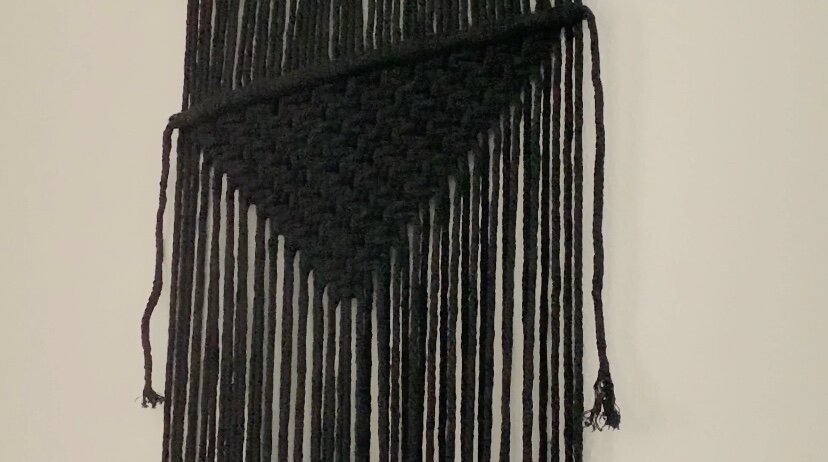
I then took the far strands and created a diagonal line of the double half hitch all the way down both sides of the triangle.


Then leaving some space I created another V of the double half hitch for the next section of my design.


For this section of the design I did rows of five square knots all the way across the V.

I then finished it off with another double half hitch.

Then for what would be the center of my table runner I created a diagonal line of the double half hitch on either side stopping about 14 strands in.

(Tip: In doing the double half hitch on either side it is important to make sure your knots line up.)

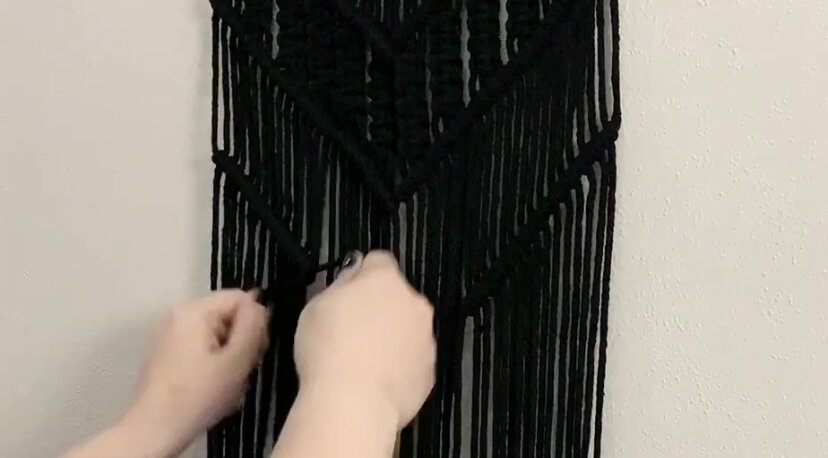
I then continued the lines of double half hitch from the V above.


And then in the center created a diamond of double square knots.
To do this I simply did two square knots at the top.

And then taking the next two right strands did another two square knots on the right.

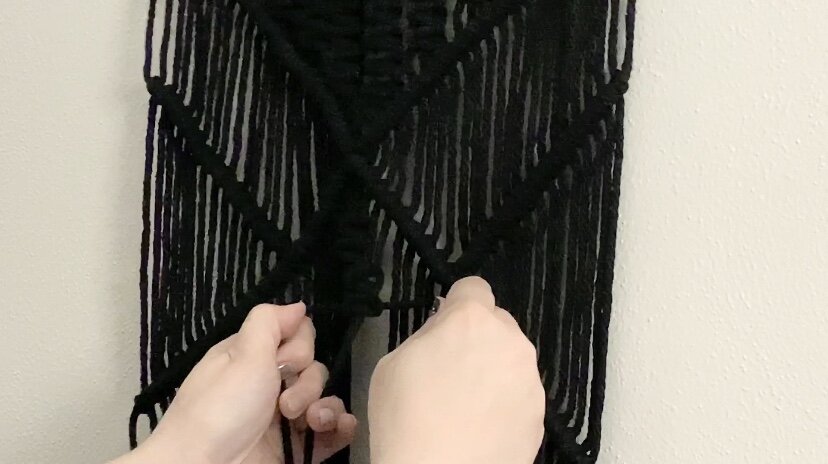
And taking the next two left strands did two more square knots on the left.


I then finished the diamond with another two square knots again using the four center strands.

Then to finish the center I completed the diagonal lines of double half hitch on either side.


To make my runner symmetrical I then repeated the rows of five square knots.
And another triangle of square knots.


Once my design was complete I removed the wooden dowel and cut the loops.


Lastly, I trimmed the ends using some tape to mark a straight line.

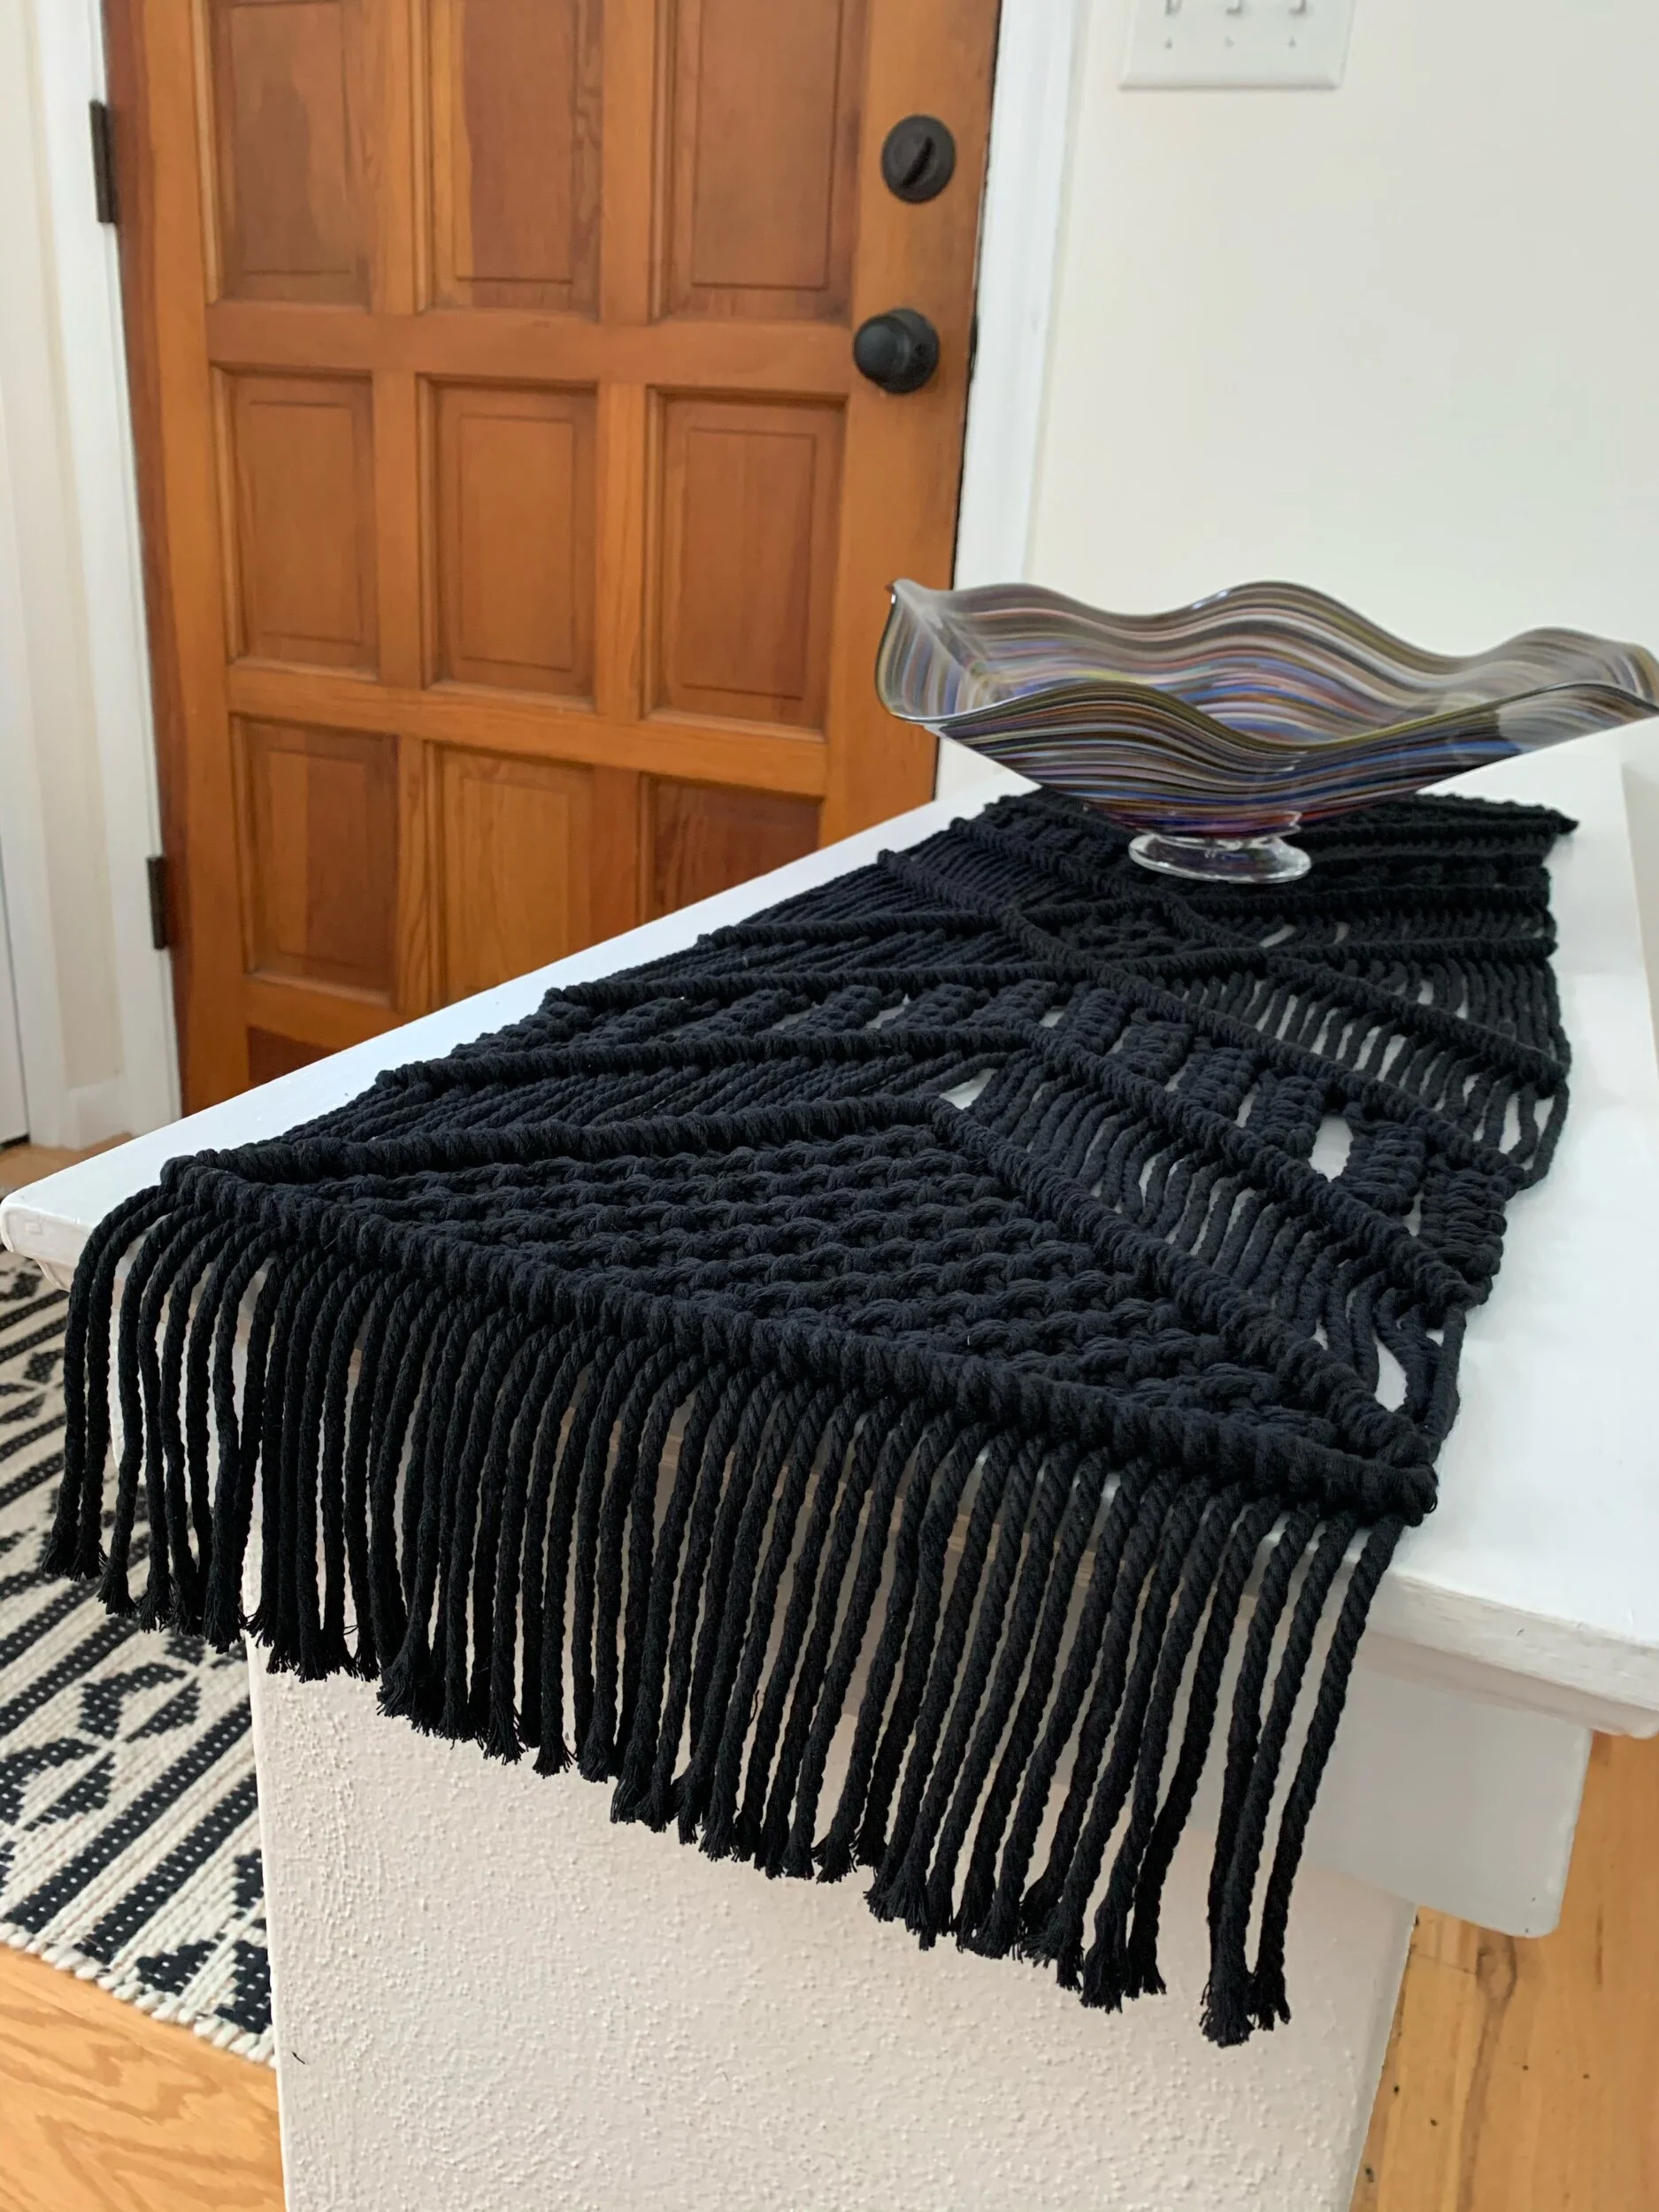
And that completes my DIY macrame table runner.
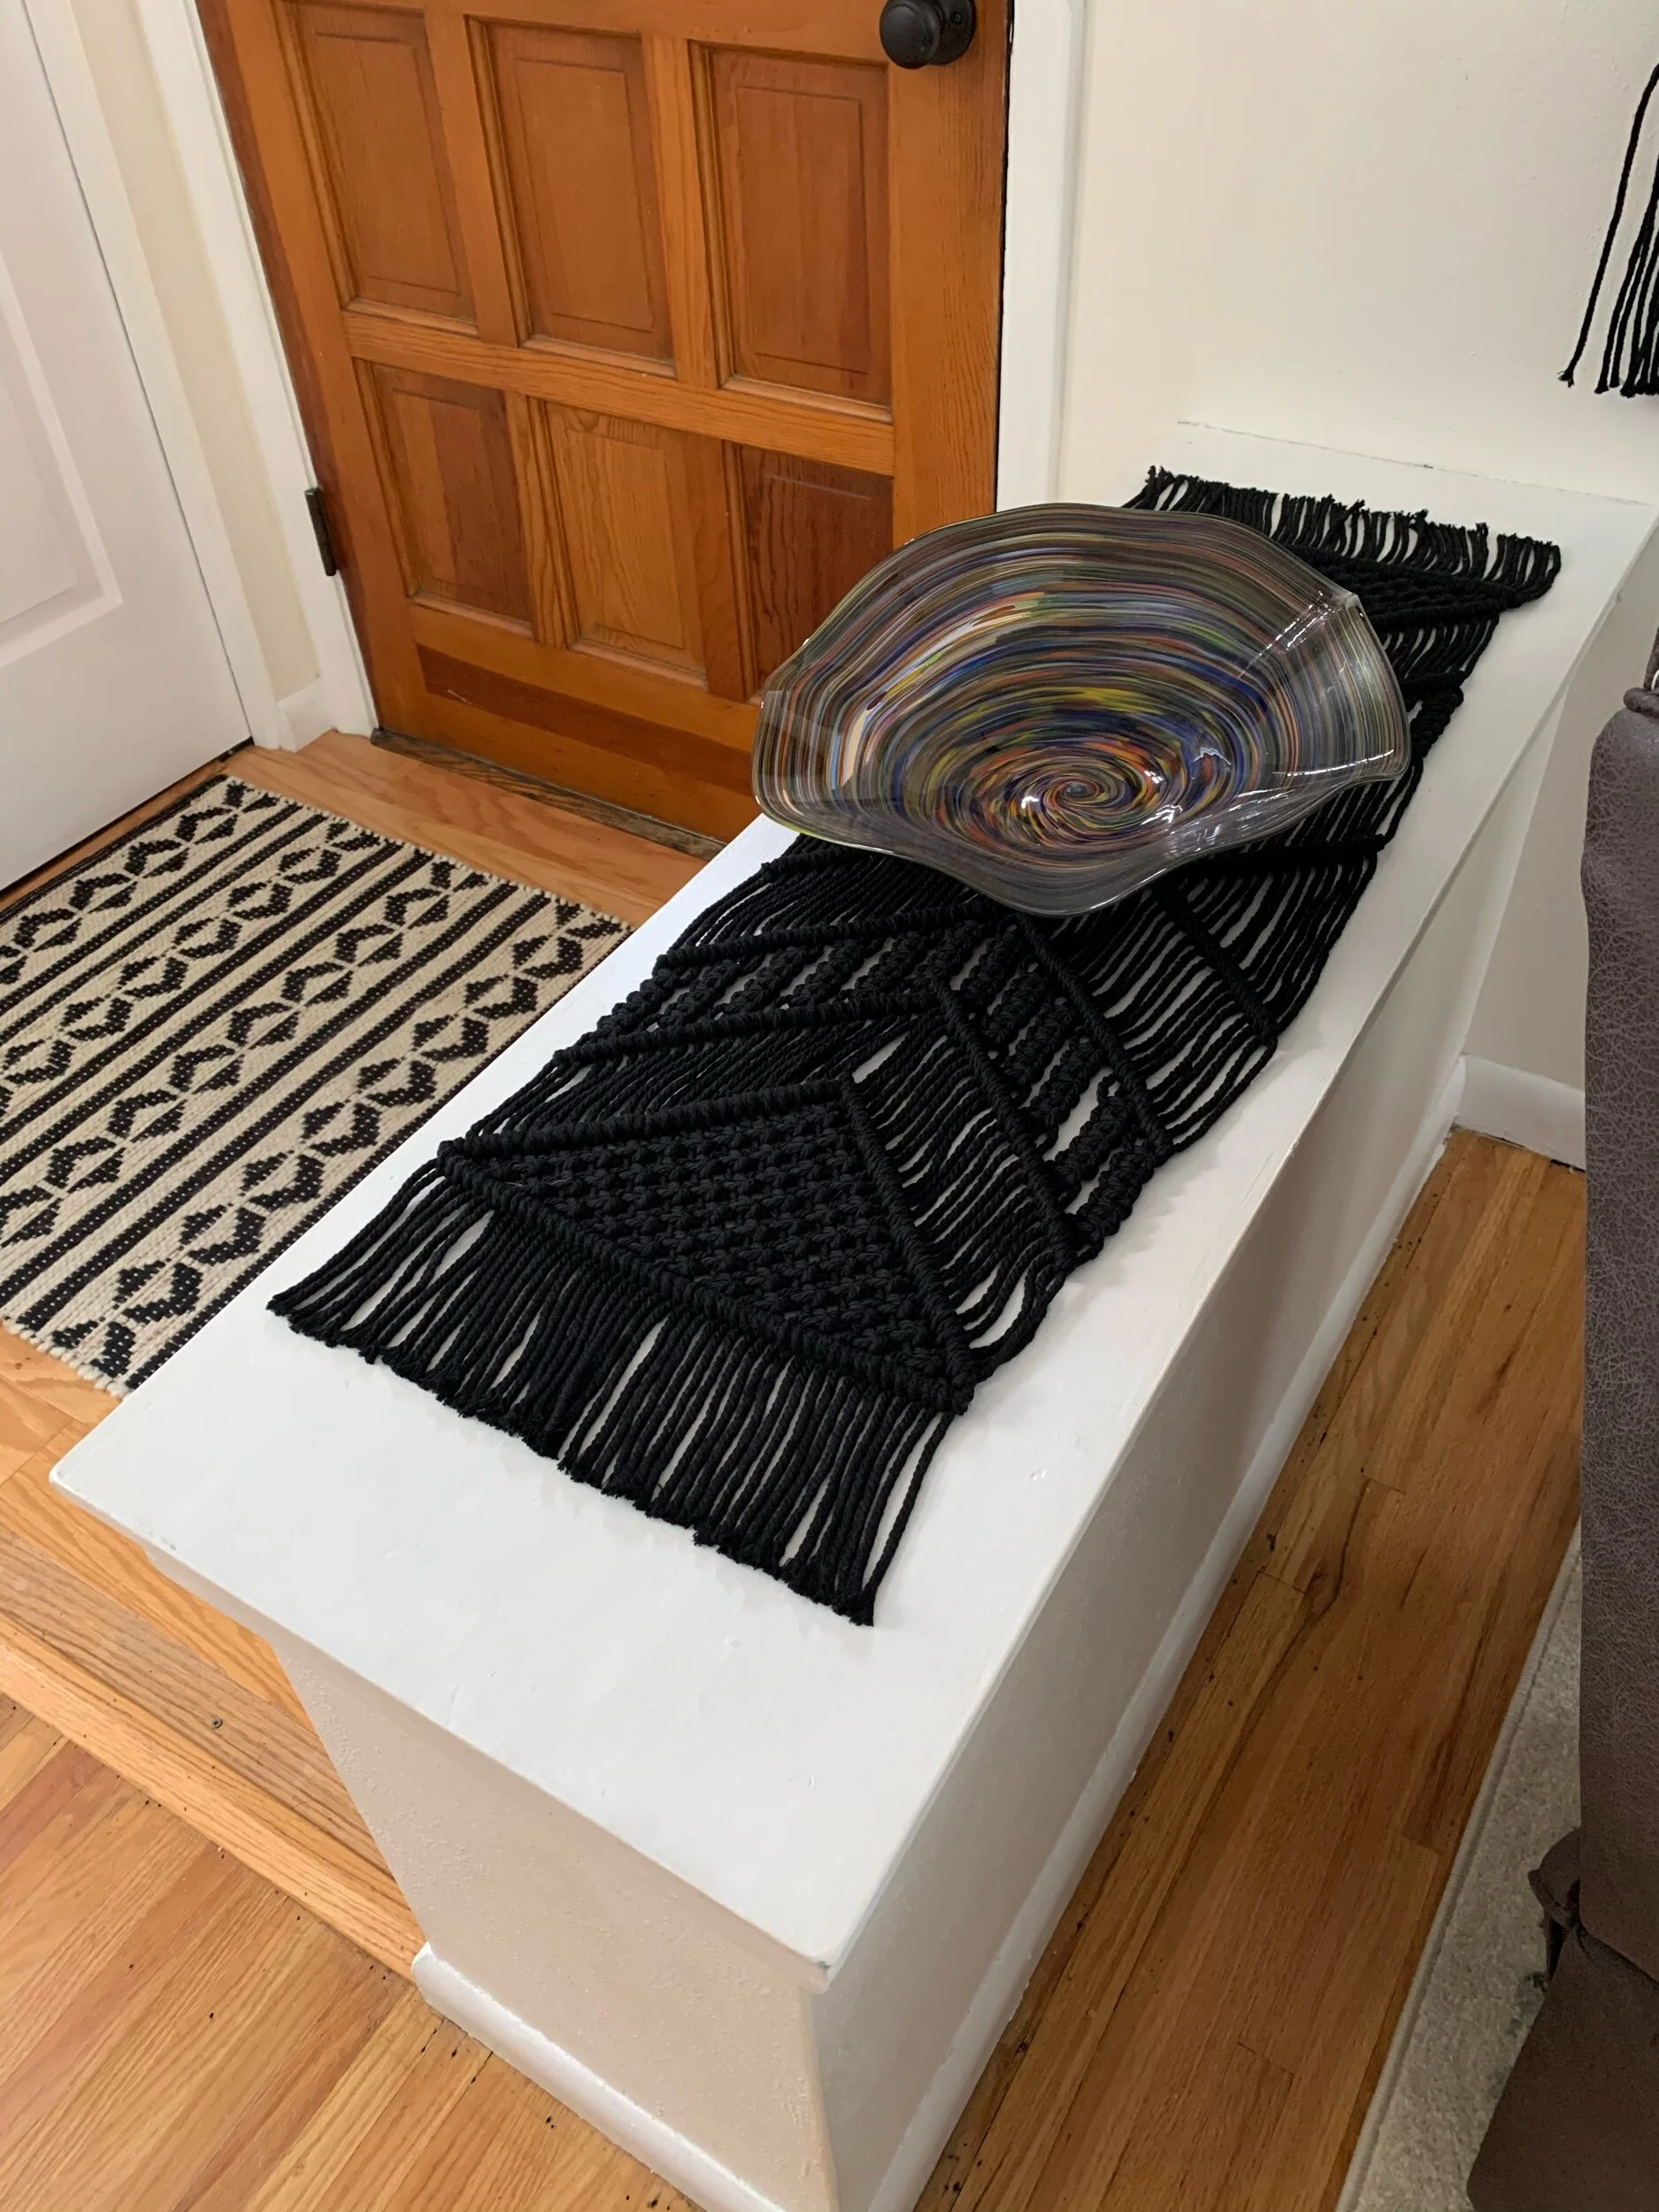
I think this table runner looks great on our half wall!
Disclaimer: As an Amazon Associate I earn from qualifying purchases.