DIY Macrame Wall Hanging
I’ve been loving the Macrame boho style so much lately and I’m hoping it doesn’t go out of style anytime soon. Especially because creating your own is so easy to do!
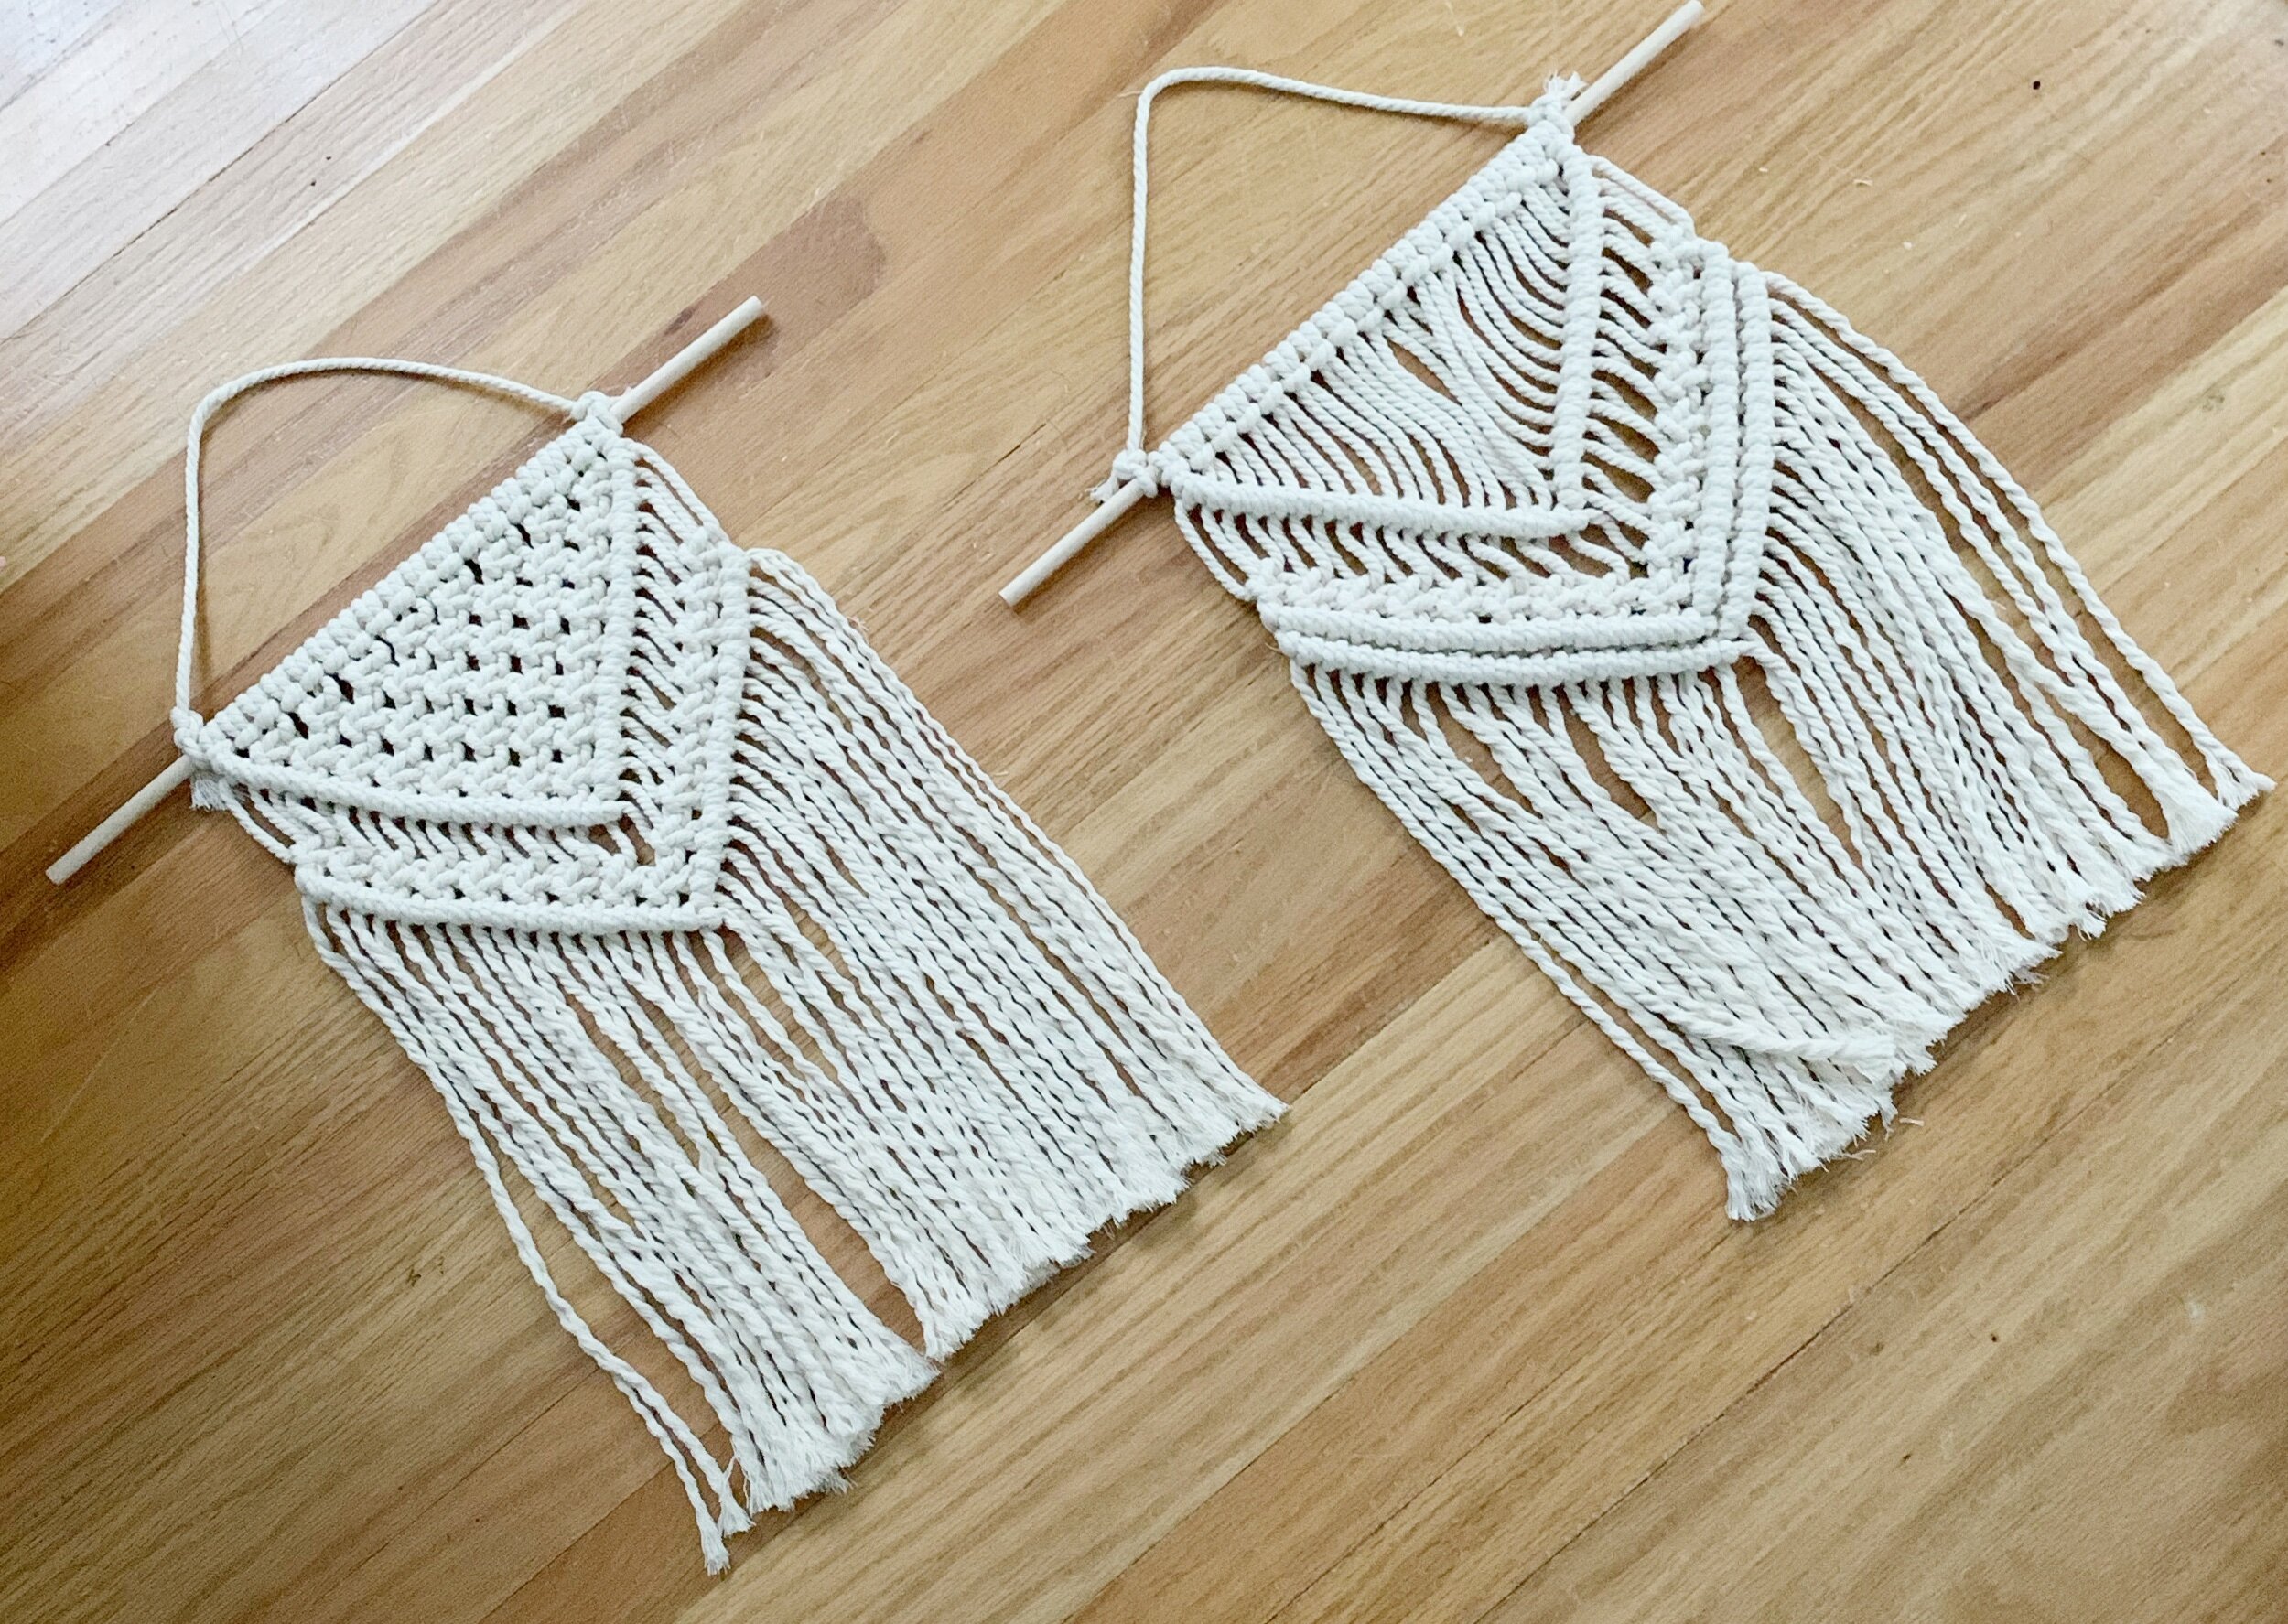
Here is how I made two small wall hangings (the perfect project for beginners).

Supplies:
3mm Macrame Cord
12inch Wooden Dowel
Scissors

First, you’ll want to cut your macrame cord into eighteen 8-foot long strands. (The longer you make your strands the longer your wall hanging will be.)

Then, fold in half each strand and attach it to the dowel using a larks head knot as seen in the photo above.
(Put the loop over the dowel and then pull the two ends through.)

You’ll then attach an extra piece of cord to either end of the dowel and hang it from a hook.
(I conveniently have a hook in my living room but you could also use a Command Hook.)
Hanging the dowel makes creating the wall hanging much easier.

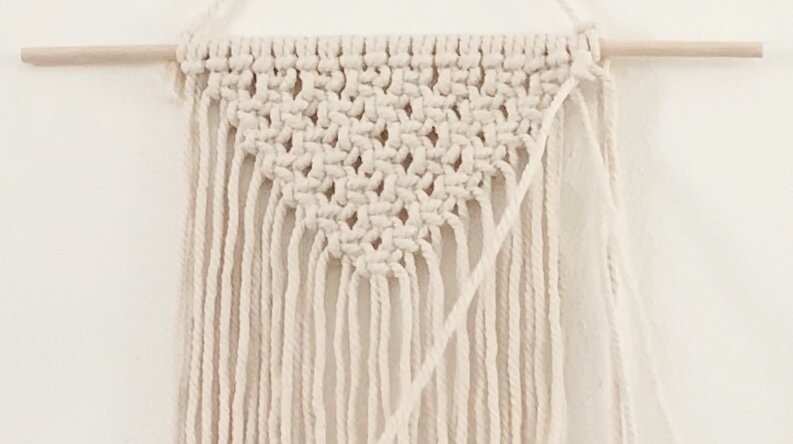
Next, leaving the two strands at the end hanging, take the next four stands in and create a square knot.

(To create a square knot take the far left strand of the four and place it over the others creating what looks like the number 4. Then take the far right stand of the four and place that over the far left stand and under the the two center. Then pull through. To finish the square knot repeat these steps only this time placing the far right over and then the far left over, under and through.) For a better visual see my DIY Macrame Keychain tutorial.
Create a row of square knots at the top, leaving two strands at either end.

Then, to create another row of square knots, take the two far left strands of the first square knot you made and group them with the two far right strands of the square knot next to it.
With each row of square knots leave two more strands hanging at the ends to form a triangle.


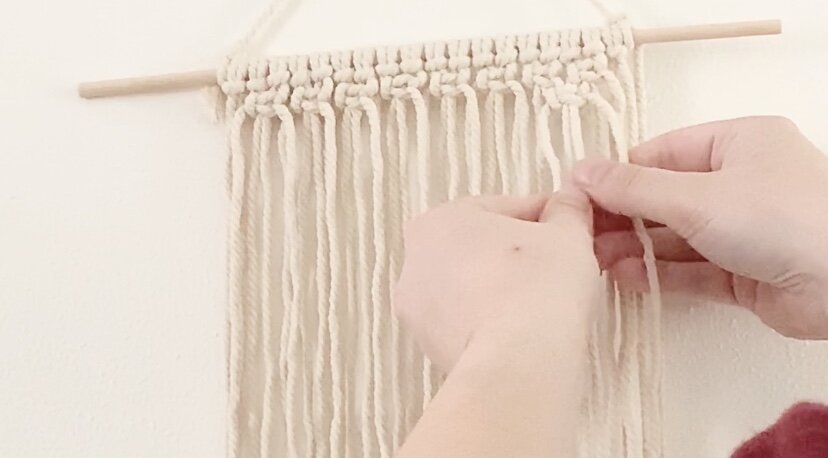
Then, once the square knots are complete, the next step is to create a line of double half hitch knots down either side of the triangle.
(To create a double half hitch knot take the far right strand and cross it over where you want your line to go. Then, take the next strand in and cross that over, under and through the first strand twice.) Again, for a better visual see my DIY Macrame Keychain tutorial.
Continue the double half hitch knots down on either side of the triangle using the next strand down as you go.


To complete the V do one more set of the double half hitch on either side. In this case I continued down with the far left strand and created a final double half hitch with the far right.

Next, create a V of square knots, leaving a bit of space under the line of double half hitch knots.

Start by taking the first four strands at the end and create a square knot.
Then, take the far left two strands of the square knot and group them with the next two right strands to create another square knot.


Continue this down on each side to form a V.
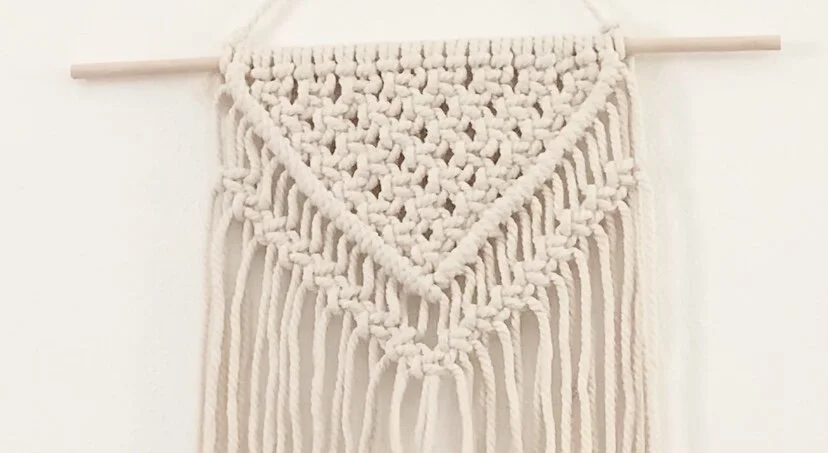
Finally, create another line of double half hitch knots on either side of the V of square knots.

Then, cut the ends of the cord used to hang your wall hanging.
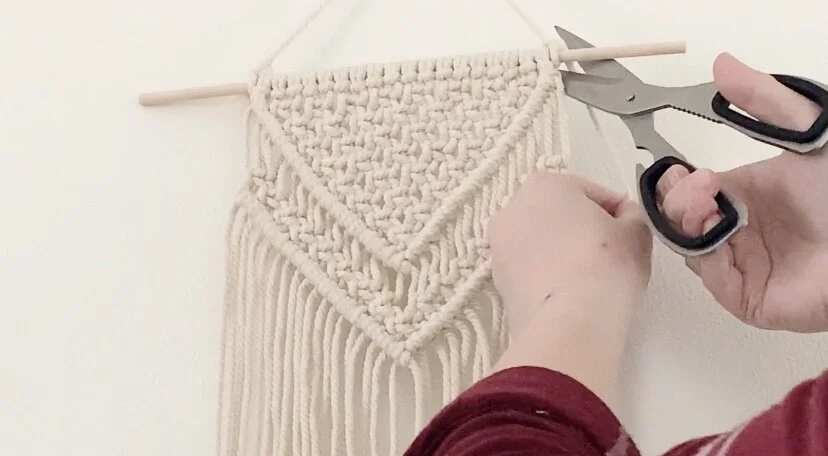
Finally, cut the ends of your strands to the desired length.

I like to use my dog Korben’s hair brush to fray the ends.

For my second wall hanging I simply skipped the triangle of square knots and started with a V of the double half hitch knots.

I then did a V of square knots.

And another row of double half hitch knots down either side of the square knots.

Finally, I did another row of double half hitch knots.

Then, to match the length of the first wall hanging, I simply laid the second hanging over the first and cut the ends to the same length.

And there you have it, two small macrame wall hangings.

I hope this inspired you to create your own small Macrame wall hangings. If so, leave a photo in the comments below. I would love to see your creations!