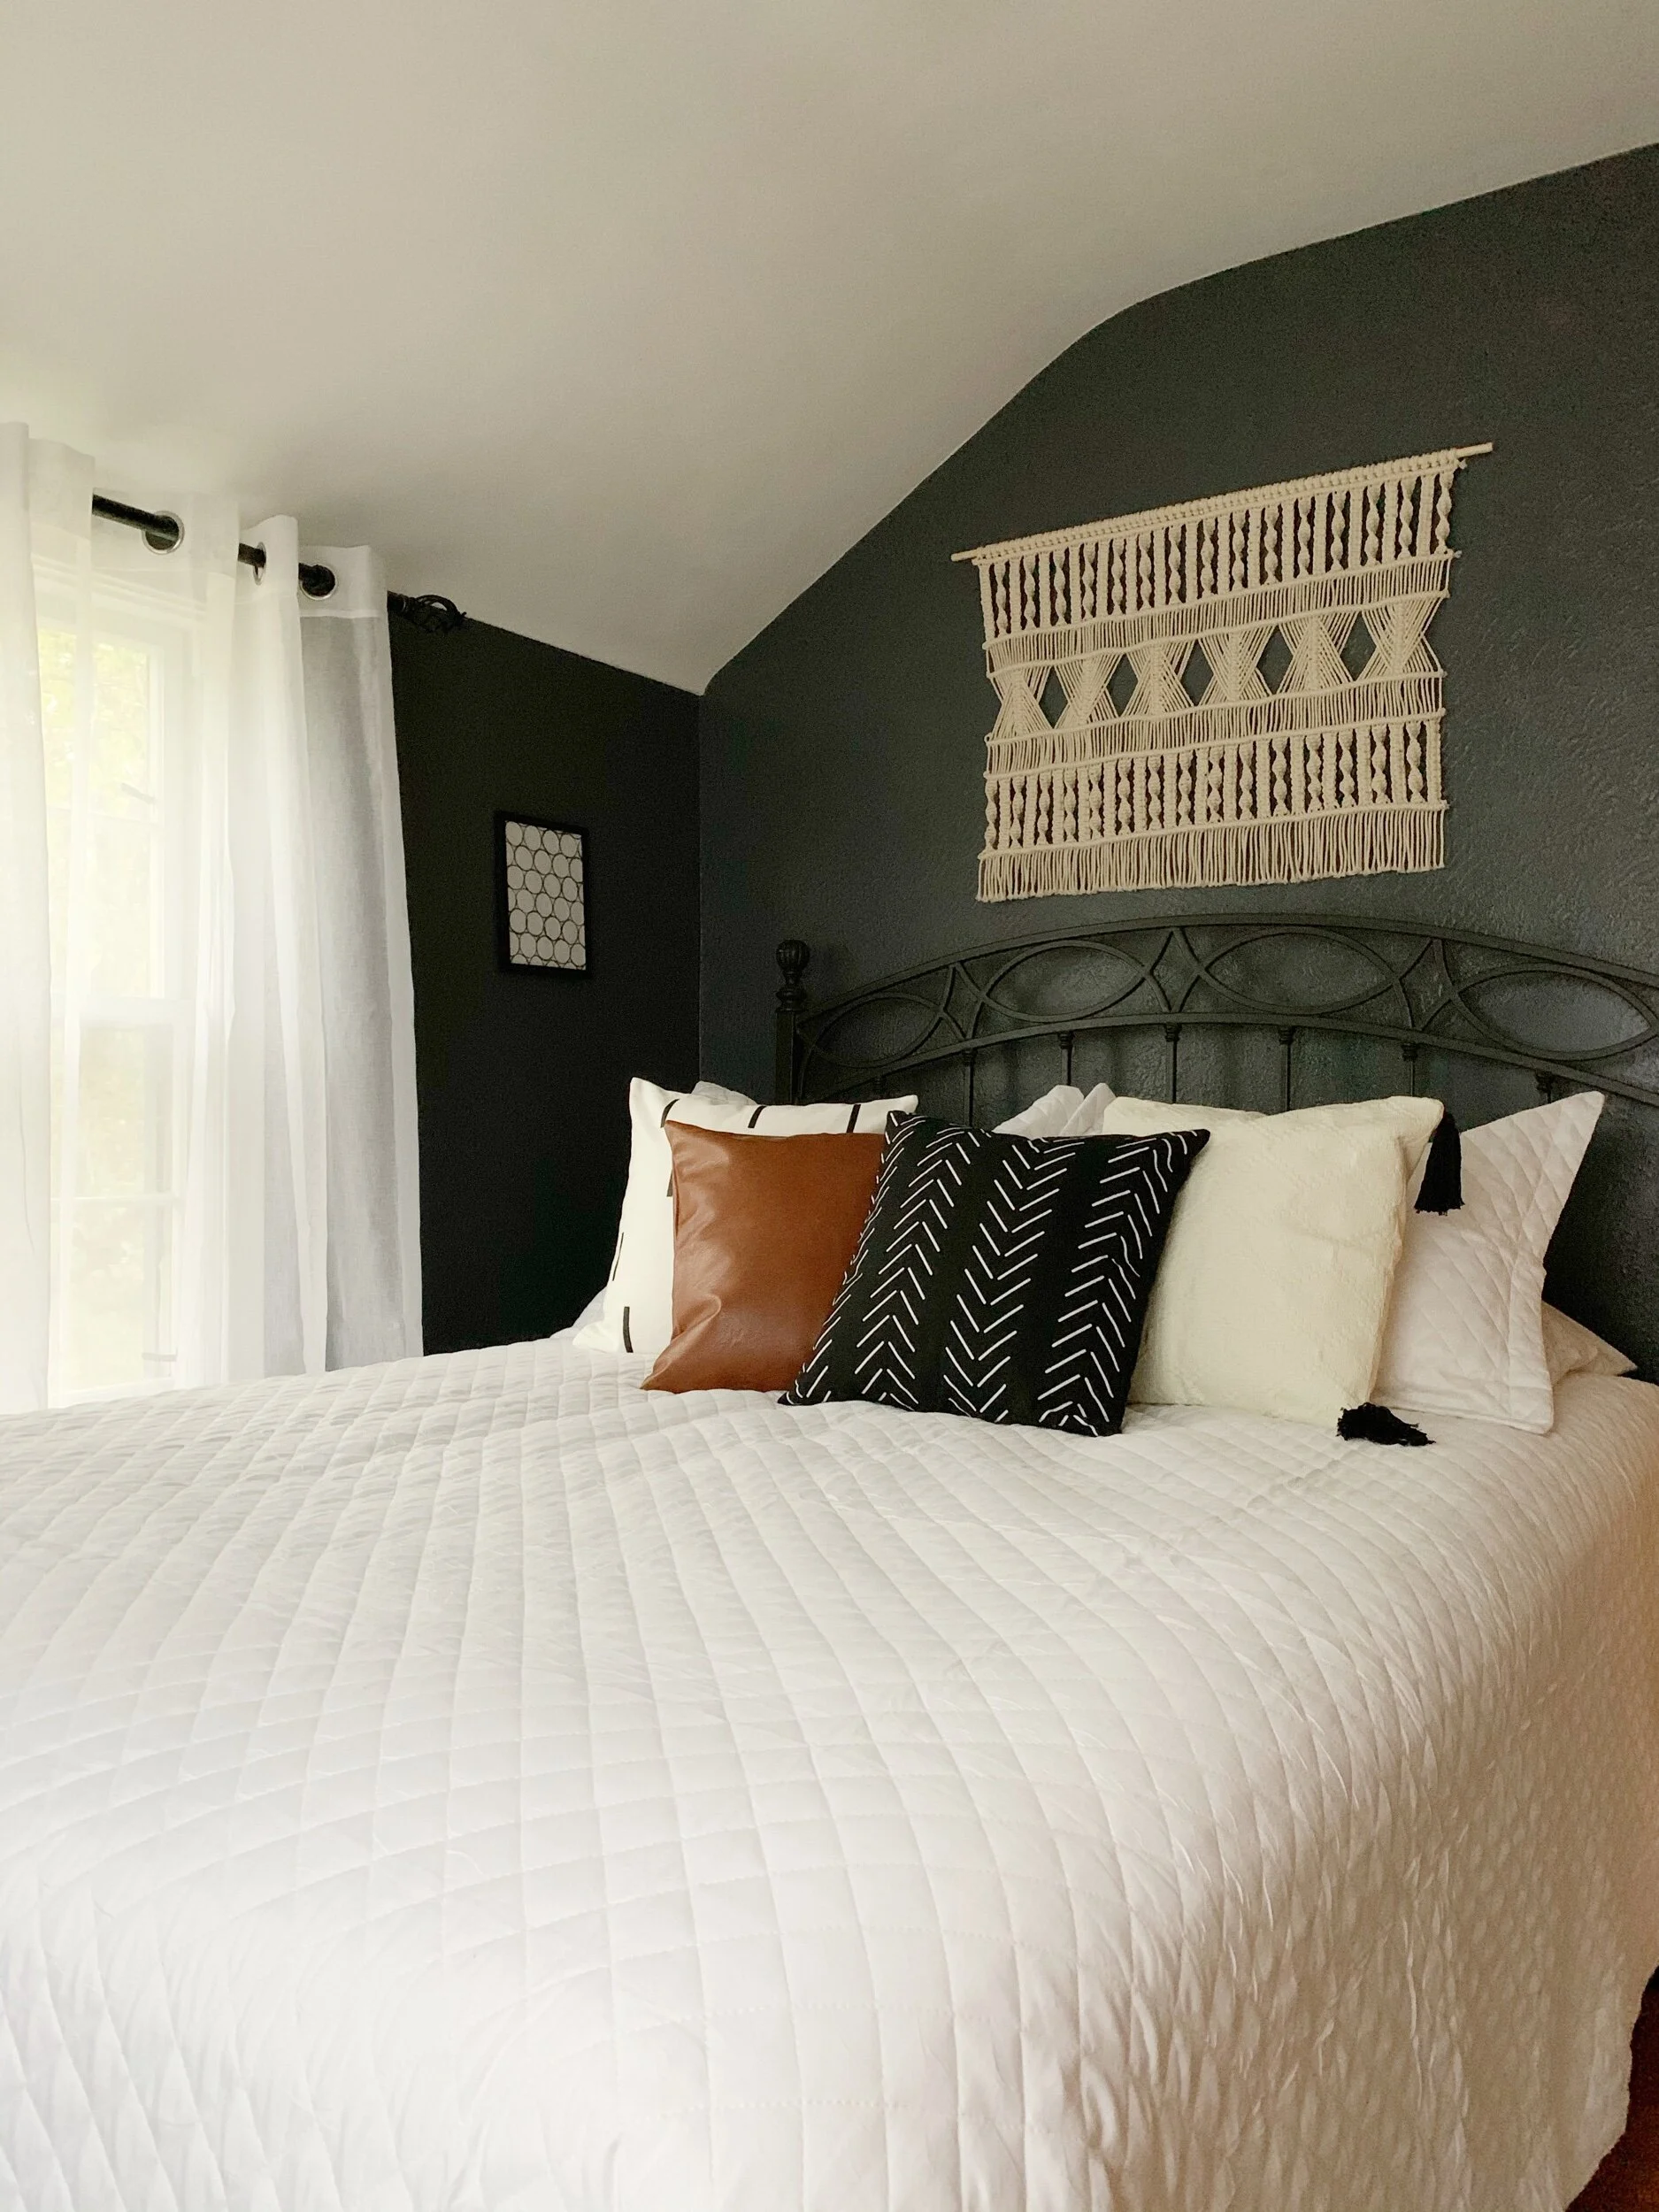
DIY (LARGE) Macrame Wall Hanging
Who doesn’t love a good macrame project?!
I am so excited to share this large macrame wall hanging with you!
Whether you’re an expert or new to macrame, I hope this project inspires you.
Supplies:
3mm macrame cord (310 yards)
3ft wooden dowel
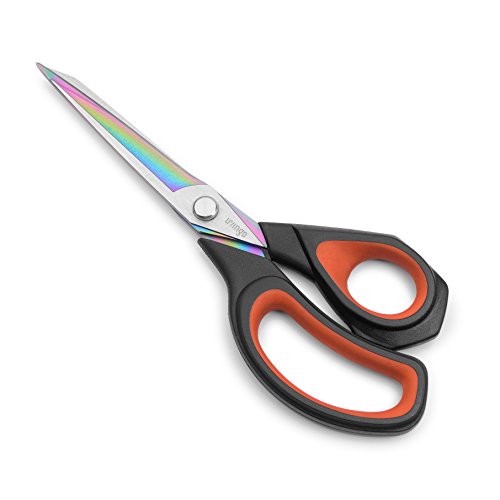
scissors


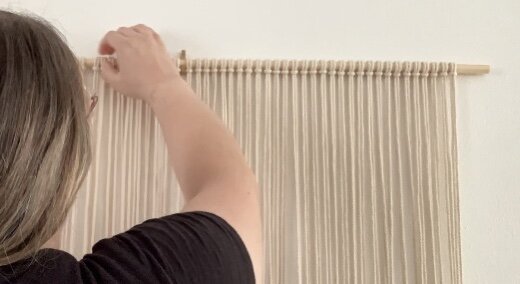
First, you’ll want to cut your cord into sixty 15 ft long strands.

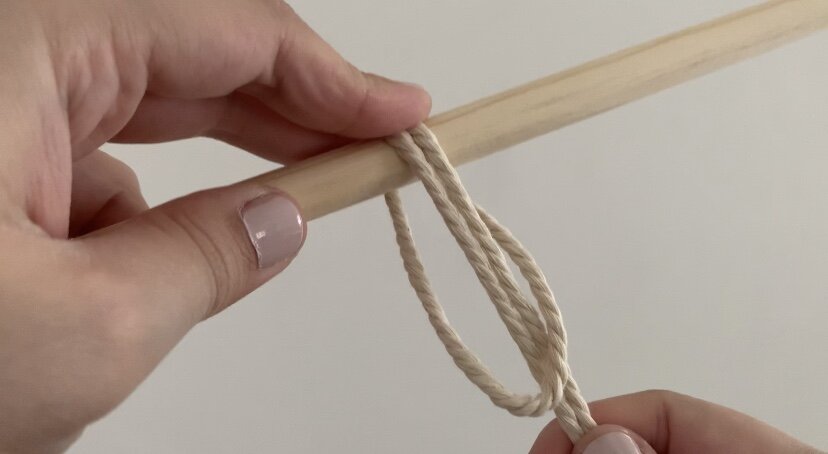
Then, attach all sixty strands to the wooden dowel using what’s called a larks head knot.
(Fold each strand in half and meet the two ends creating a loop. Then place the loop over the dowel and pull the two ends through.)


Once all sixty strands are attached to the dowel make sure they are all evenly spaced.
For the first part of the design, cut another 5 ft strand and use it to create a line of double half hitch knots all the way across.
(Tip: Tie the 5 ft cord to the end of the wooden dowel to keep it in place.)
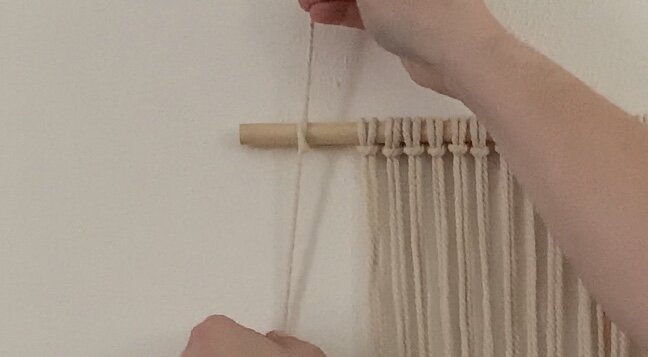
Then begin the double half hitch.
(To create the double half hitch take the first far left strand and put it over and through the 5 ft strand you tied to the end of the dowel. Then tie it around once more to create the double half hitch.)

Continue the double half hitch with each strand all the way down to create a straight line across.

Next, create a row of square knots using the first four strands on the left of the hanging.
(To create a square knot cross the far left strand over the two center and the far right strand over the far left, under the two center and through. Repeat these steps in the opposite direction to complete your square knot. Cross the far right strand over the two center and the far left strand over the far right, under the two center and through.)


Once you have about eleven square knots take the next four strands and this time create a spiral knot.
(To create a spiral knot simply do half a square knot and repeat in the same direction several times.)

(Tip: When creating the spiral knot turn your strands over after about every seven half square knots. This makes continuing the knots much easier.)

For this design you’ll want to do about twenty two half square knots down to create the spiral knot.
(Tip: Rows can be tightened or loosened to ensure they are all the same length.)

Then simply just repeat this all the way across.
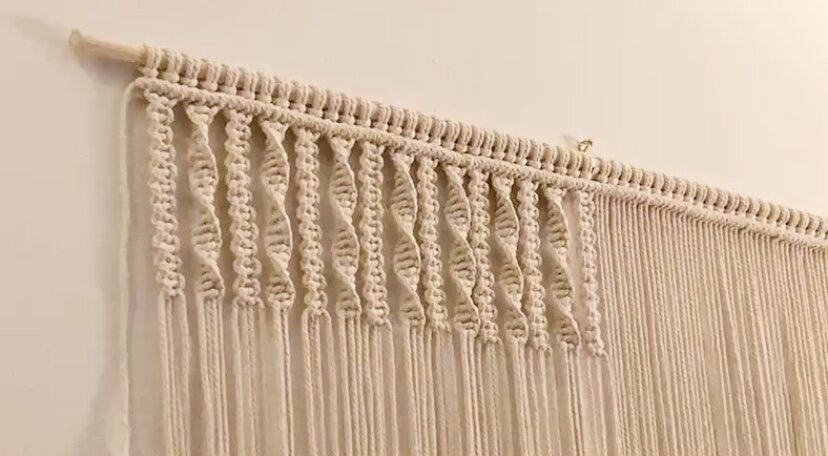
To complete the section create another row of the double half hitch all the way across using another 5 ft strand.
You’ll then want to create another row of the double half hitch to create the next section of the design.

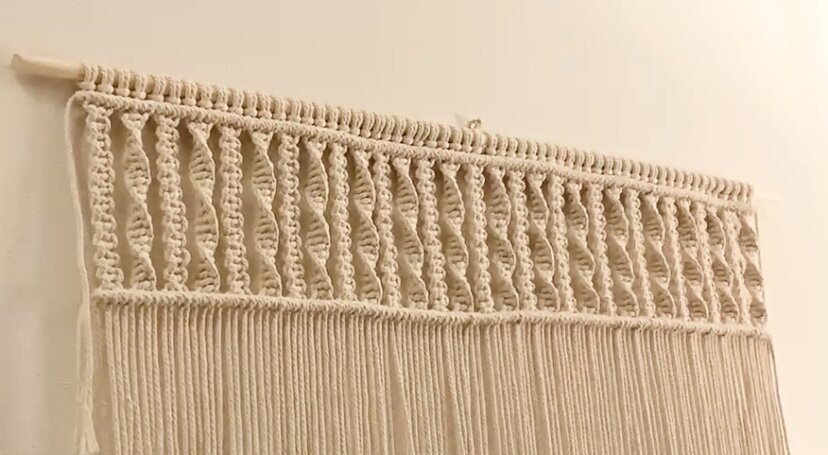
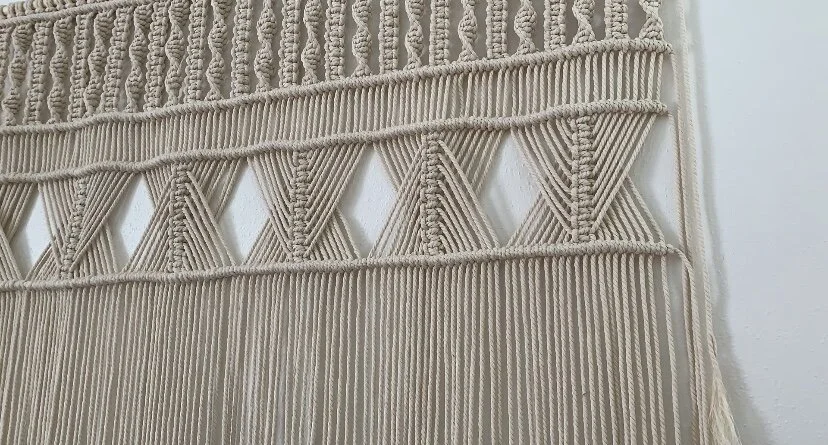
For the second part of this design you’re going to create triangles using a row of square knots.
To do this you’ll want to skip eight strands in and create a square knot using the next four strands.
Then, rather than continuing down with the same four strands, drop the far left and the far right of the square knot you just made, pick up the next left strand and the next right strand and make another square knot.

Repeat this all the way down with all eight strands on either side.

As you can see this creates a triangle pointing down.
To create a triangle pointing up you’ll again skip eight strands in and create a square knot with the next four strands. Then, dropping the far left and far right strands of the first square knot, you’ll pick up the next left and the next right strands, only this time you’ll want to make sure the next strands are going underneath the first far left and far right strands.

Again, repeat this step all the way down.

Once you are all the way across you should be left with six triangles.
Then, continue with another row of the double half hitch to pull the ends of each section tight.
This will form another triangle in each row of square knots.
To finish off the design you’ll then repeat the pattern at the top.
To do this create another row of the double half hitch.

And begin creating rows of square knots and spiral knots all the way across, only this time starting with the spiral knot.

Then finish it off with another row of the double half hitch.

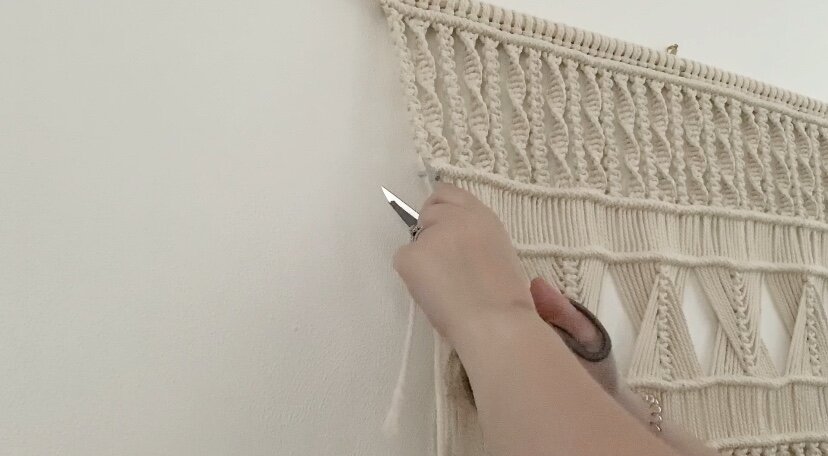
You’ll then tie up and cut all the ends on the sides.
Measure to see where you want to cut the fringe. (I cut mine at about 25 ft.)
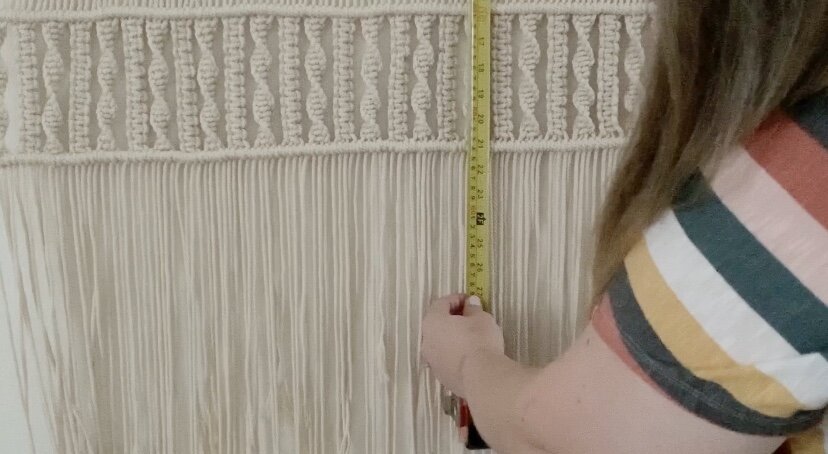

And use a piece of tape to cut the cords all the way across in a straight line.


And you’re done!

If you like this wall hanging be sure to leave a comment below.
Disclaimer: As an Amazon Associate I earn from qualifying purchases.