Refinishing Existing Furniture Pieces
When it comes to furnishing a home on a budget my best advise has to be paint!
Whether you’re given hand-me-downs or shopping second hand, the best way to update the items you can afford is to simply just add a little paint or stain.
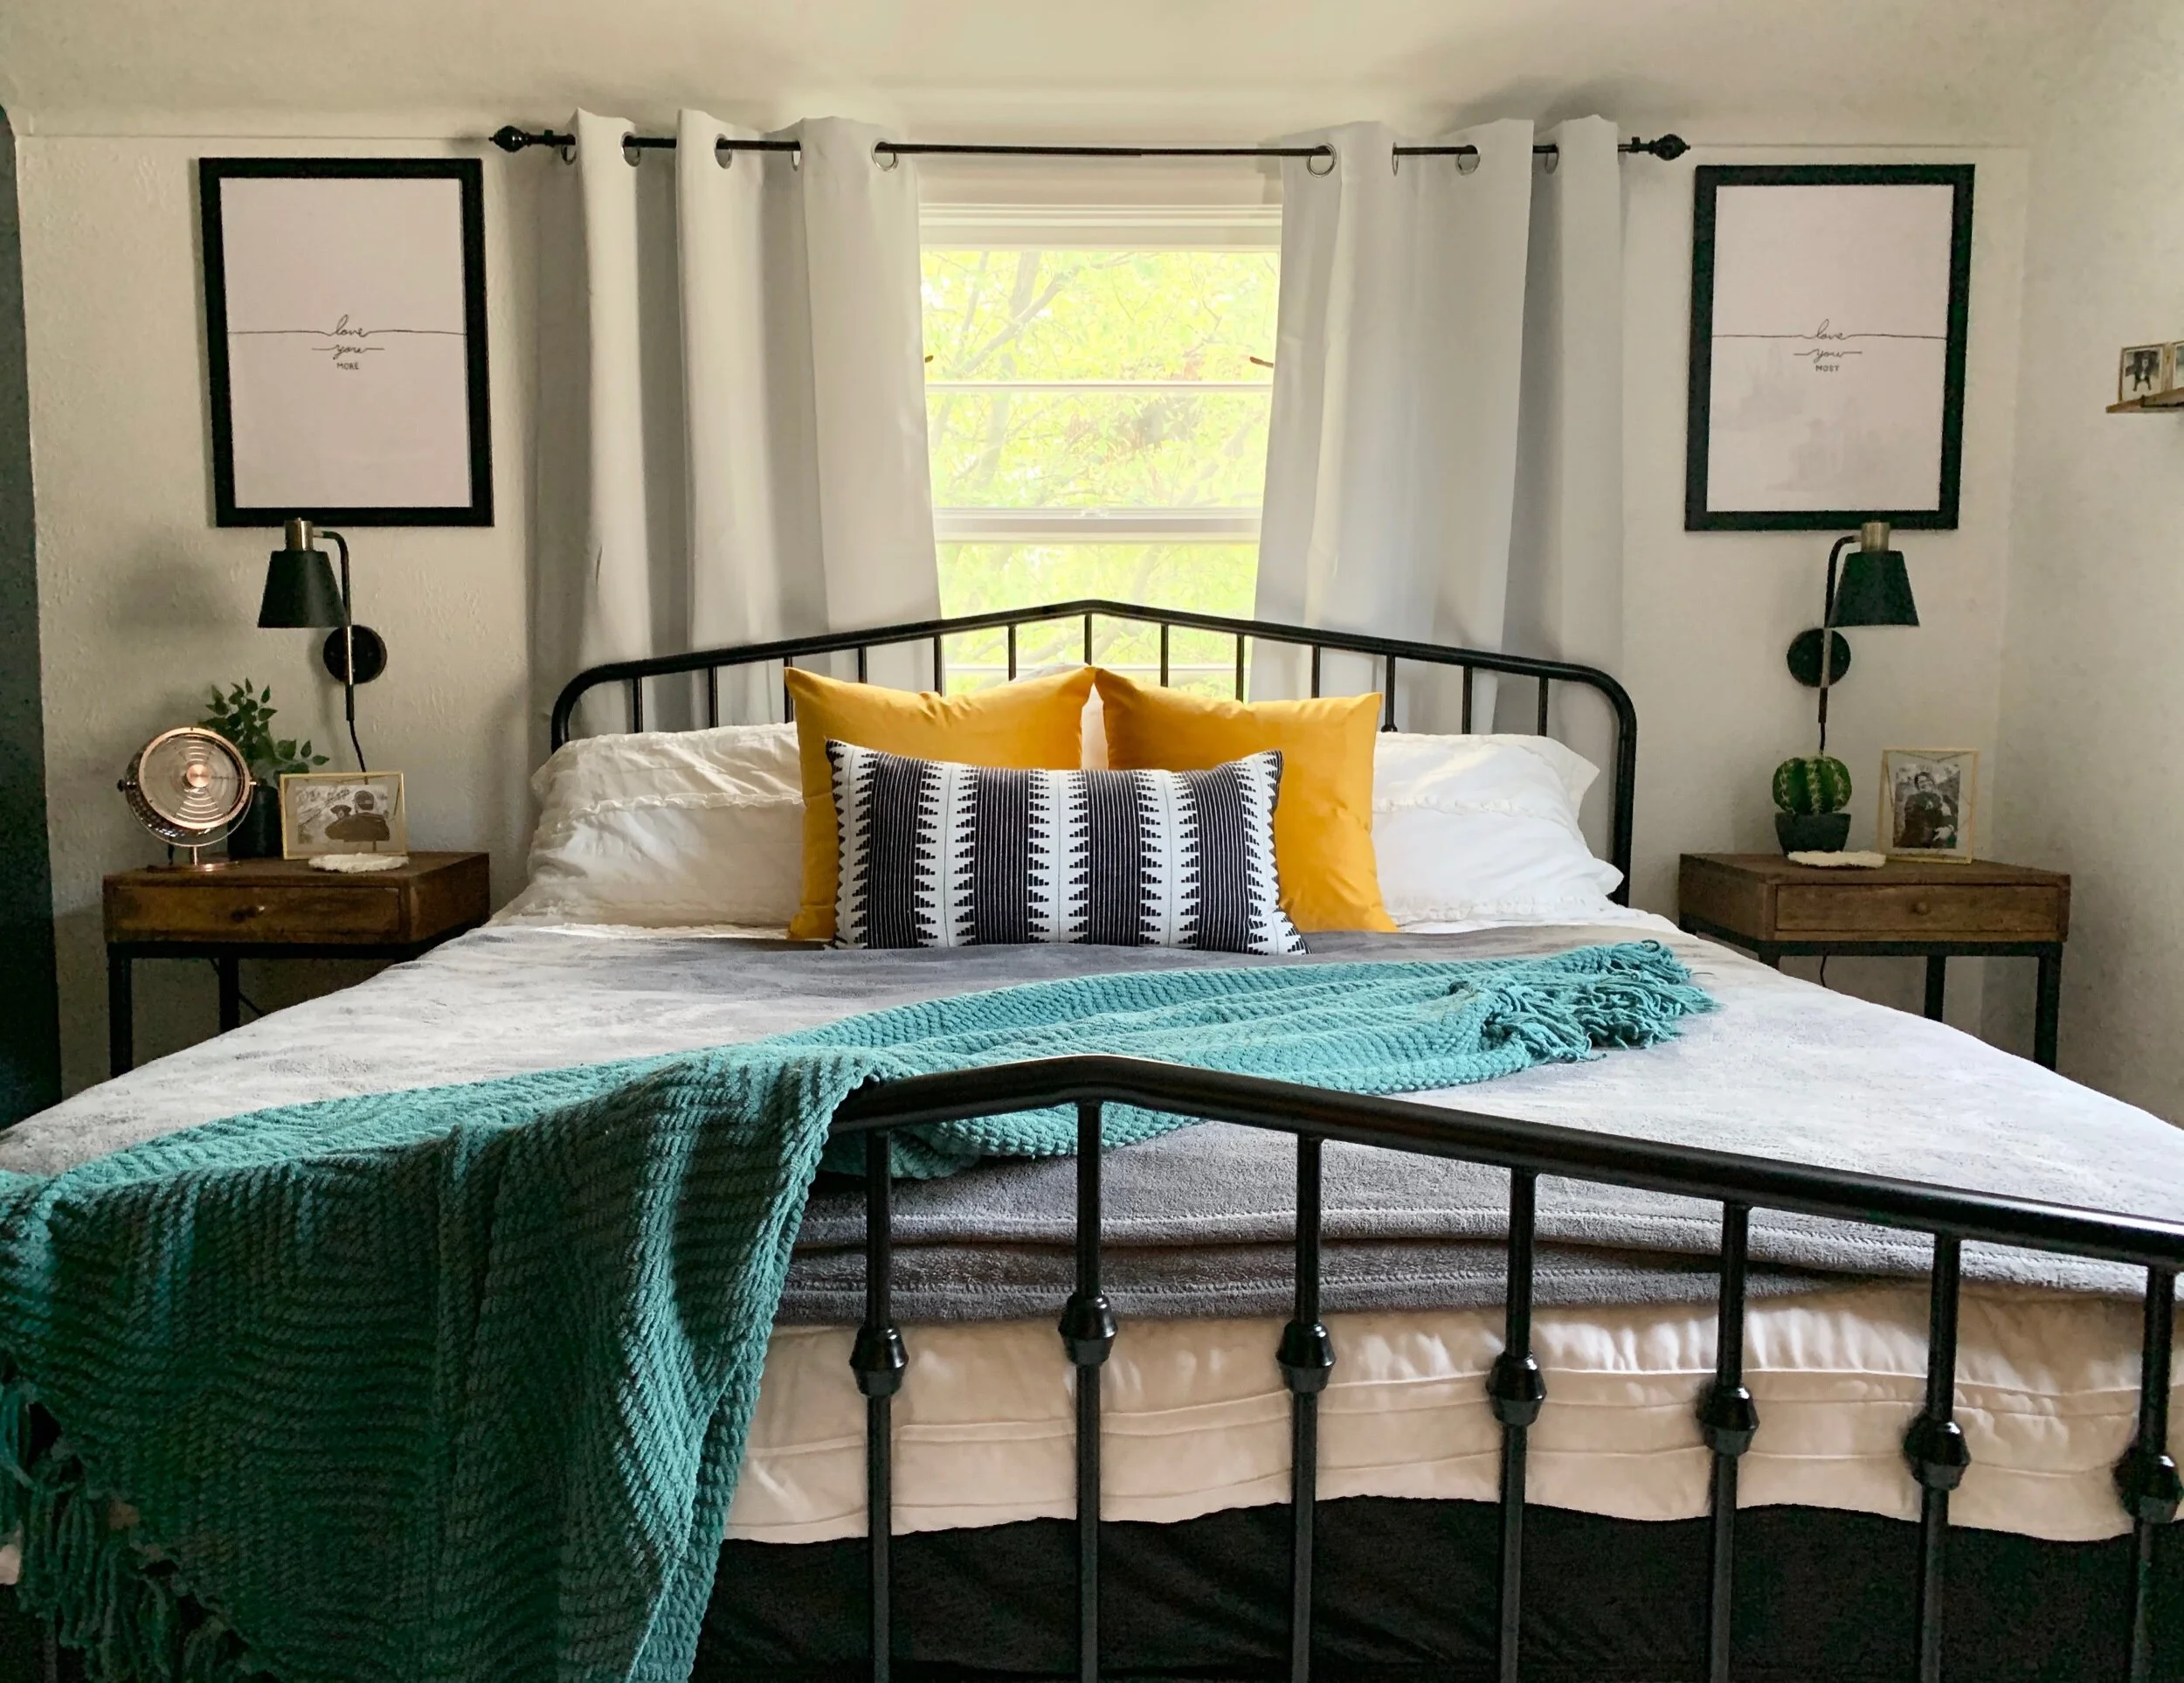
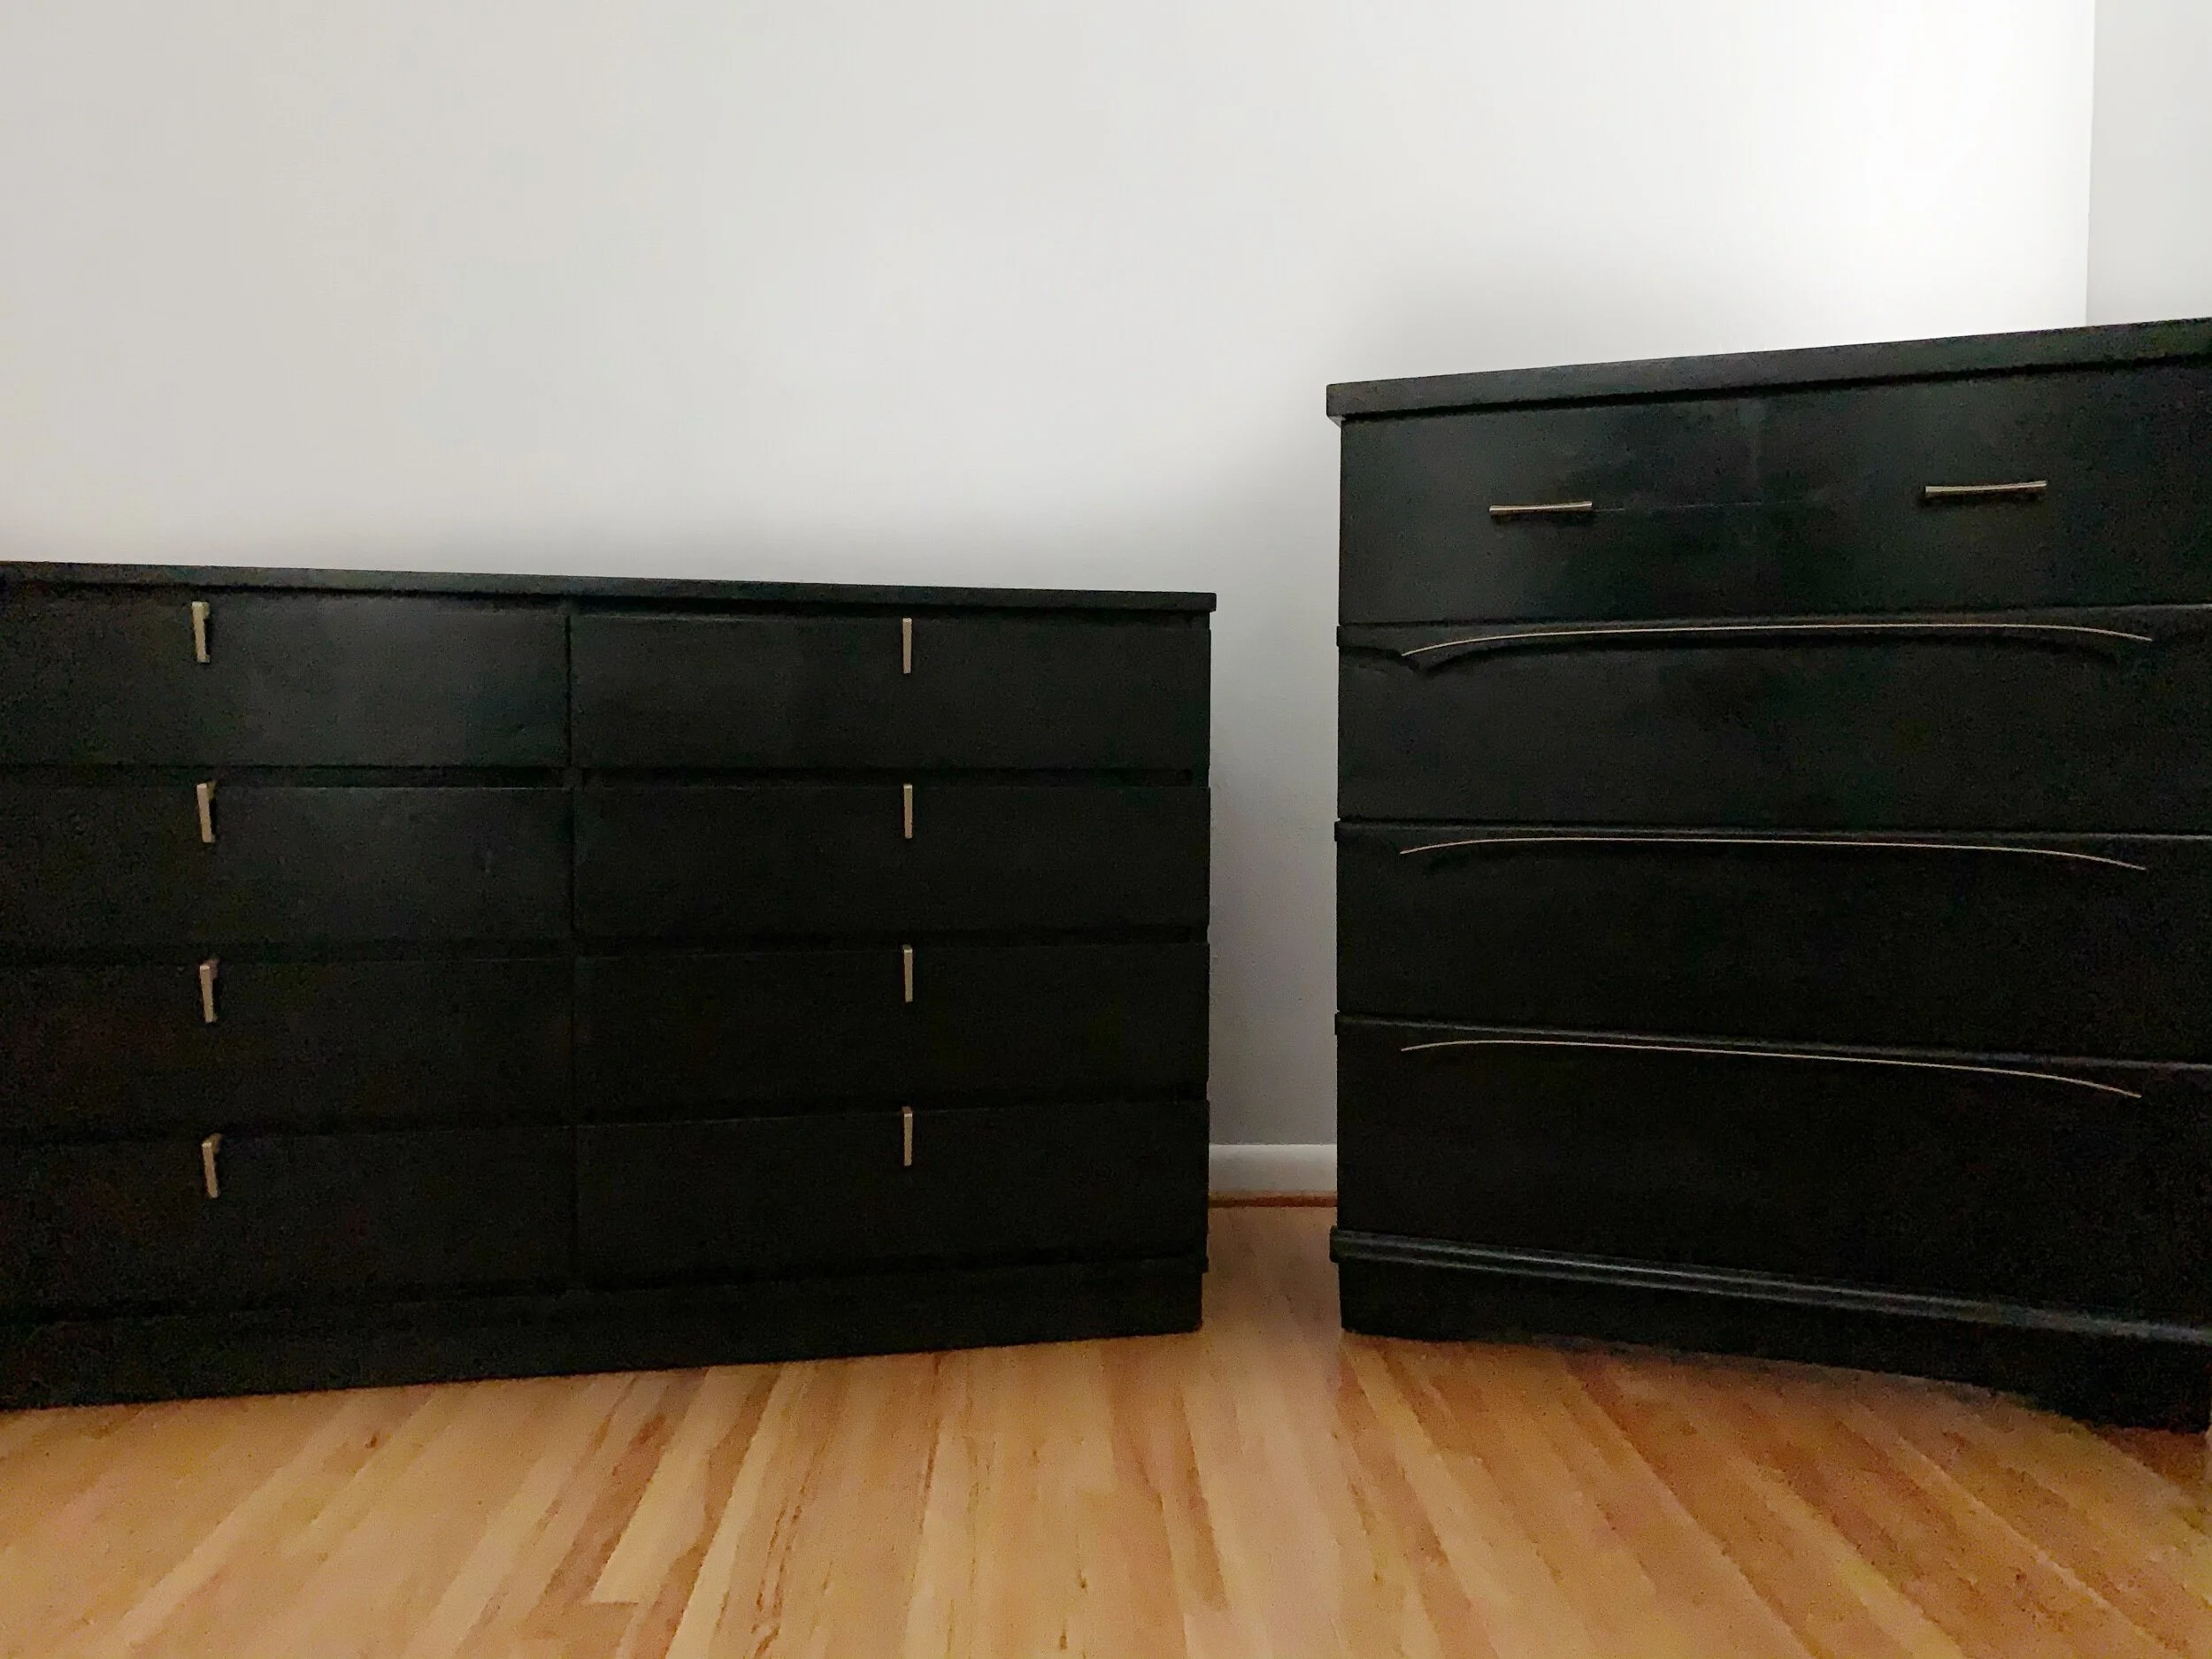
So when it came to making over our bedroom I knew I wanted to update our two old dressers.


My plan was to make these dressers look more modern by painting them black and spray painting the handles gold.
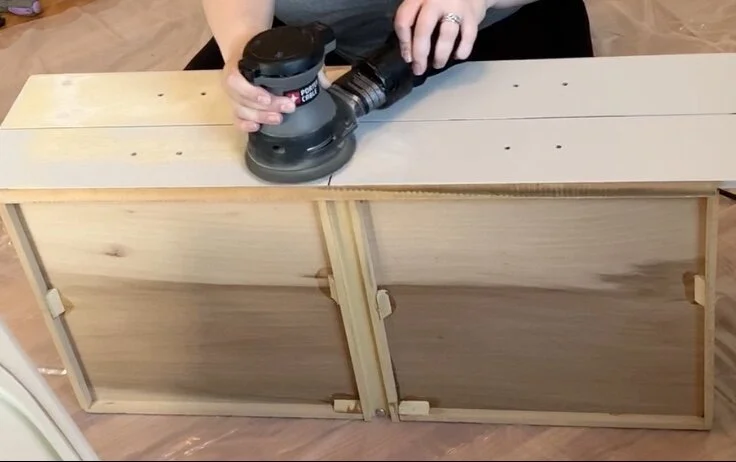
I started of course by removing the old handles and sanding down each piece.

The sanding on both these dressers took me an awfully long time because I had to get through an entire layer of paint.
If you are going to do a project like this on a painted dresser I would recommend using a paint stripper before you sand it down.

Originally, I wanted to make these dressers look like a matching set.
My plan was to remove the wooden handles on the drawers of the tall dresser, but I soon decided against it as I did not want to ruin the drawers themselves.
I did, however, use wood filler to fill in the gaps on the top drawer that were making it look like four little drawers and replaced the four old handles with two new ones.

I then continued sanding away.

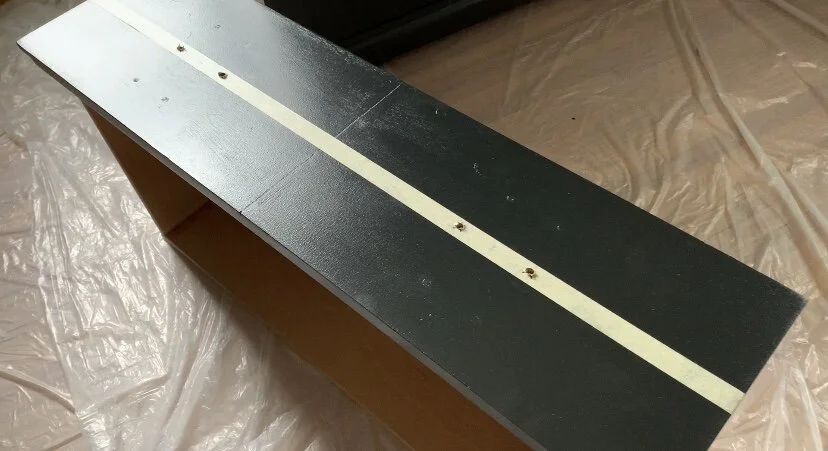
Once the first dresser was completely sanded I then used some gold spray paint on the small metal piece of each of those three drawers.
I taped this all out beforehand, though it is not all that necessary because I am then painting around the metal pieces in black.


I then began sanding the other dresser.
This took me several days to complete as I simply just sanded a little bit each day.


And when that was done I began to paint.

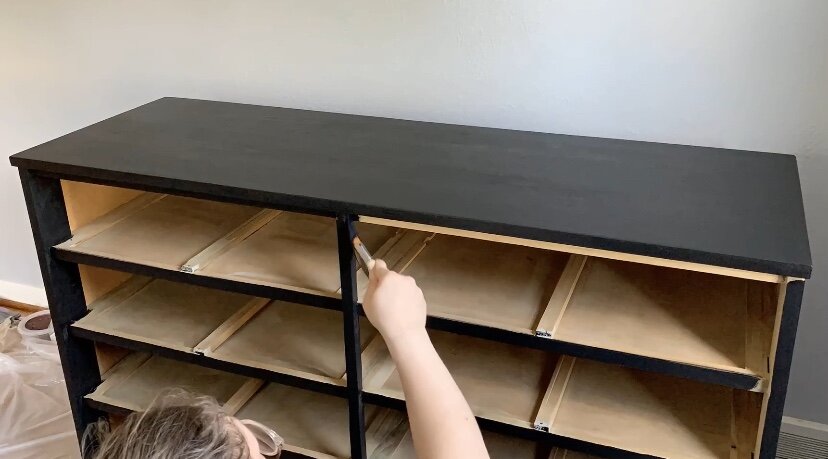
I did about two coats of paint on each dresser.
As for the drawers, I just simply carefully painted around the metal.


And as that all dried I then moved on to spray painting the old handles gold.

I first sanded these down in order for the paint to better adhere.

And then sprayed on several thin layers of paint.

And here is how they turned out.
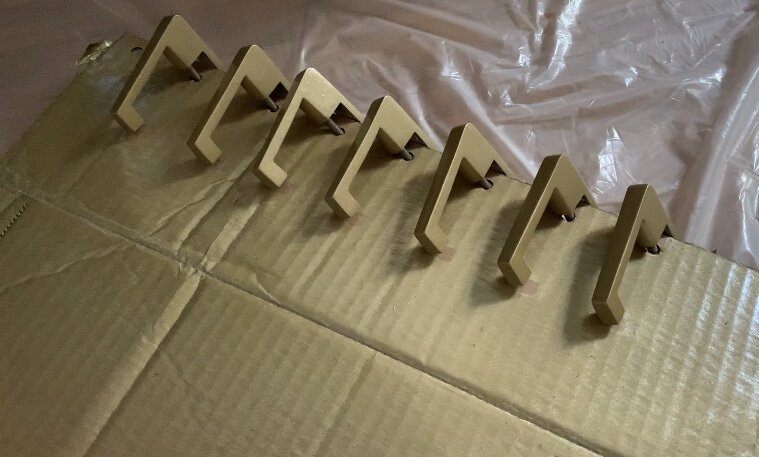
My last step with these dressers was to then add on the two new handles to that top dresser drawer.
I just simply used some tape to mark where I wanted them and then had my brother-in-law drill the holes.
And here’s how they turned out!

Another set I knew I wanted to refinish for our bedroom was our nightstands.


I had bought this almost matching set from the At Home store when I first moved out on my own.
One of them had a whitewash finish and the other was a solid stain my mom and I had sanded down and attempted to whitewash but failed.
That nightstand was my husbands and was in pretty bad shape as he does not always use a coaster.
So I went ahead and sanded both of these down.

I then used an Early American stain.

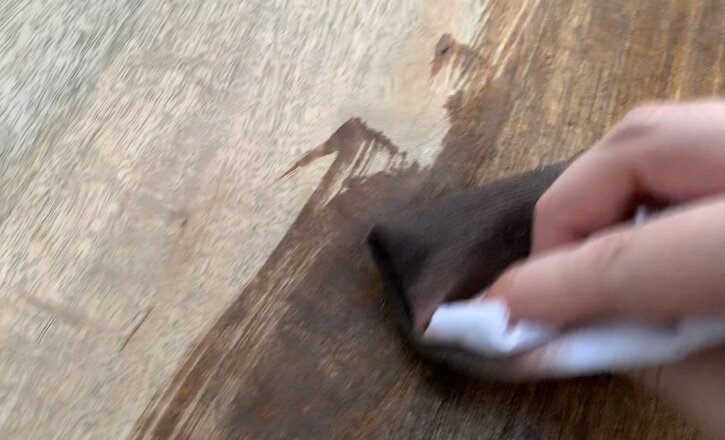
The wood on these was in pretty rough shape and did not turn out as good as I had hoped, but for now I think these will do the trick.

While the stain was out I also decided to refinish these $5 shelves I had bought from Five Below.

I simply just removed the metal brackets so I could sand and stain the wood pieces.


I then spray painted the brackets black as these were going against a white wall and I really wanted them to stand out.


And here’s how they turned out!


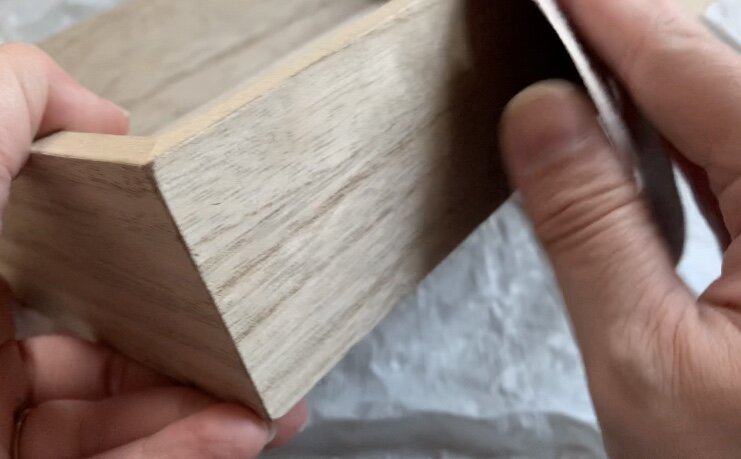
My last project for our room was to stain this $5 wooden tray I had bought from Target that I wanted to put on my dresser to hold my glasses.

I simply just sanded this down and stained it, again with the Early American stain.

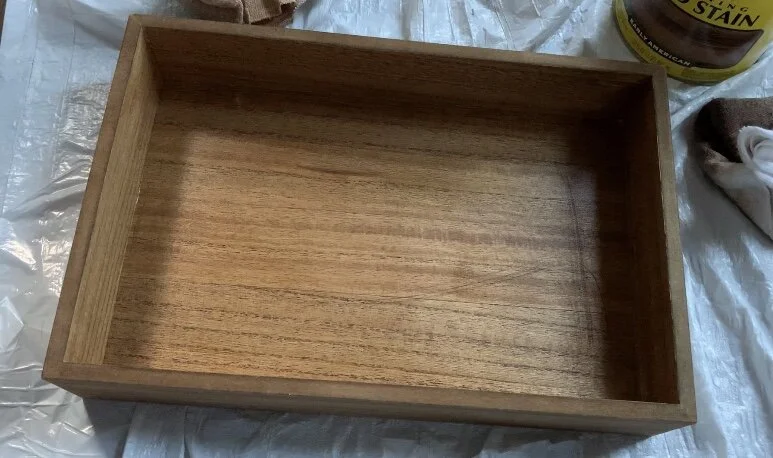
I then wanted to line the bottom of the tray with some fabric.
Instead of permanently adhering it down I simply just hot glued the ends of the fabric and cut the corners so that it would lay flat in the tray.


And I think that turned out pretty well!

Check out my next post to see how all of these projects turned out in our master bedroom makeover.