DIY Artwork For Our Master Bedroom Makeover
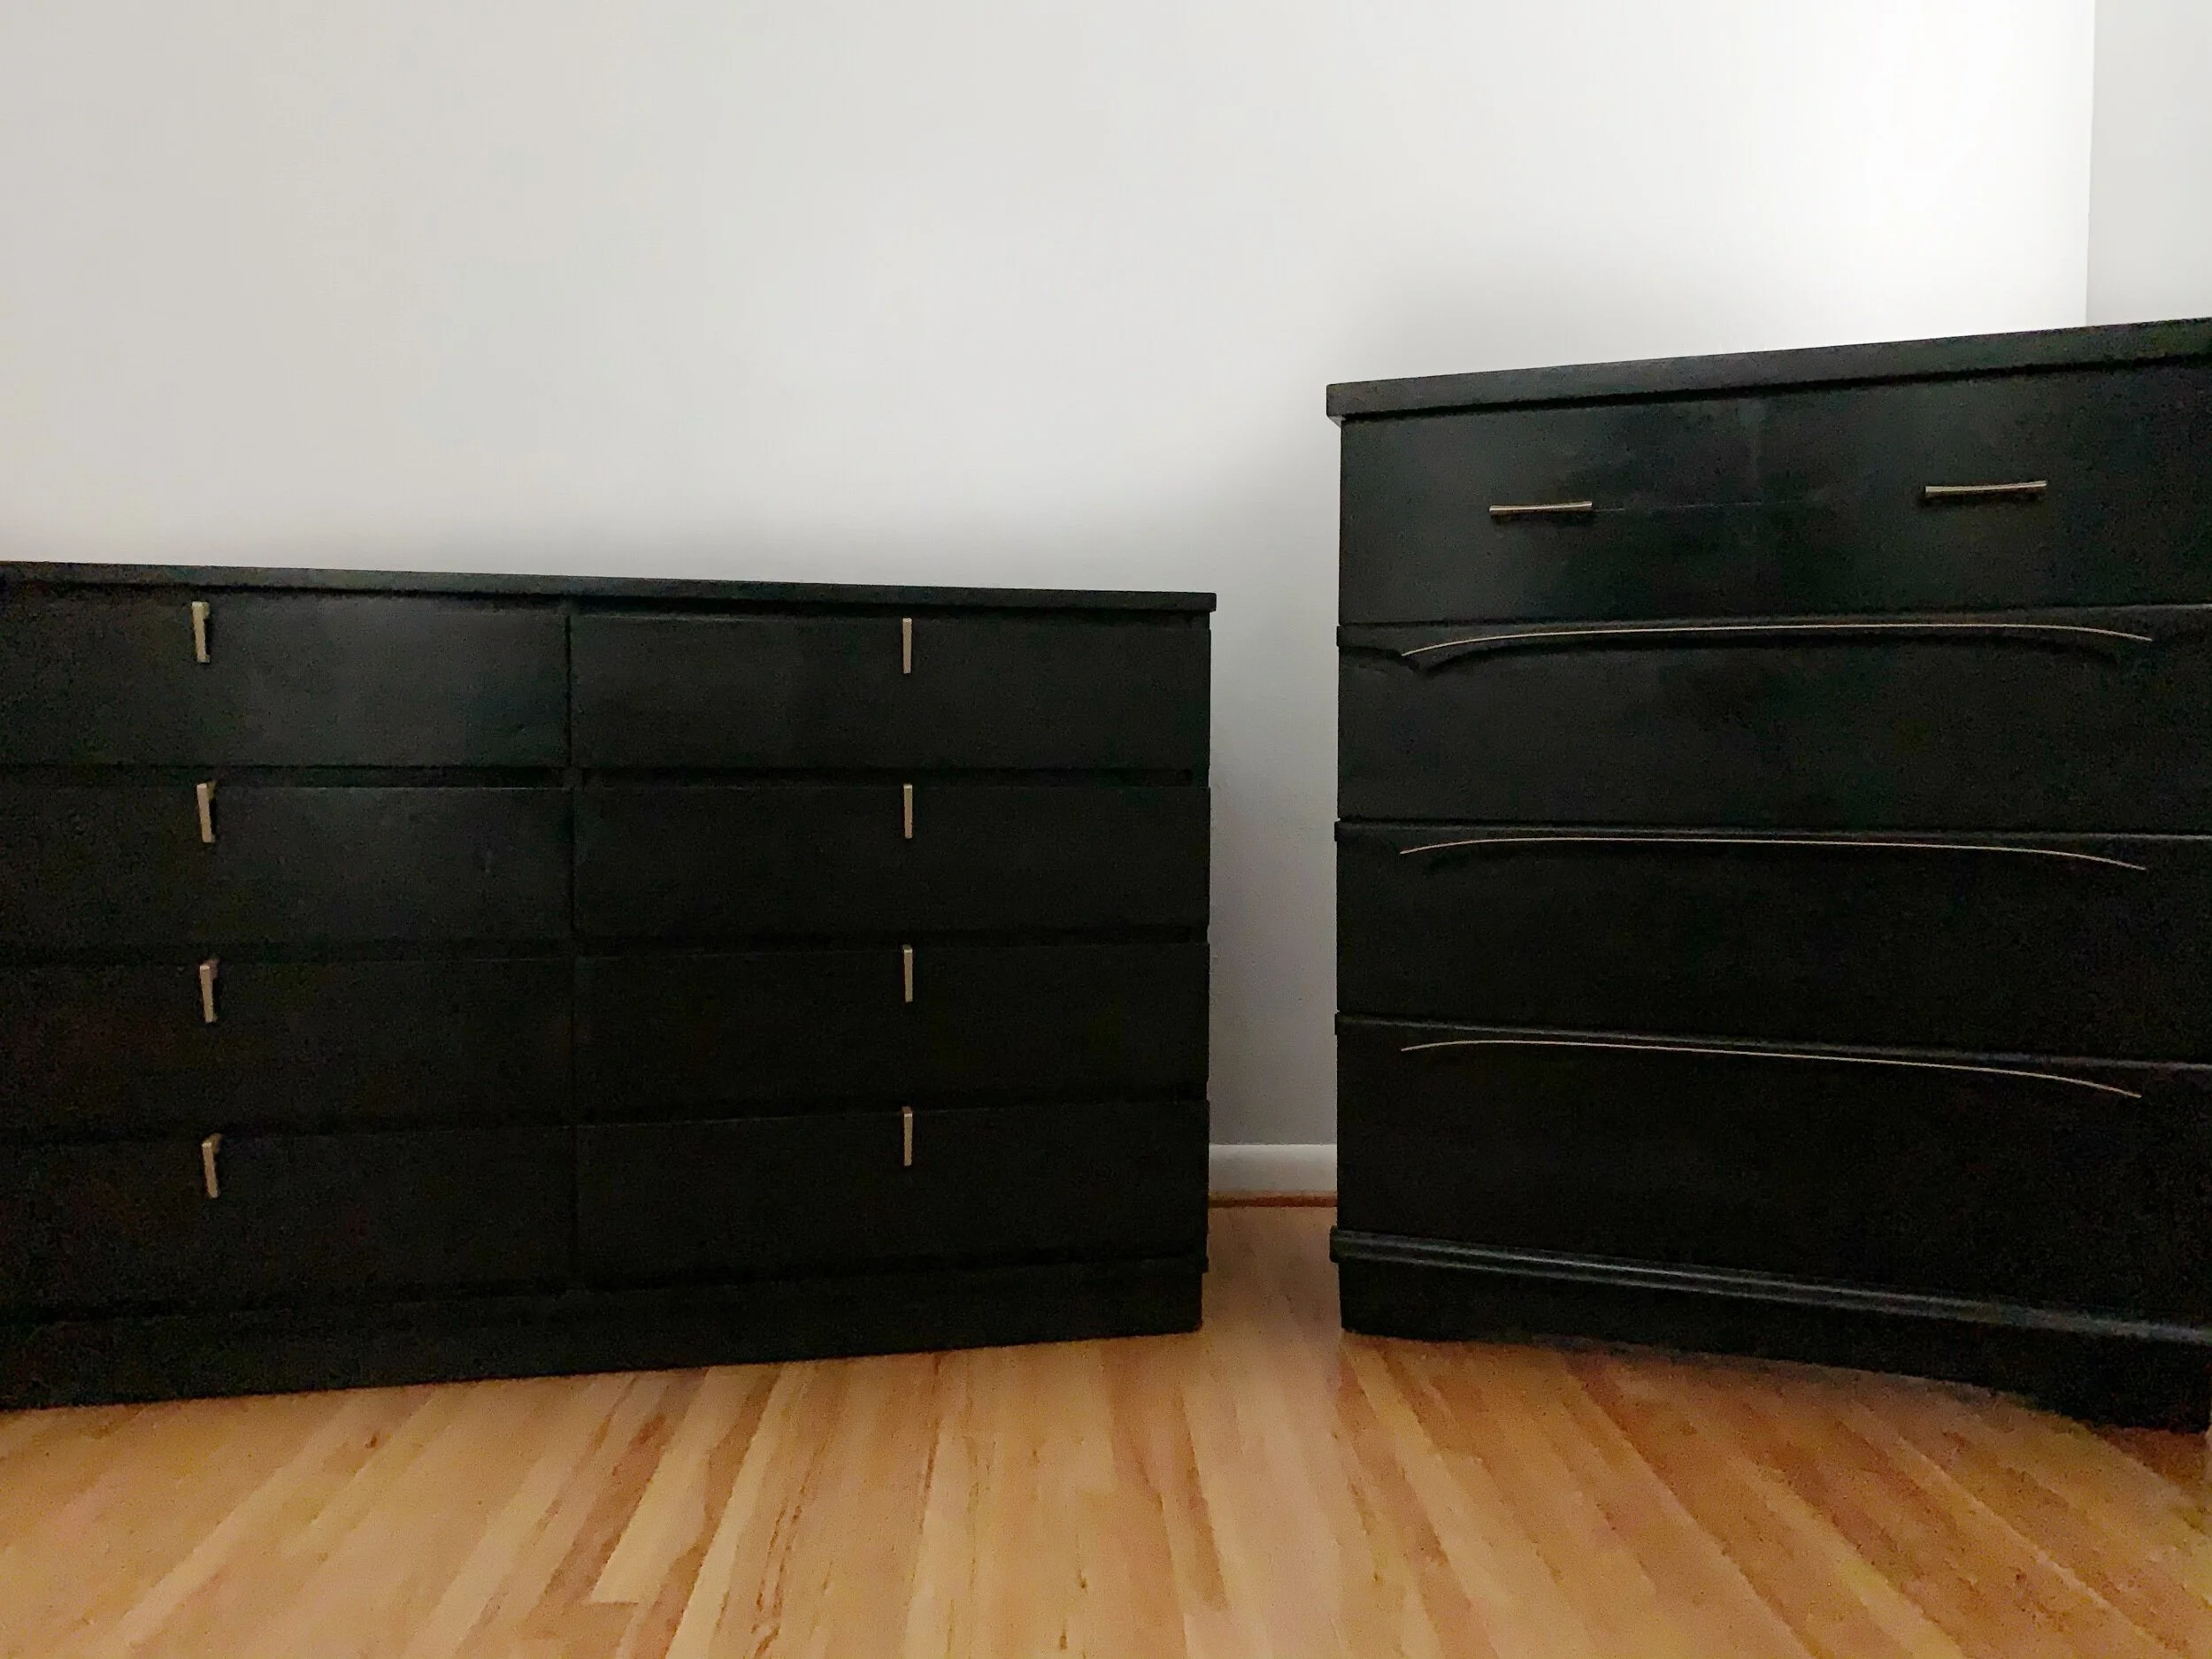
When planning our much needed master bedroom makeover I decided I really wanted a large piece of art to hang above my husband Cody’s dresser. But I really didn’t want to spend a lot of money on something I felt I could easily do myself.
So I went to Michaels and ordered a canvas and man let me say I did not remember how much a large canvas cost. I ended up spending about $40 on a 24” x 36” canvas. I don’t know if that’s more or less than normal. Who knows? 🤷♀️ (Leave a comment below if you think I spent too much or if that was a deal.)
At first I was really inspired by these geode style paintings I had been seeing on Pinterest.
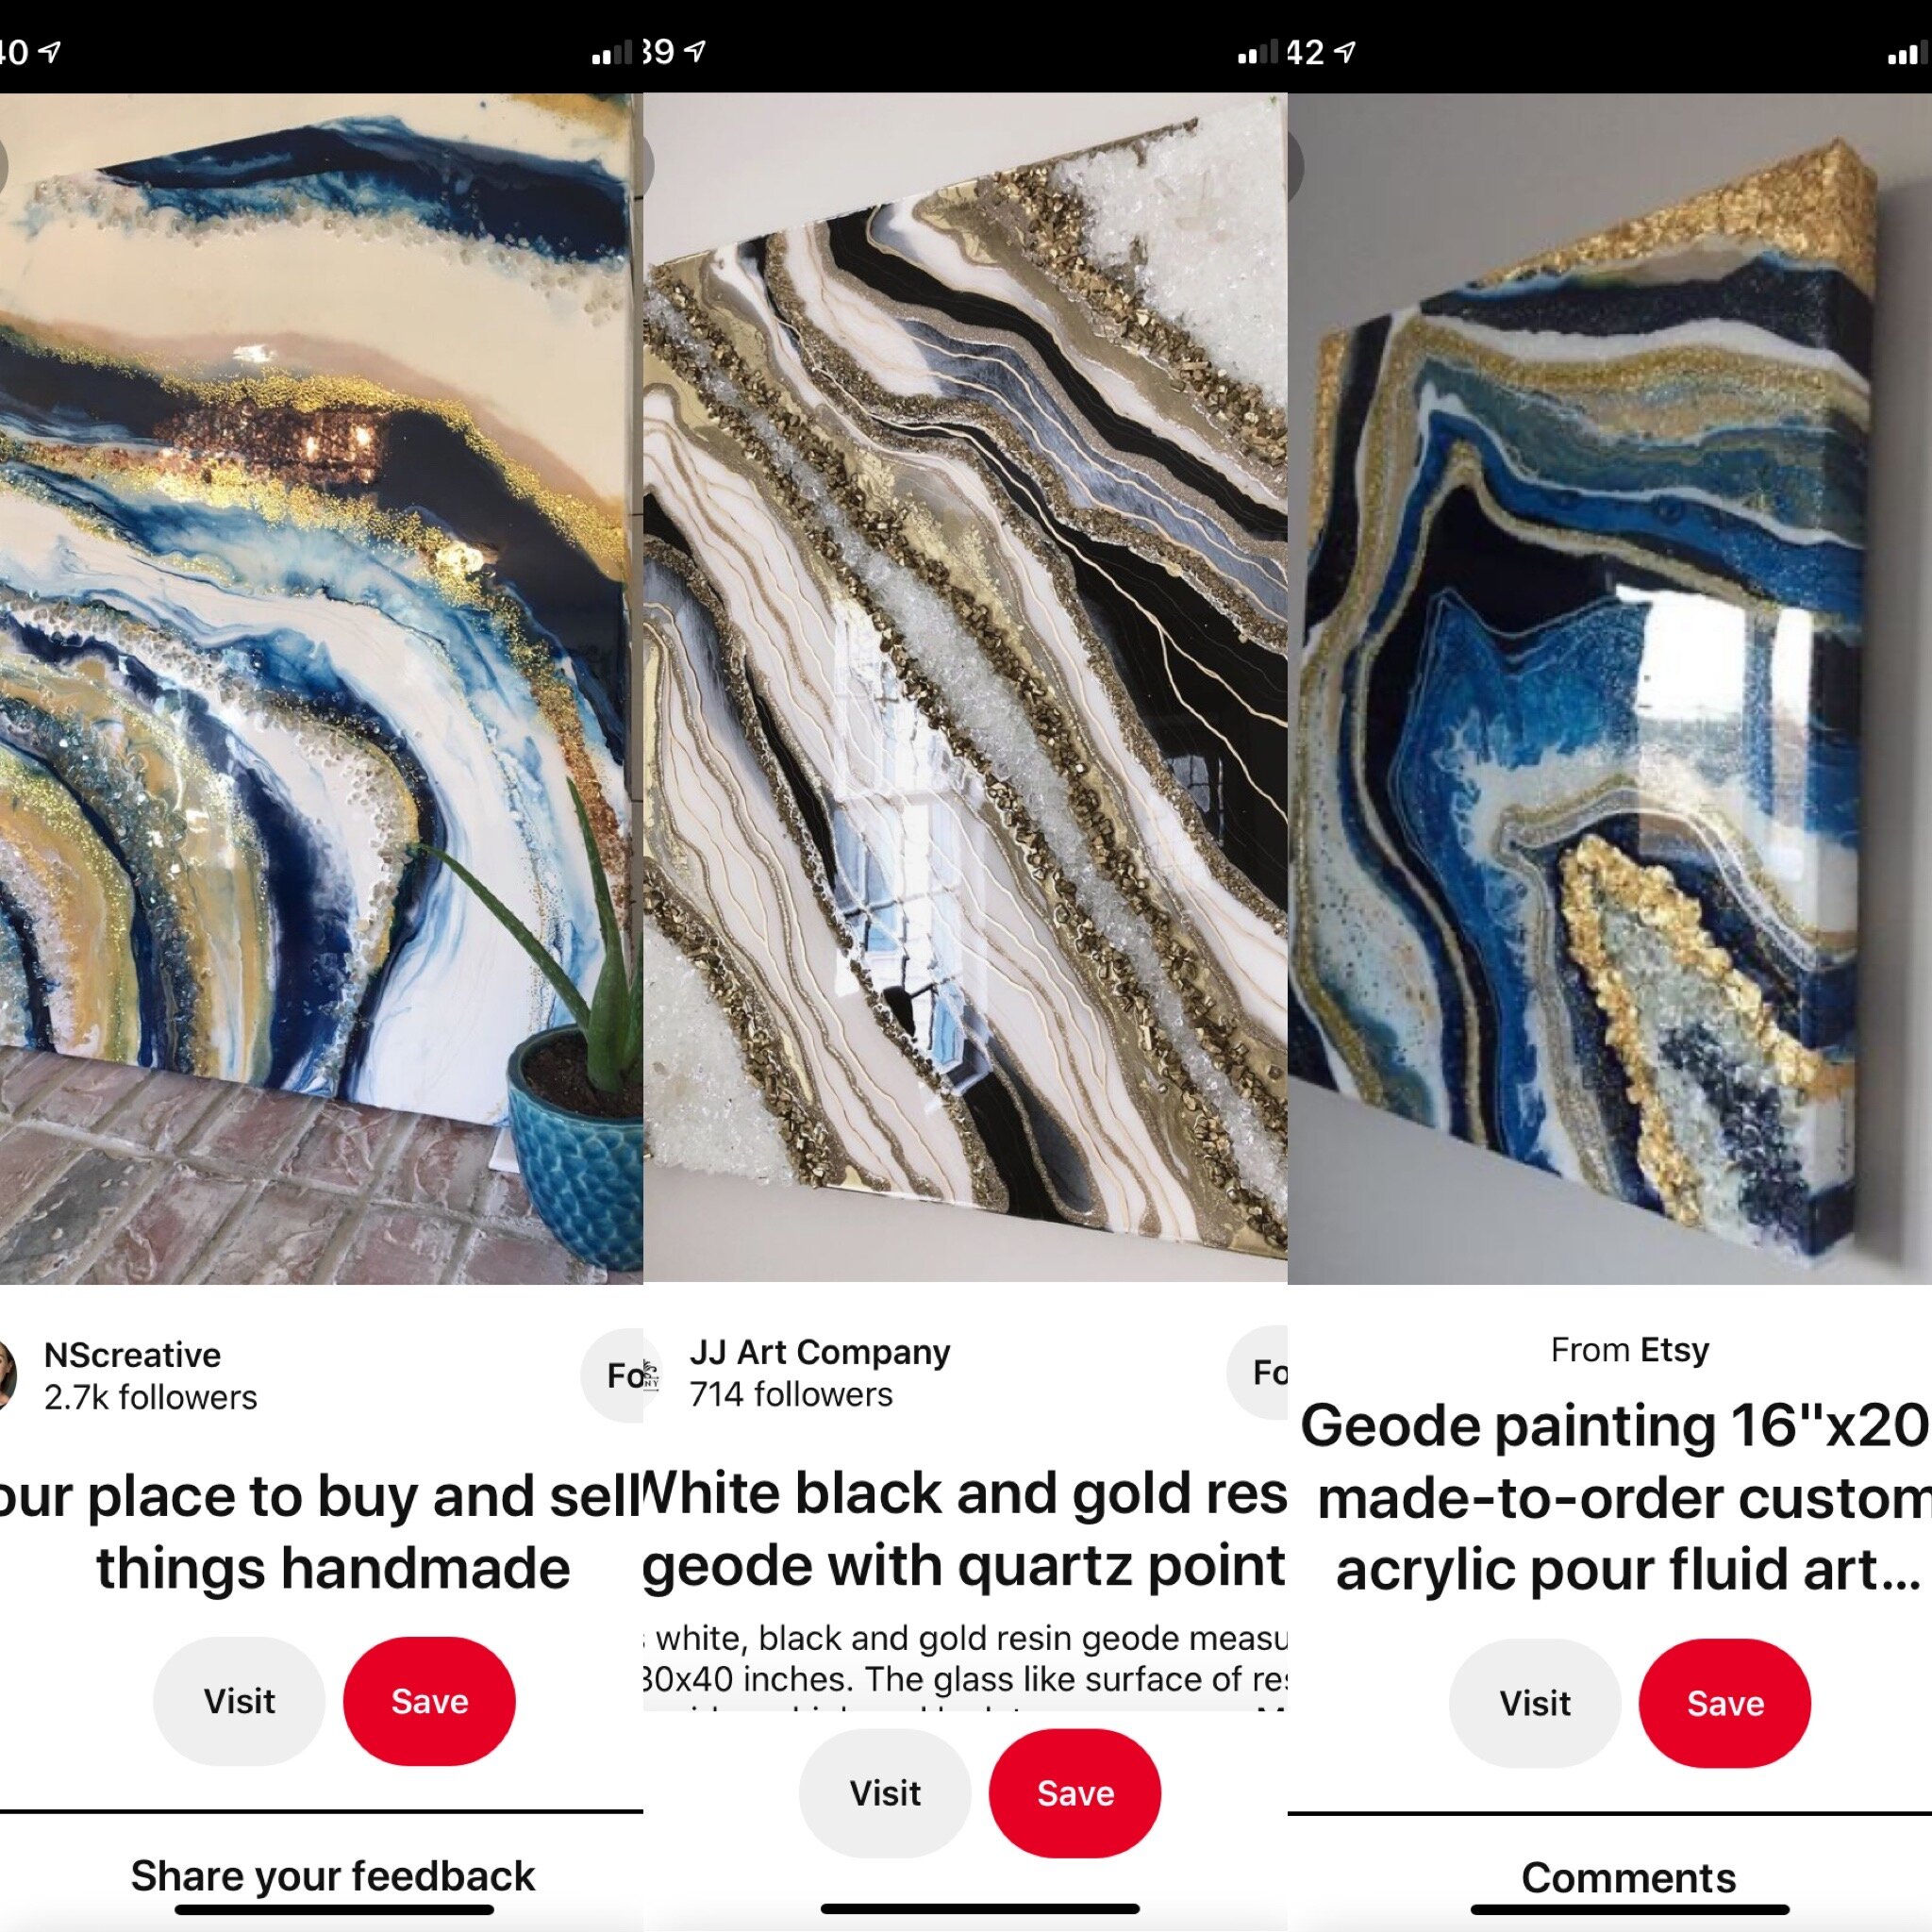
The most popular technique seemed to be paint pouring but I was a little too nervous to try it.
But with every other technique I tried I just was not loving it.


I think I’m just not a fan of my own free style and needed a more structured design.
So I ended up planning out a more abstract style design instead.

I started by mixing up a very light gray to cover the whole canvas.

Then, once that was dry, I began sketching out the design I wanted.
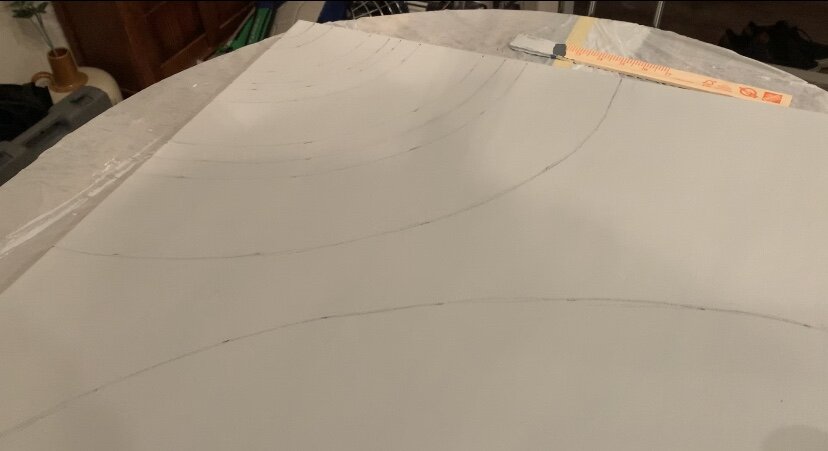

My ideas was to create a large curve at the bottom and a smaller curve at the top. Almost like two half rainbows.
I wanted to be sure to use colors I knew we would be putting in our room (black, dark gray, light gray and gold.)

I started by painting the largest curve black and then, leaving a bit of space, I added the smallest line of gold underneath.
The idea was to go from black to dark gray to light gray, getting smaller in sections as they went inward.
I also wanted to create lines of gold in-between each shade of gray, but with these getting bigger as they went inward.
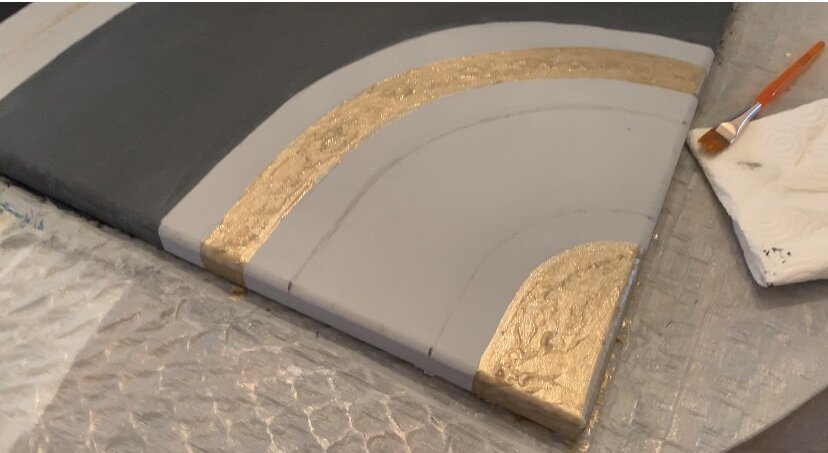
The gold paint was a bit thin so I continued to layer it on thick creating a bit of texture.


After going over the colors several more times, I then made sure to erase any pencil marks that were left behind.

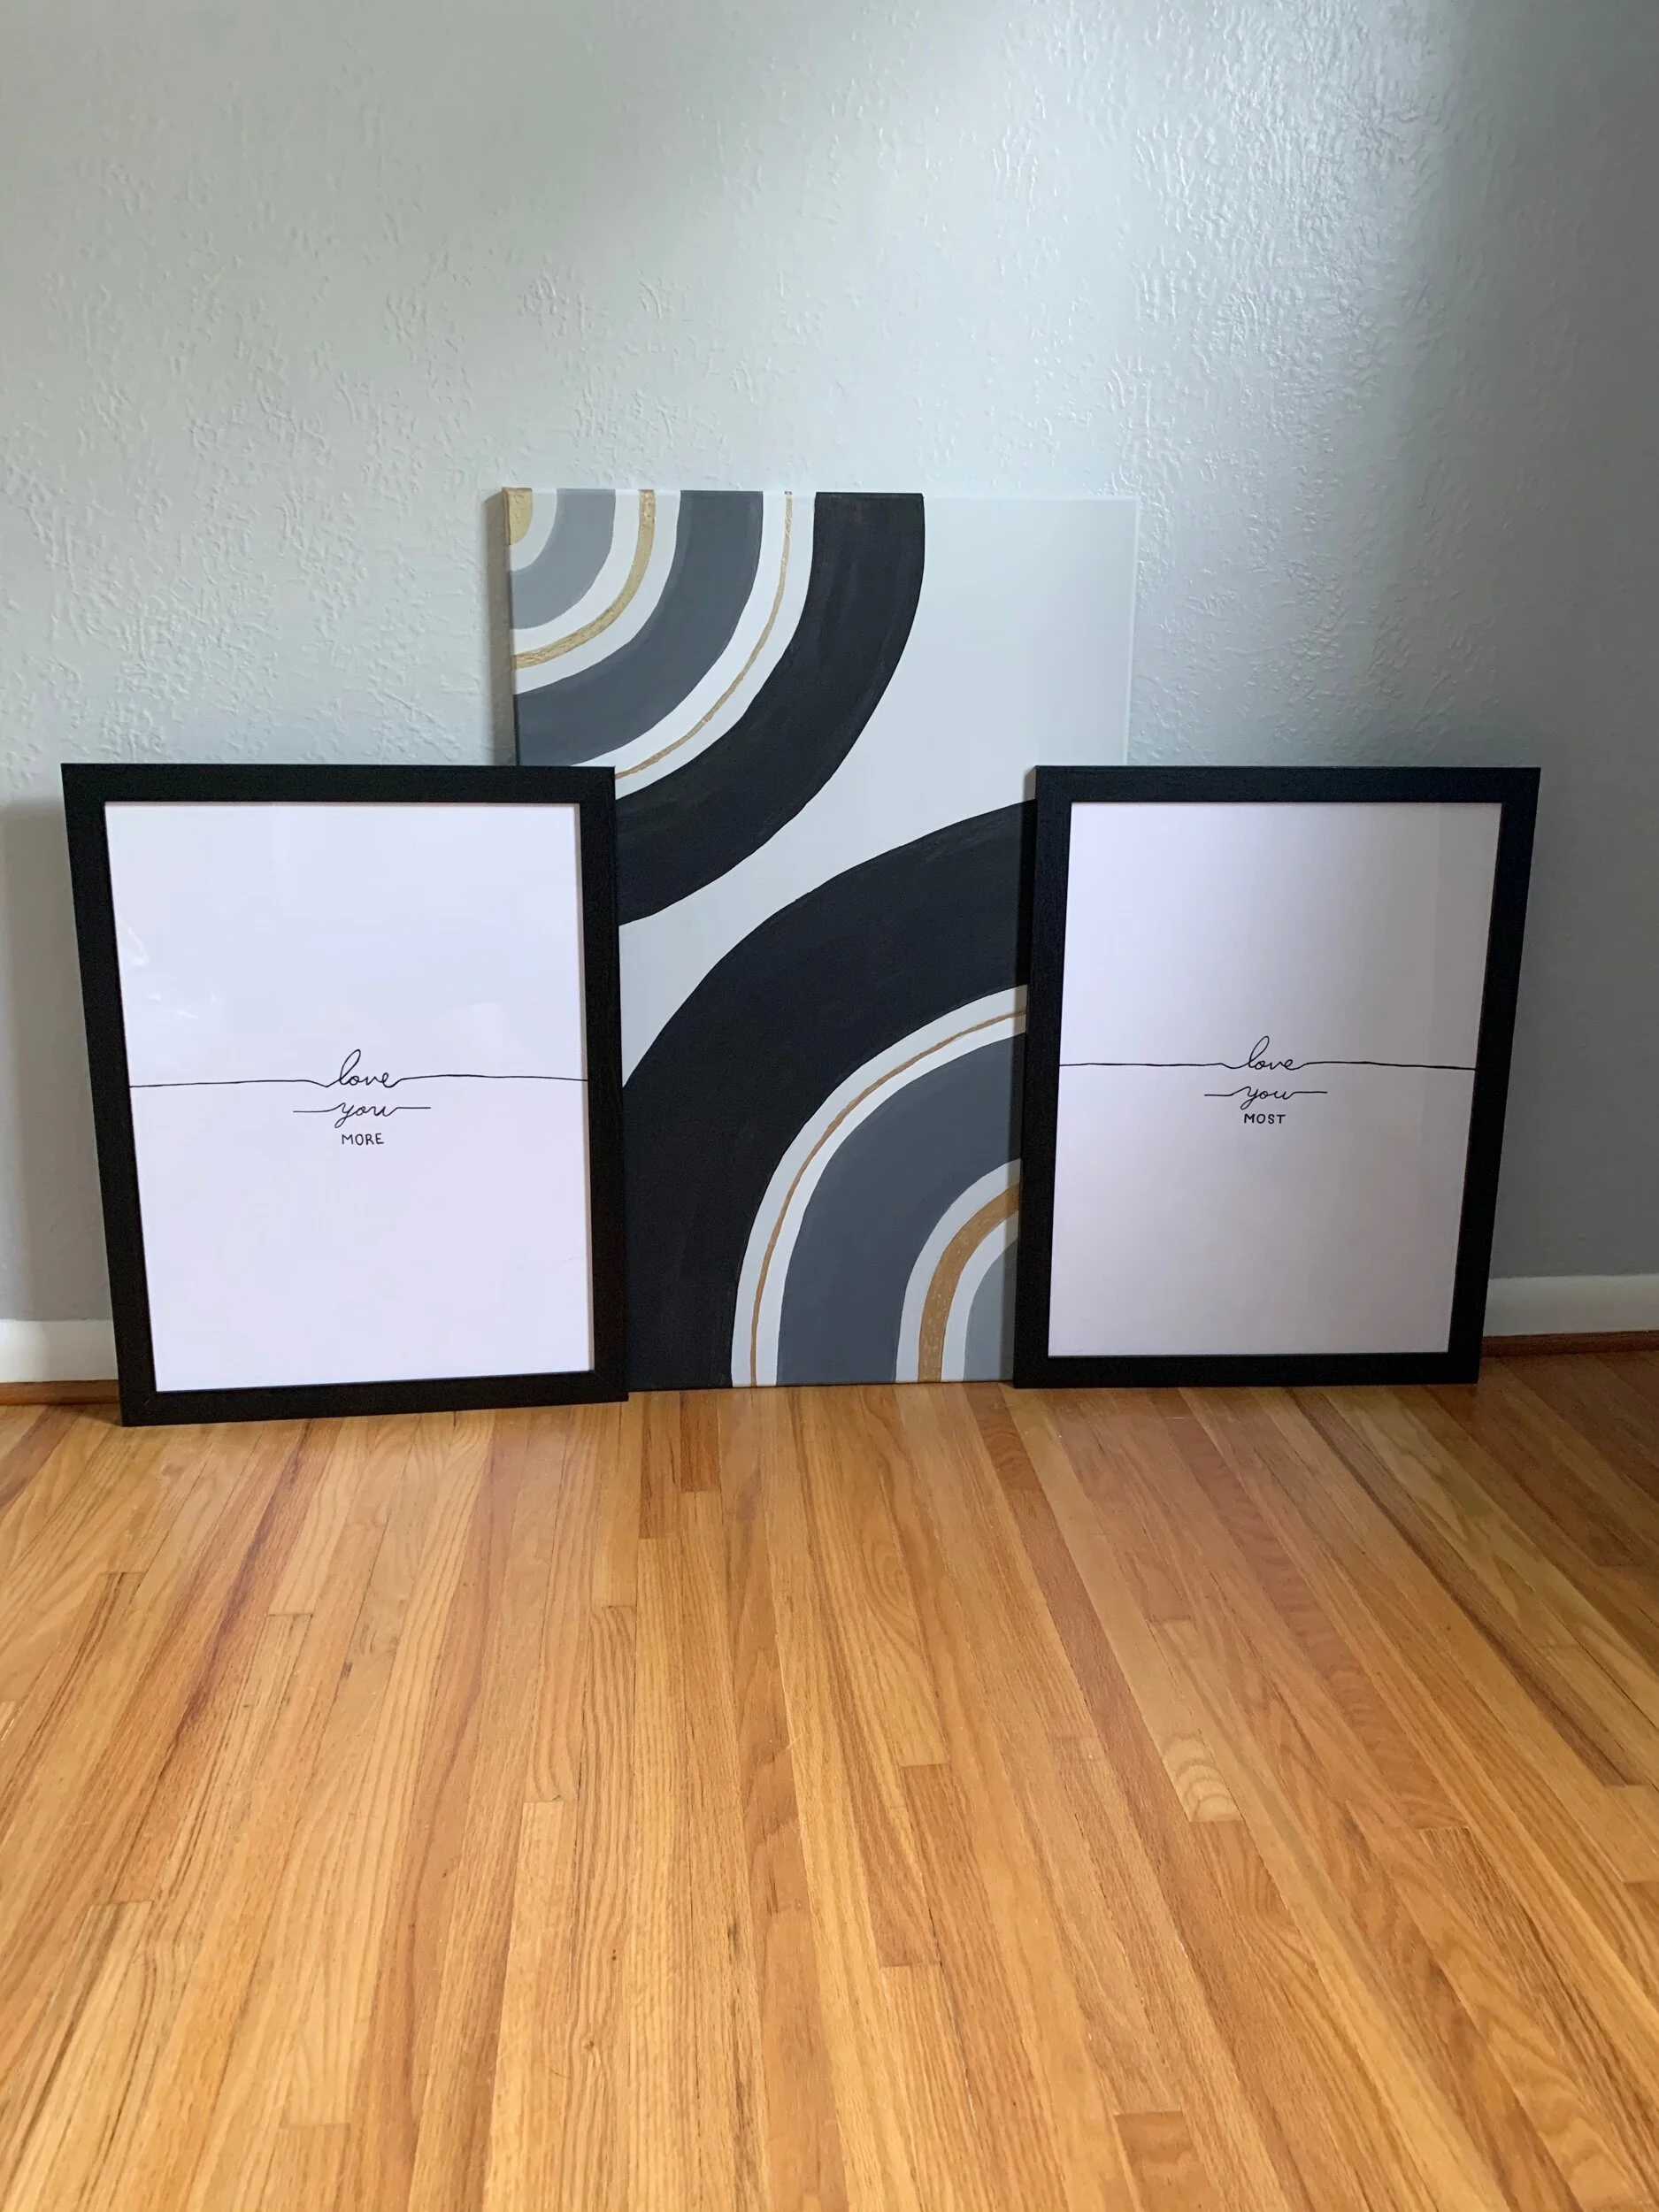
And there’s the finished look!
My next project was to recreate these two signs.

I made these two a couple of years ago and they have been hanging on either side of our bed ever since. And while I still love the sentiment behind them, they were feeling a bit too farmhouse style for me and I wanted to make them a bit more modern and larger.
So I ordered some large 18” x 24” paper and two black frames from Michaels.

My first step was to sketch the front style I wanted out on a plain piece of computer paper.
Then I transferred my sketch onto the larger paper by rubbing the pencil behind it and retracing it over again.
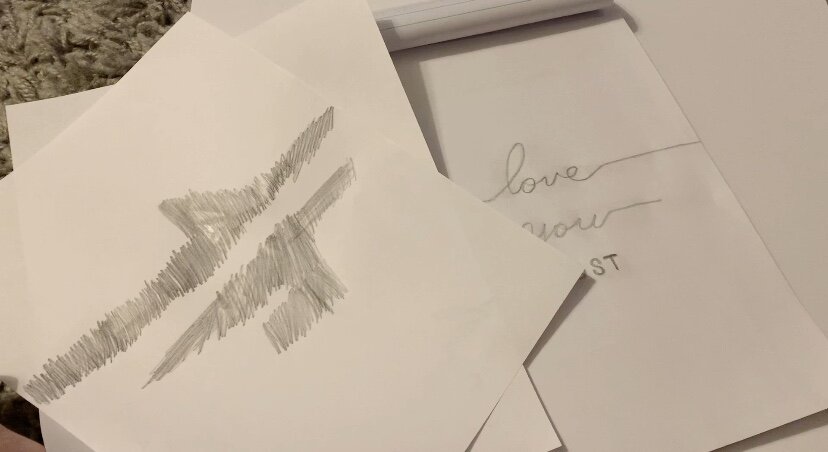

This should leave it lightly traced onto the larger paper.

Then I simply used a sharpie to trace over the pencil.
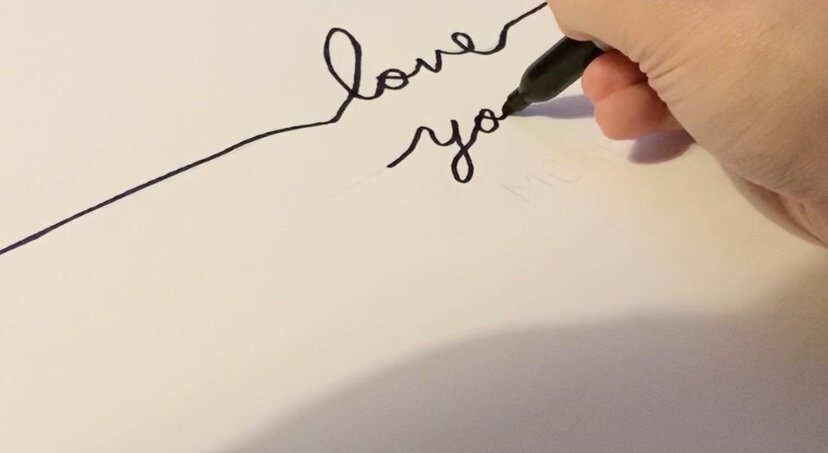
I then repeated this step for the other sign and framed them both.

I love how these pieces turned out and can’t wait to show you them in our master bedroom makeover!